Category: Recipes

Stuffed Acorn Squash

Now that winter is here, so is an abundance of sweet acorn squash. Of all of the winter harvest that’s available, acorn squash is probably my favorite winter vegetable–aside from sweet potatoes, of course (more on that very soon). Since the holidays are in full swing, I whipped up some nutritious stuffed acorn squash that is delightful and colorful–making you feel glowing from the inside out.

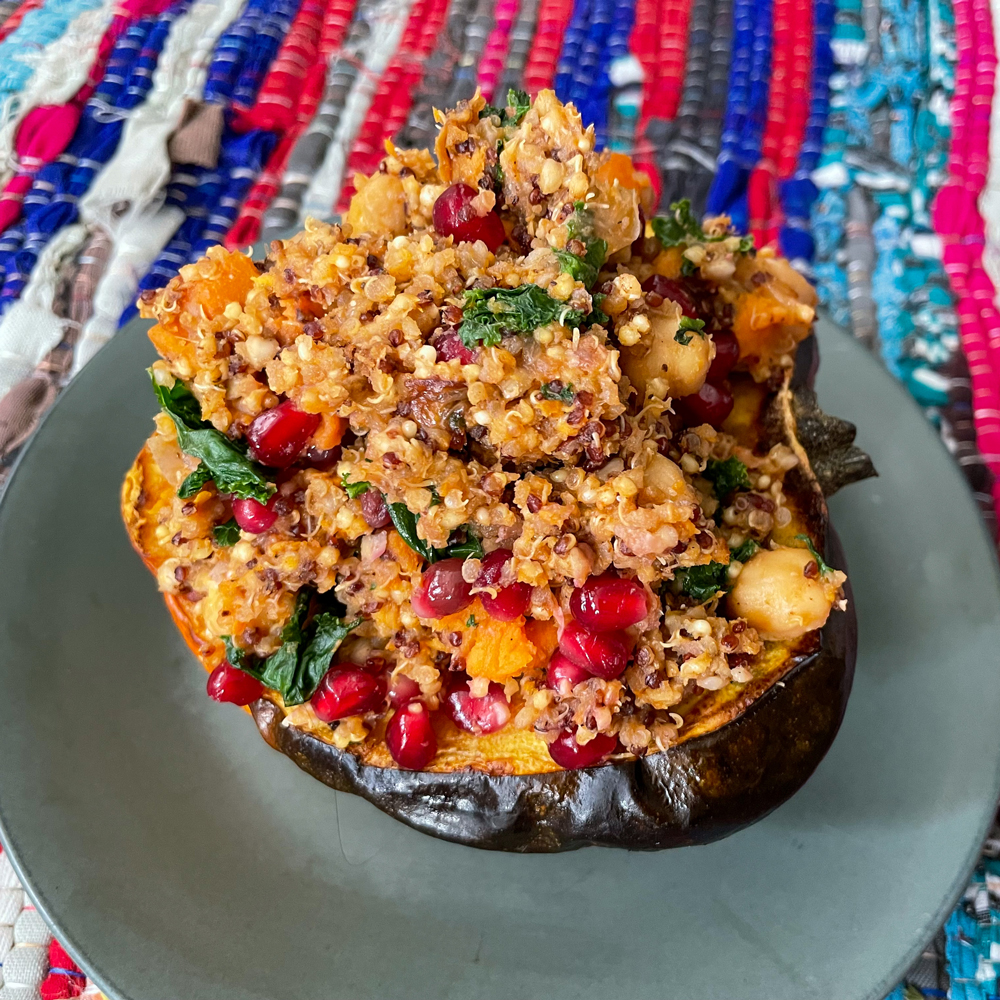
Because it’s easy to divvy up this recipe–one stuffed acorn squash half per person–it’s perfect as the main course for dinner parties. It might also be one of the most beautiful dishes I’ve ever shared. Set against the marigold acorn squash, the vibrant orange sweet potatoes contrast with the verdant green kale, as the red, jewel-like pomegranate arils peek through, like little rubies throughout the stuffing.

For the stuffing part, I opted for fair-trade quinoa, a mild-tasting grain that’s packed with protein. Among the veggies are shredded kale and–you guessed it–sweet potatoes. The pomegranate arils offer bursts of sweet against the savory. Chickpeas add more protein, making the stuffed acorn squash a complete meal.
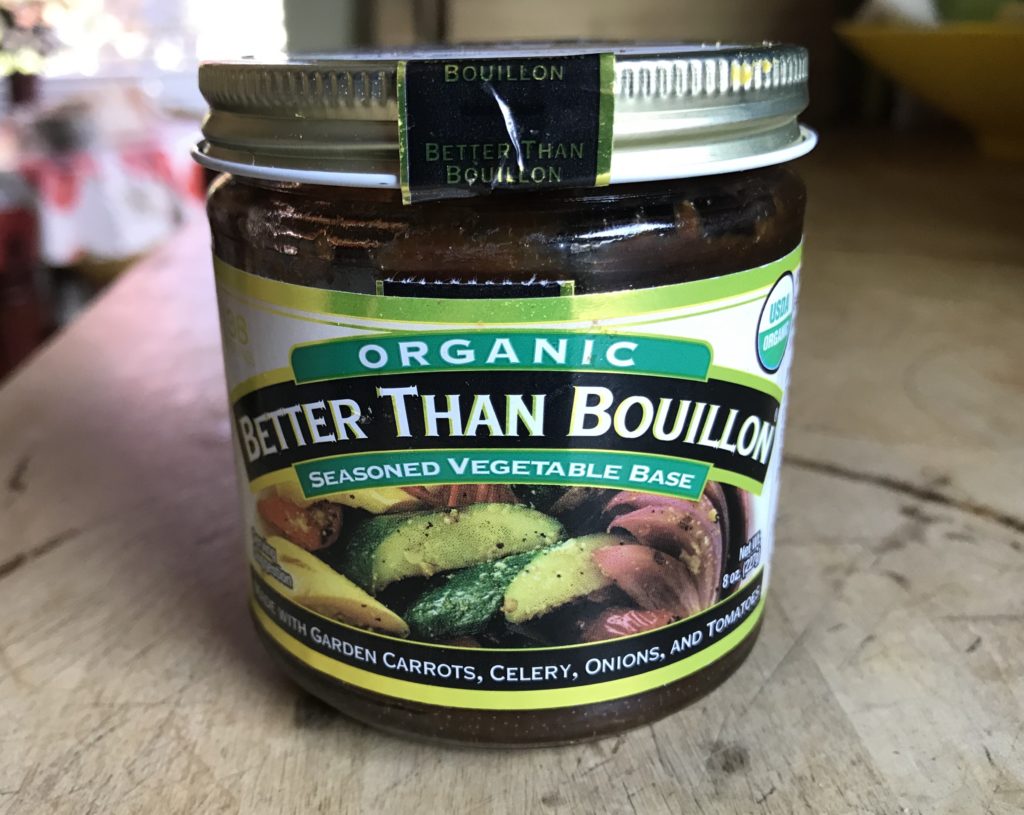
The only broth you need.

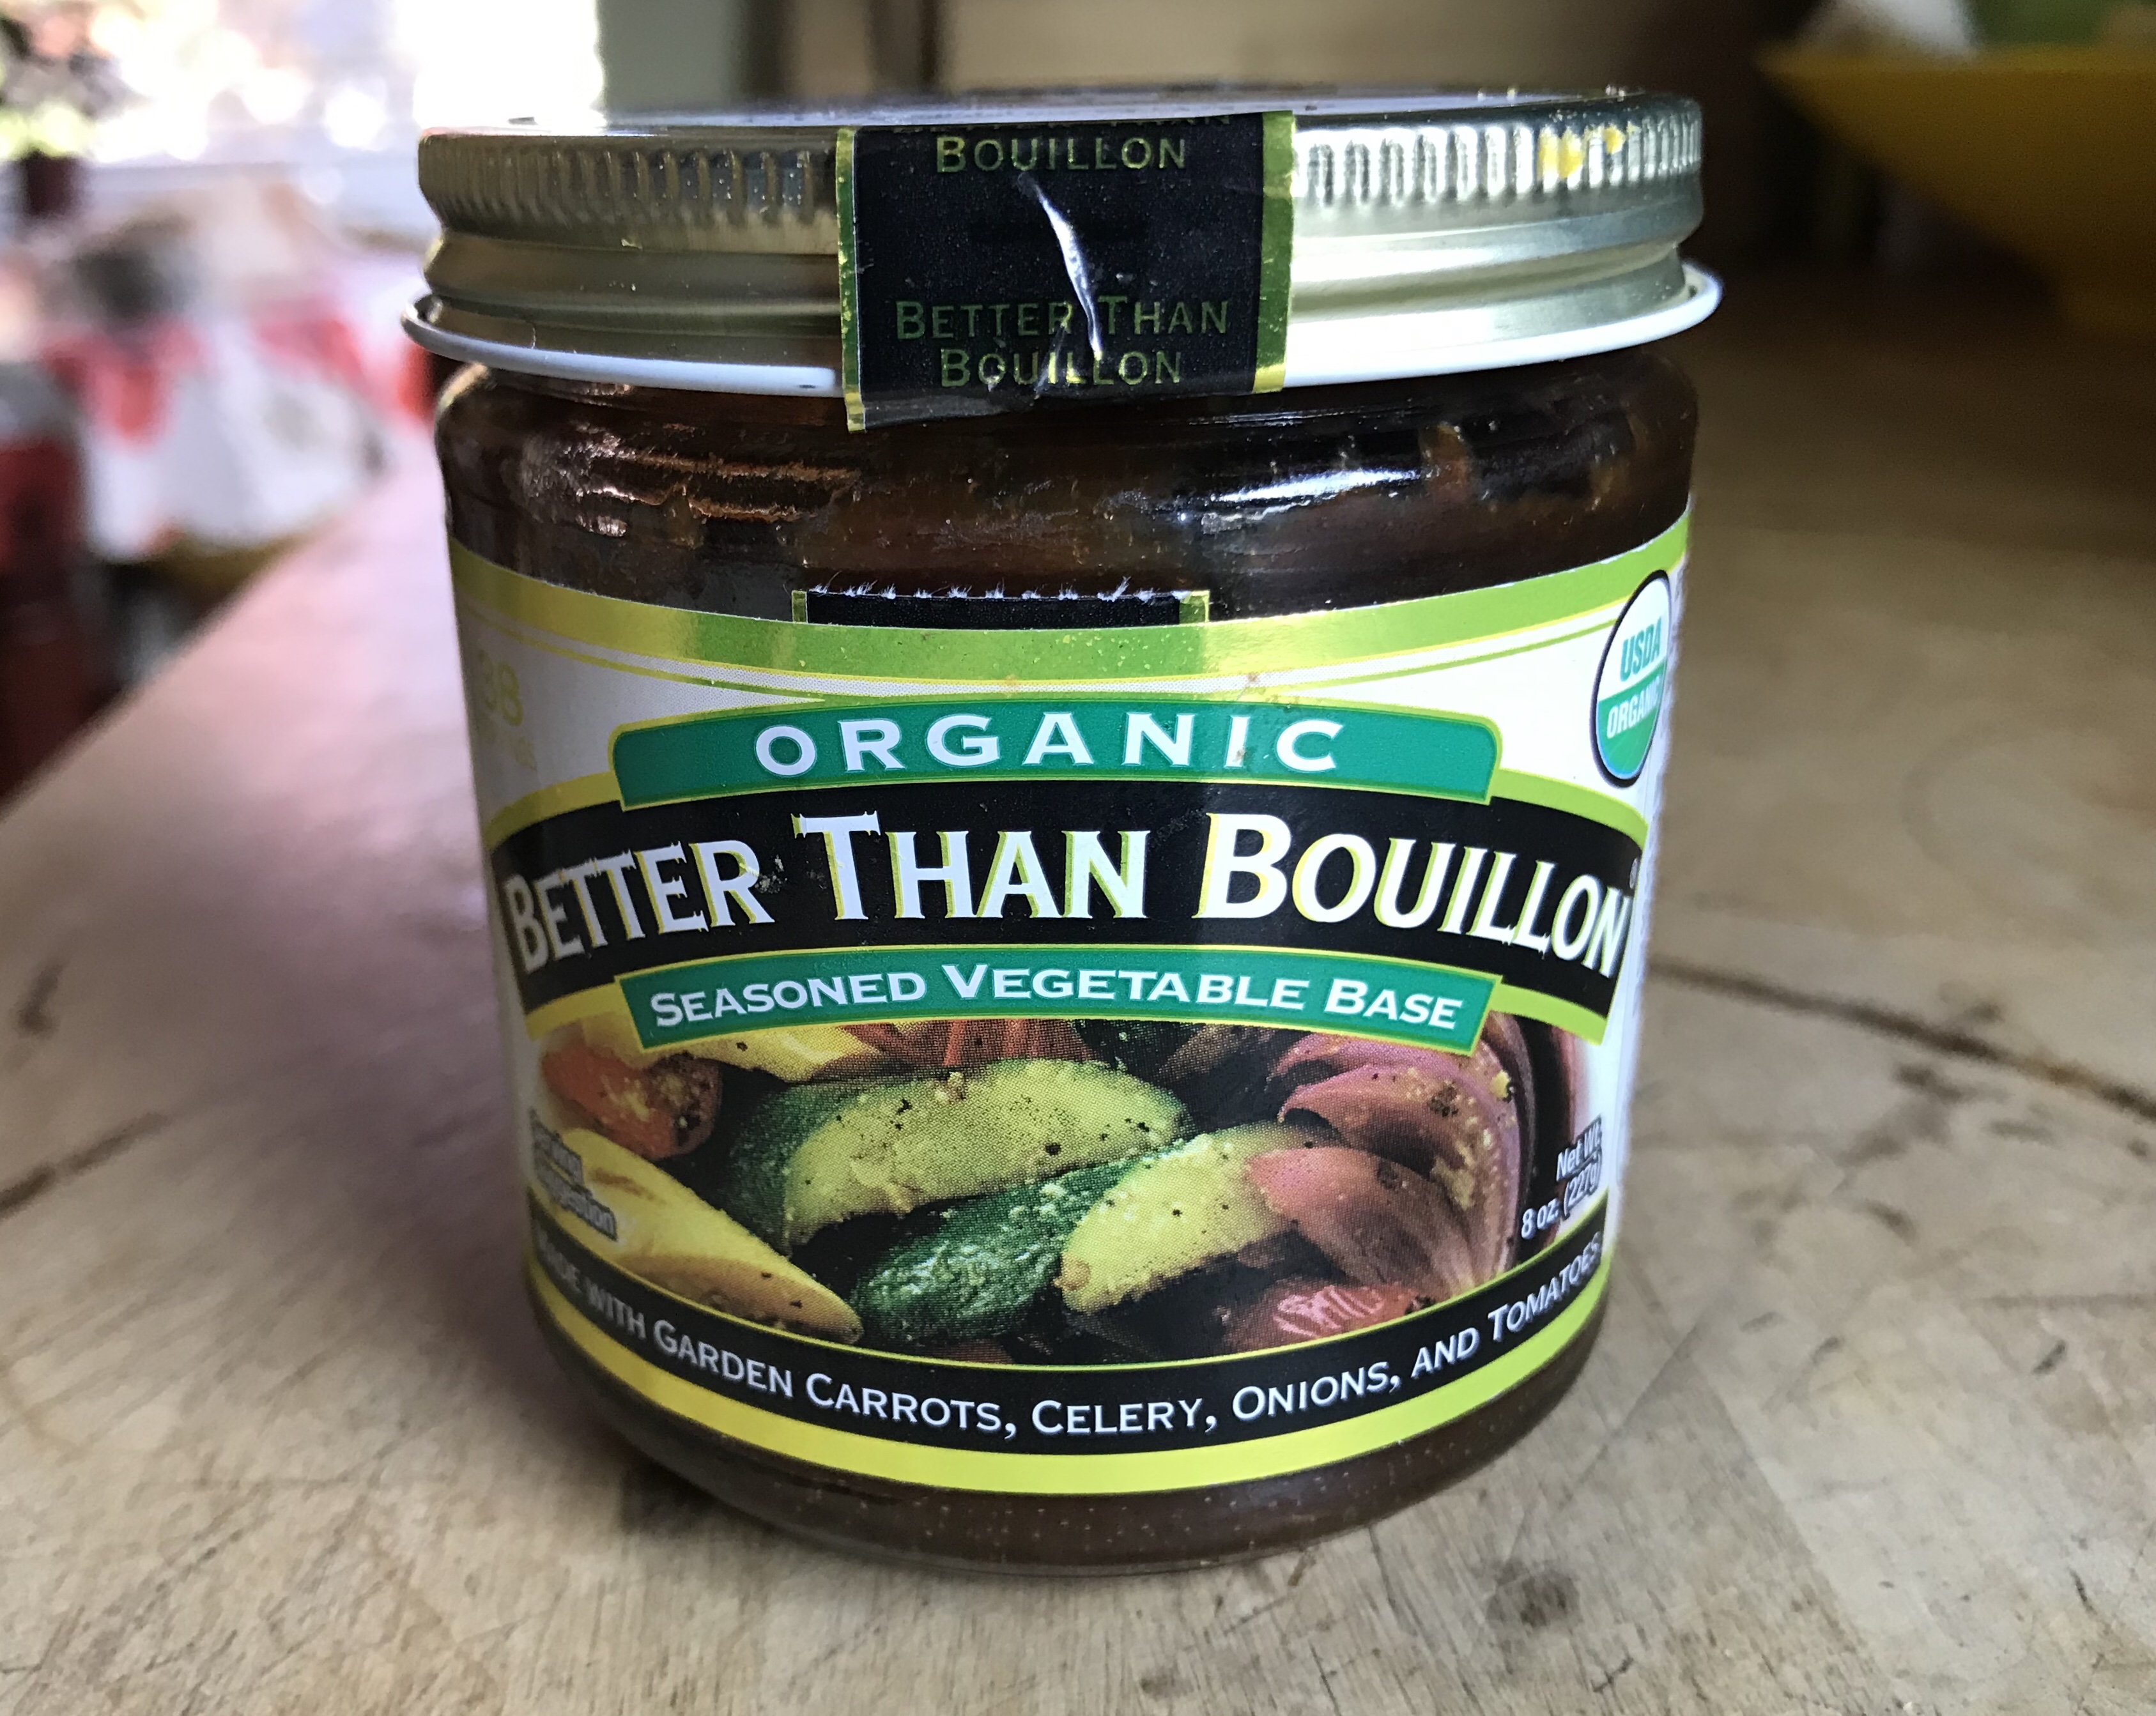
The broth that I use here is Better Than Bouillon’s seasoned vegetable base*. A small amount of this paste goes a really long way. You only need to use about one teaspoon to make one cup of vegetable broth. It’s also quite versatile; you can use it in stuffing, soups, mashed potatoes, or anywhere it calls. If you want it to taste stronger, you can add more paste to the water. If you prefer lower sodium, you can dilute it with more water.

I could use the broth in the cartons, but I never need that much at a time. Also, broth from a carton eventually goes bad. With this Better Than Boullion’s broth base, I just use what I need and store the rest in the fridge for another recipe. I have used this broth for many years, and nothing is more convenient or easier to use than this good stuff.

Stuffed Acorn Squash Recipe
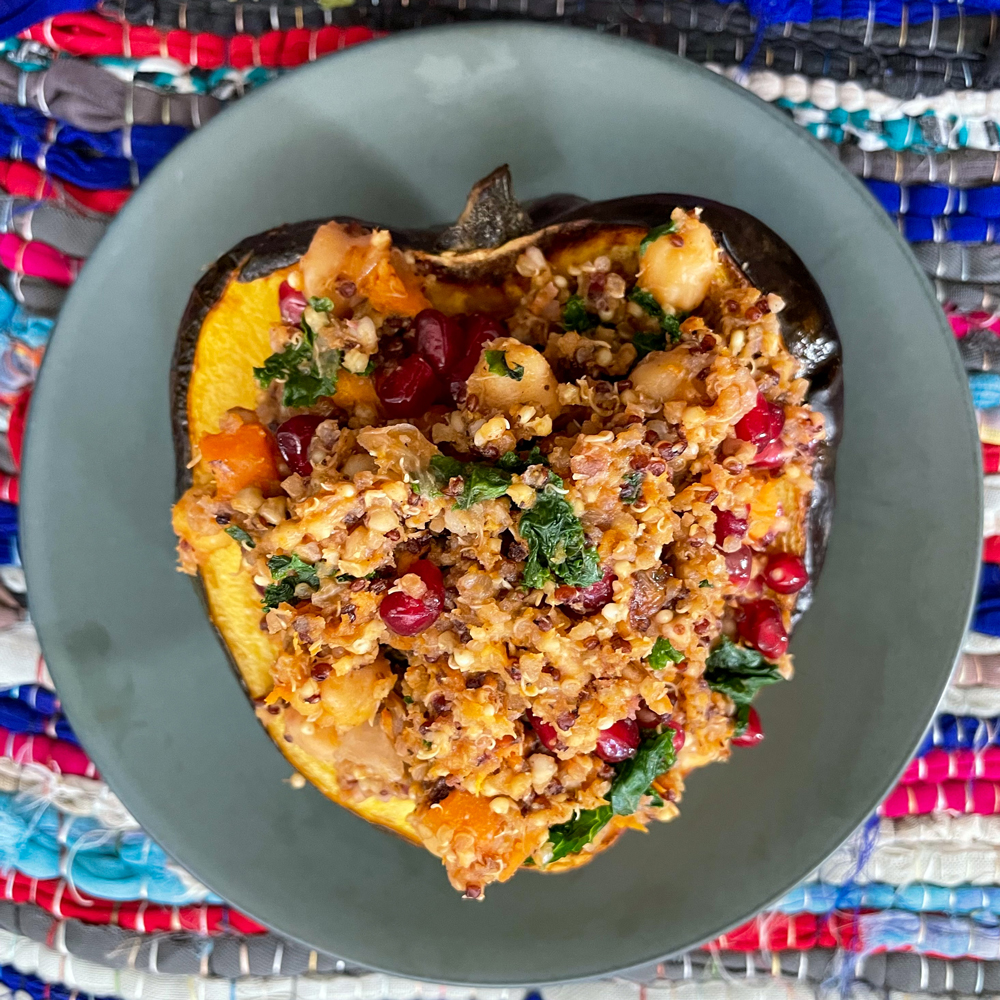
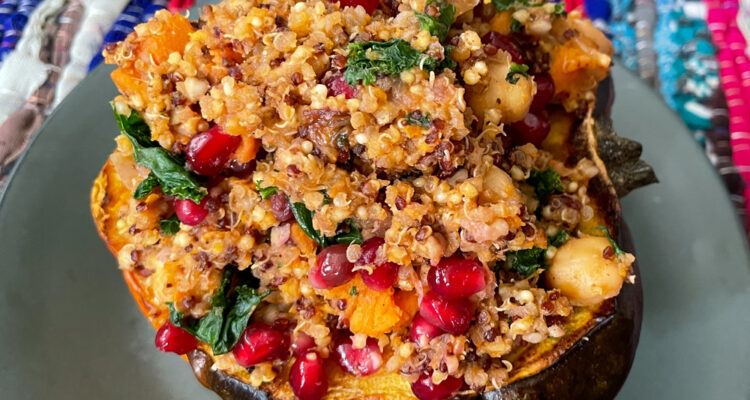
Stuffed acorn squash with quinoa stuffing on top of a gray plate against a colorful woven rug.
It looks like a heart almost.

Sure, the rich colors and flavors of the stuffed acorn squash win the hearts of vegans and omnivores alike. But the real beauty of this dish is that, except for the quinoa and broth ratio, you can adjust exactly how much of each ingredient to put in the stuffing. The measurements here are more like guidelines. Would you rather have more kale than sweet potato? Be my guest. You don’t like chickpeas or would rather substitute with black beans? Make yourself happy. Season to taste, make mistakes. Lean into your intuition, and learn to trust yourself in the kitchen and in life. (Just remember to keep the water to quinoa ratio so it cooks right!)

You’ll most likely have some stuffing left over. And that’s quite okay. It makes a great lunch, and pairs well with soup, salad, or roasted vegetables.
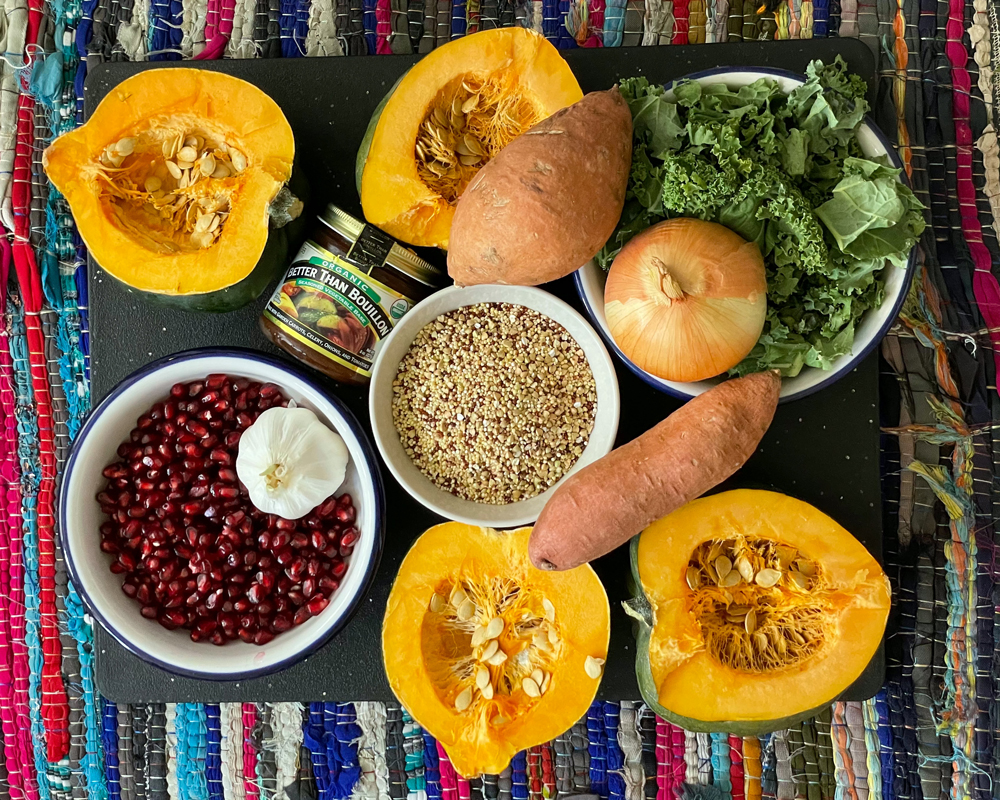
Ingredients to make the stuffed acorn squash: 4 acorn squash halves, quinoa, sweet potatoes, kale, pomegranate arils, garlic, onion, and Better Than Bouillon broth paste.
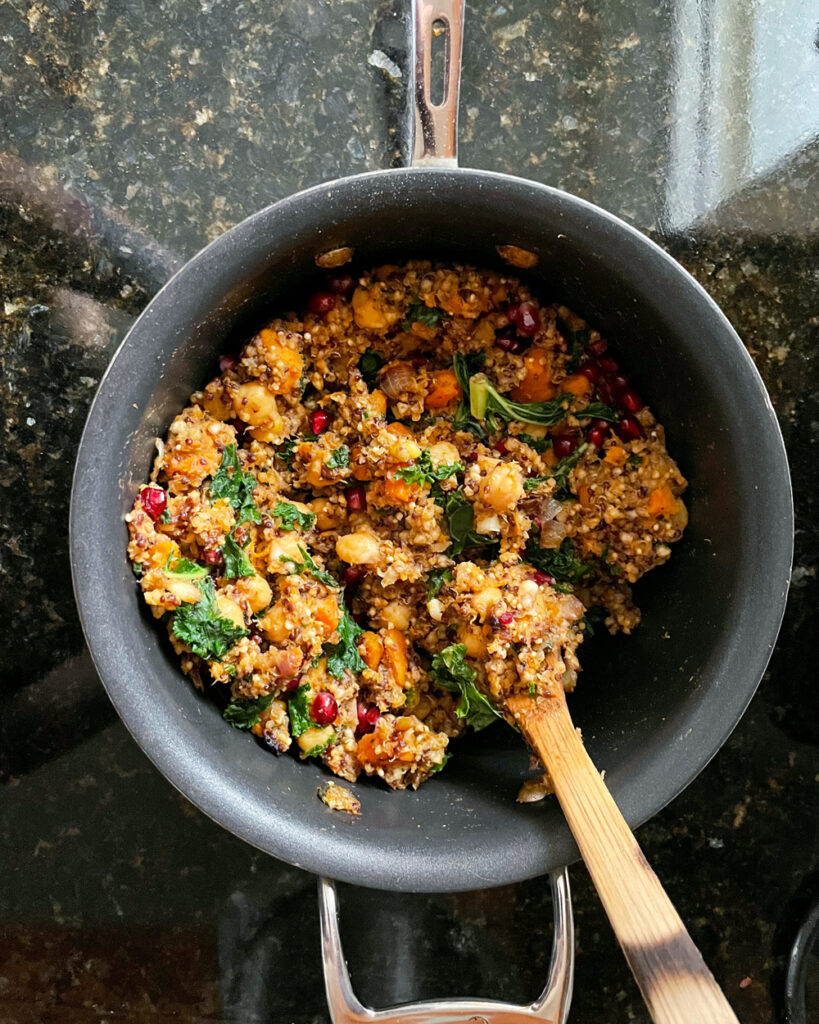
The colorful quinoa stuffing in a pot with a wooden spoon sticking out.
A side view of the stuffed acorn squash, with the quinoa stuffing piled high.

You will need

  • 2 acorn squashes, roasted
  • 1 cup quinoa
  • 2 cups broth: 2 teaspoons of Better Than Bouillon’s seasoned vegetable base with 2 cups of water
  • 1/2 yellow onion
  • 1/4 teaspoon salt
  • 1/4 teaspoon black pepper
  • 4 cloves of garlic, minced
  • 1 tablespoon of oil
  • 2 small sweet potatoes, cut into half-inch cubes
  • 1 can of chickpeas
  • 3 cups of kale
  • Arils of 1/2 of a pomegranate
  • Optional: pumpkin and sunflower seeds for garnish
  1. Preheat the oven to 425 degrees. Cut the 2 acorn squashes in half, and scoop the seeds and guts out. Brush the insides with olive oil. Put it in a baking dish, the insides facing up, with 1 inch of water in the dish. Roast in the oven for 45 minutes.
  2. Meanwhile, mix together the seasoned vegetable base with the water to make vegetable broth. Put the broth and the quinoa in a rice cooker and cook.
  3. As the quinoa cooks, set the heat to medium. Heat up a tablespoon of oil in a four-quart pot (or other large pot). Dice up the yellow onion and cook in the oil with the salt and pepper, until it starts to become translucent. Add the minced garlic, stirring frequently.
  4. Add the sweet potato cubes and stir until they’re coated with oil. Cook covered for 13 minutes on medium heat, stirring occasionally.
  5. Add the chickpeas, and keep stirring. It should be nice and fragrant at this point.
  6. By now, the quinoa should just be done cooking. Carefully scoop the cooked quinoa into the pot with the sweet potatoes. Stir around until evenly incorporated.
  7. Add the kale. Stir some more for three more minutes.
  8. Remove the pot from the heat after turning it off. Add the pomegranate arils last, stirring well until all ingredients are evenly distributed.
  9. When the acorn squash is done roasting, take it out of the oven. Place each half on a plate. Then scoop as much stuffing as you want into the acorn squash. It’s okay if it spills out on the sides.
  10. Garnish with pumpkin and sunflower seeds, if you desire.

*Blogger’s note: As an Amazon Associate I earn a small commission from qualifying purchases.
Vegan Chocolate Tart

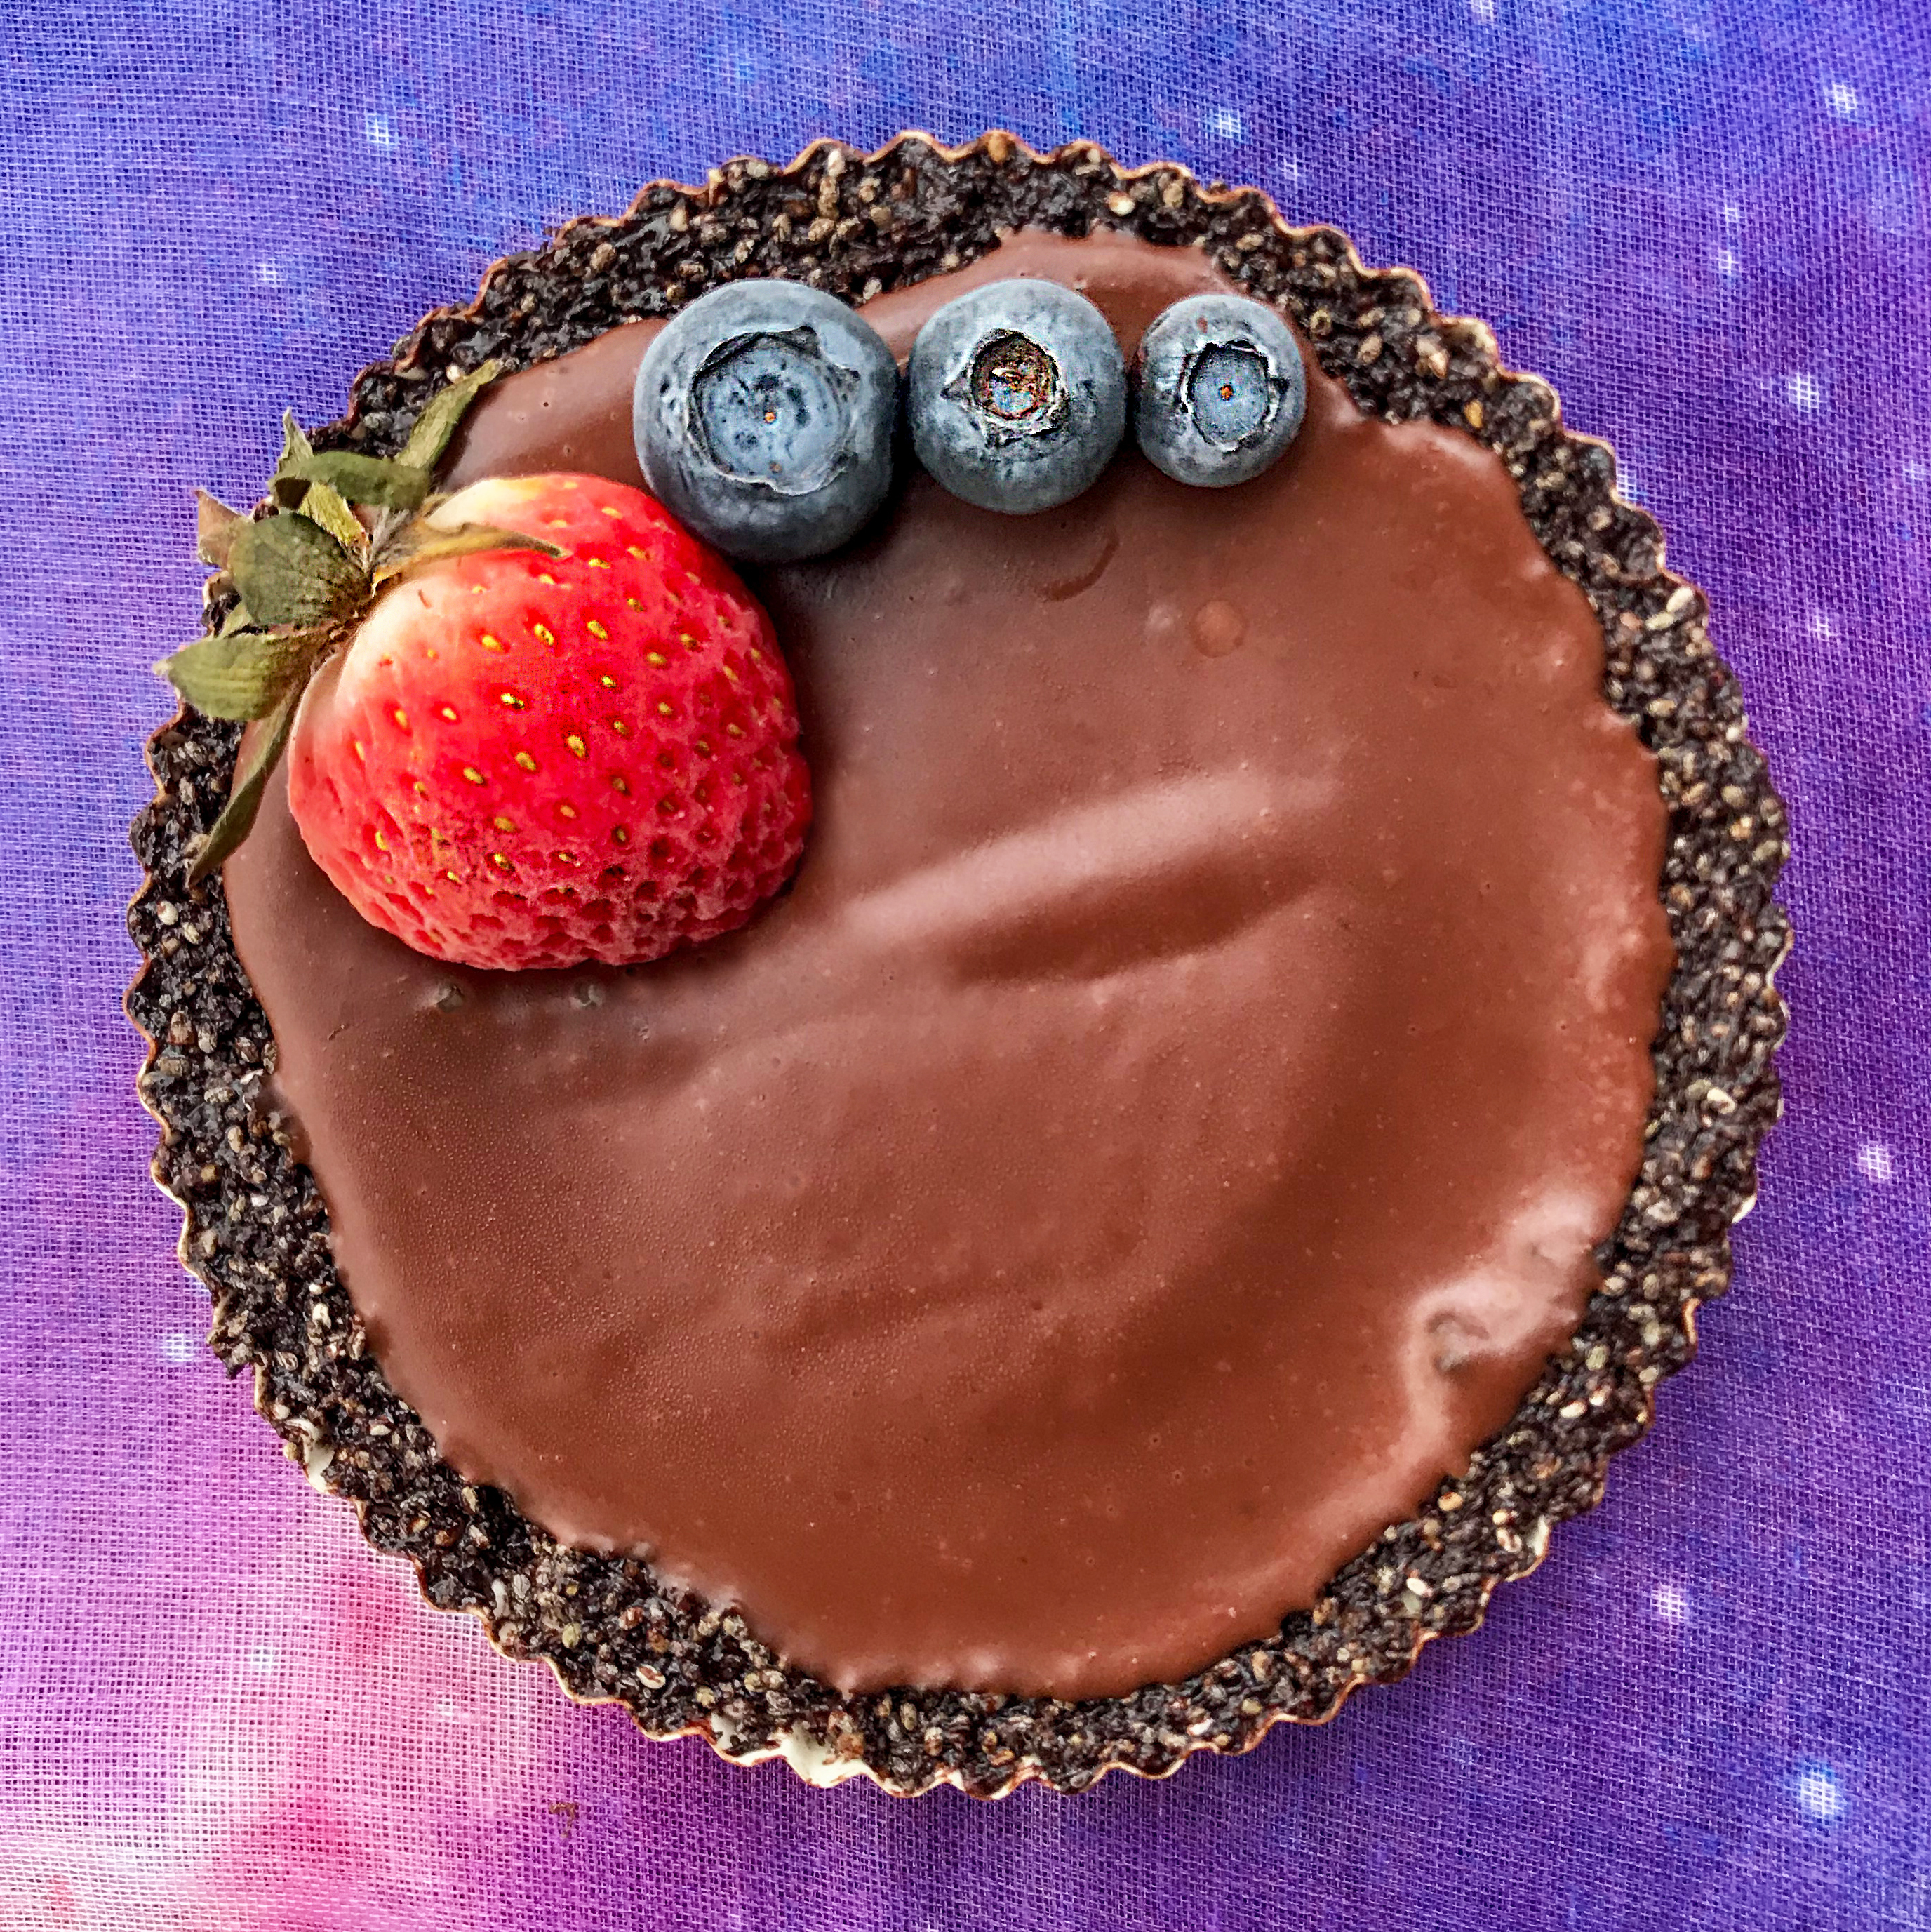
A round 4-inch vegan chocolate tarte with a cashew-chia seed crust, plus a strawberry and 3 blueberries as a garnish.

I’ve always enjoyed Valentine’s Day. Whether it’s the the messages of love, or the colorful flowers and pink paper hearts, it’s been a lifelong favorite. Sometimes, days like these call for special treats. And it doesn’t get easier or more decadent than a vegan chocolate tart.

Satiate your sweet tooth with a vegan Valentine

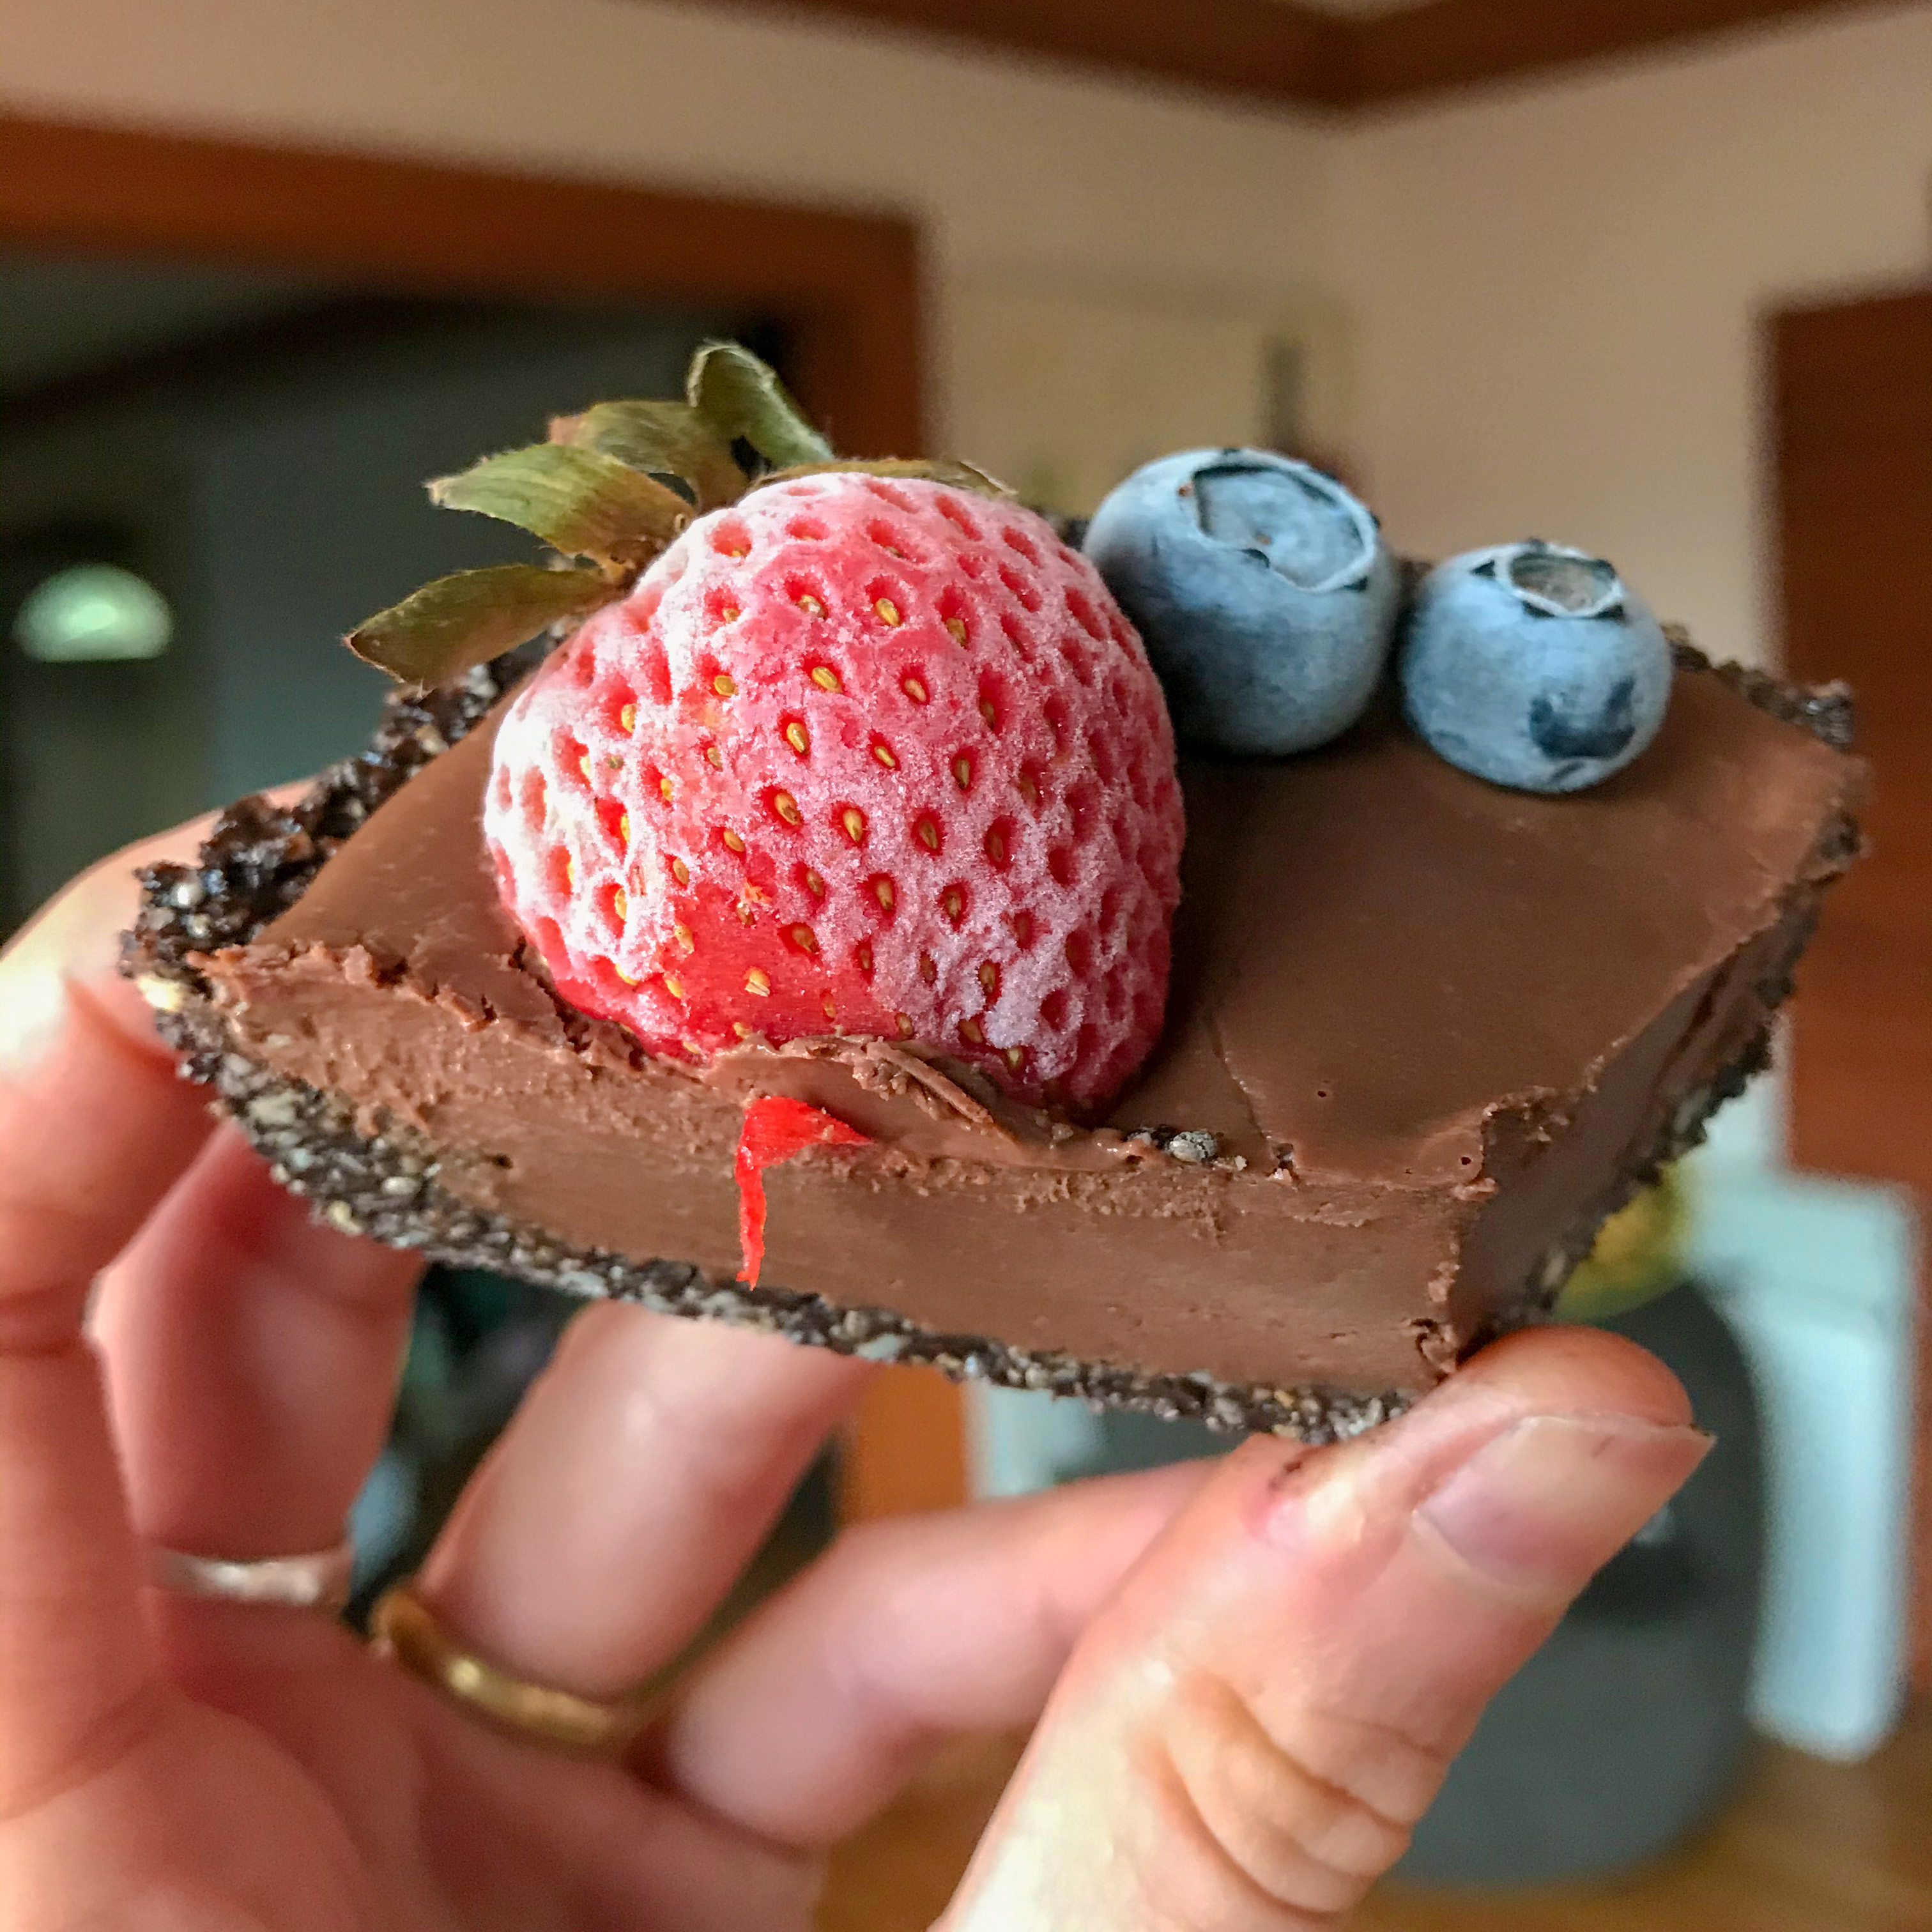
A slice of the vegan chocolate tarte with a frozen strawberry and 2 blueberries on top.

I wanted to make something special, something that sends those brain neurons firing. An almost-raw chocolate tart would be just the thing the love doctor ordered. (Yes, the love doctor ordered chocolate to stimulate the release of endorphins.) This tart is vegan, always. With the exception of the chocolate chips, the rest of the ingredients are raw.

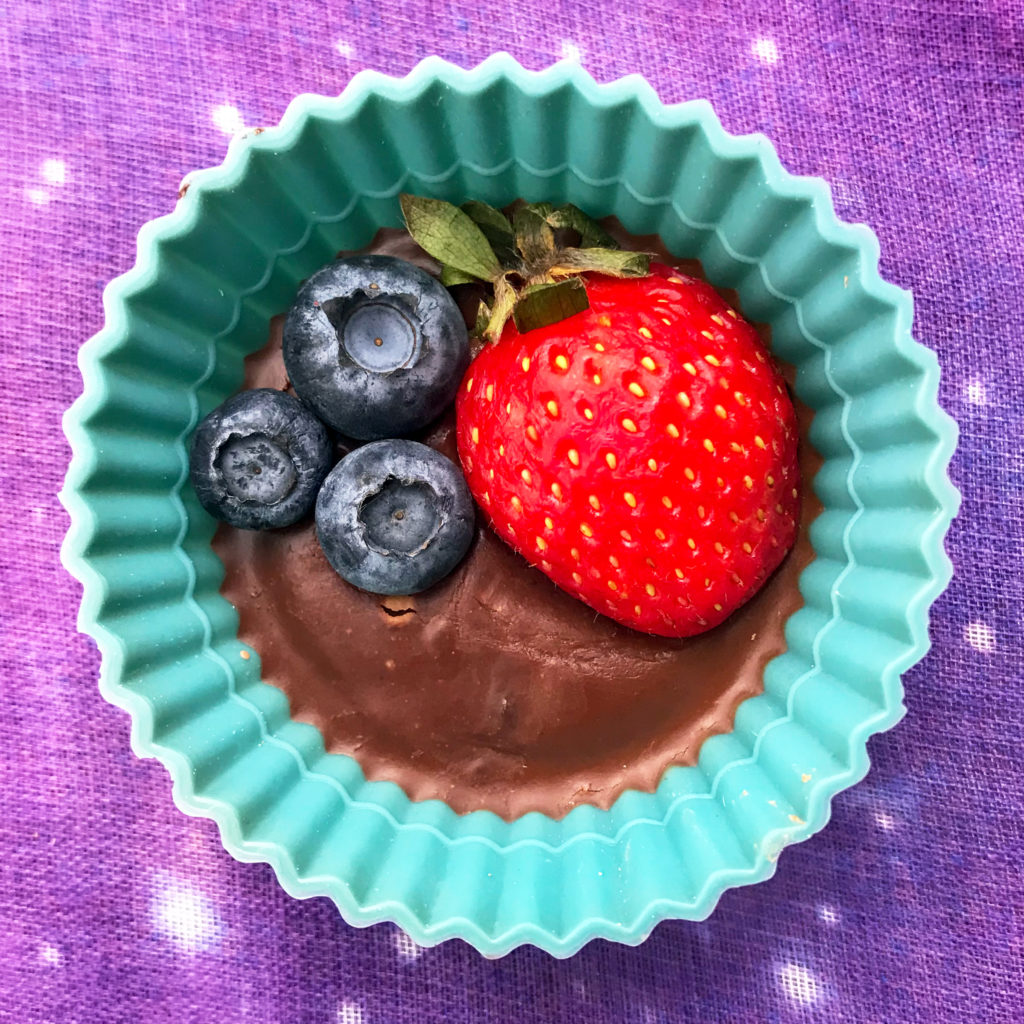
A decadent fudge bite with a strawberry and 3 blueberries inside a turquoise silicone cup.
Any extra chocolate filling can be made into fudge bites.

You can share this vegan chocolate tart with someone who means a lot to you, or just have it all to yourself. No judgments here. Plus, if you end up with extra chocolate filling, you can make fudge bites. It’s a decadent treat that melts in your mouth–as you float on Cloud 9 from those sweet endorphins.

Recipe for the vegan chocolate tart

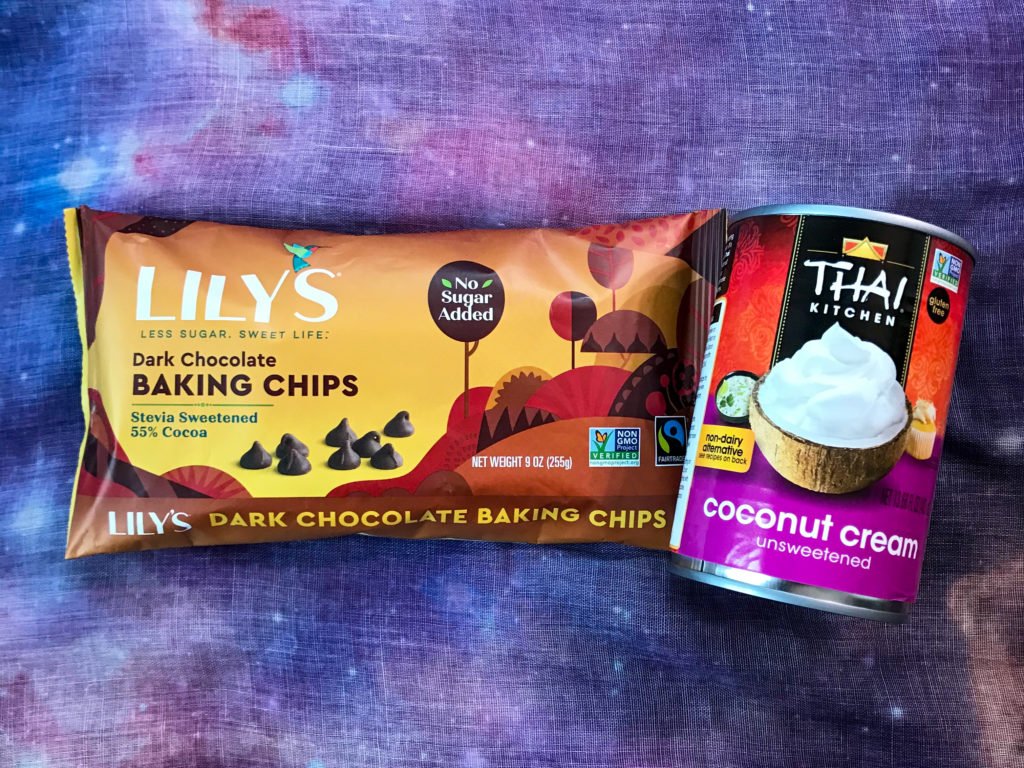
A bag of Lily's chocolate chips and a can of Thai Kitchen coconut cream on top of a purple space background.
I used these brands in this recipe (not sponsored).

Blogger’s note: In order to minimize sugar, I used Lily’s no-sugar-added chocolate that’s sweetened with stevia. This post isn’t sponsored; this brand was the only one I could find at the store when it comes to reducing sugar intake in chocolate. Any vegan chocolate chip brand will do.

You will need:

Crust:

  • 1/4 cup of raw cashews, soaked overnight
  • 2 tablespoons of chia seeds
  • 1 tablespoon of agave nectar
  • 1 tablespoon of cacao powder
  • Dash of salt

Filling:

  • 4 tablespoons of vegan chocolate chips (I used Lily’s)
  • 4 tablespoons of coconut cream or full-fat coconut milk
  • 1 tablespoon of agave nectar
  • 1/4 teaspoon of vanilla extract
  • Fresh berries or edible flowers for garnish (optional, but it makes the tart look extra nice)

Instructions:

  1. Blend the crust ingredients in a food processor until the cashew pieces are very finely chopped. You’ll have a sticky mixture.
  2. Spread the crust mixture into a 4-inch tart tin, spooning it upwards on the sides.
  3. Put the crust in the freezer while you make the filling.
  4. On medium-low stove setting, heat up the coconut milk, agave nectar, and vanilla extract until you see a little bit of steam.
  5. Pour in the chocolate chips. Melt them gently by stirring them into the coconut cream with a whisk. Keep stirring until all of the chocolate has melted.
  6. Take the crust out of the freezer, and pour the melted chocolate filling into the crust. Top it off.
  7. Any leftover chocolate filling you have can be poured into little candy cups for decadent fudge bites.
  8. Garnish the tart however you like: fresh berries, sea salt, edible flowers, etc.
  9. Put the tart into the fridge to firm up. Refrigerate for at least 3 hours before enjoying your treat.
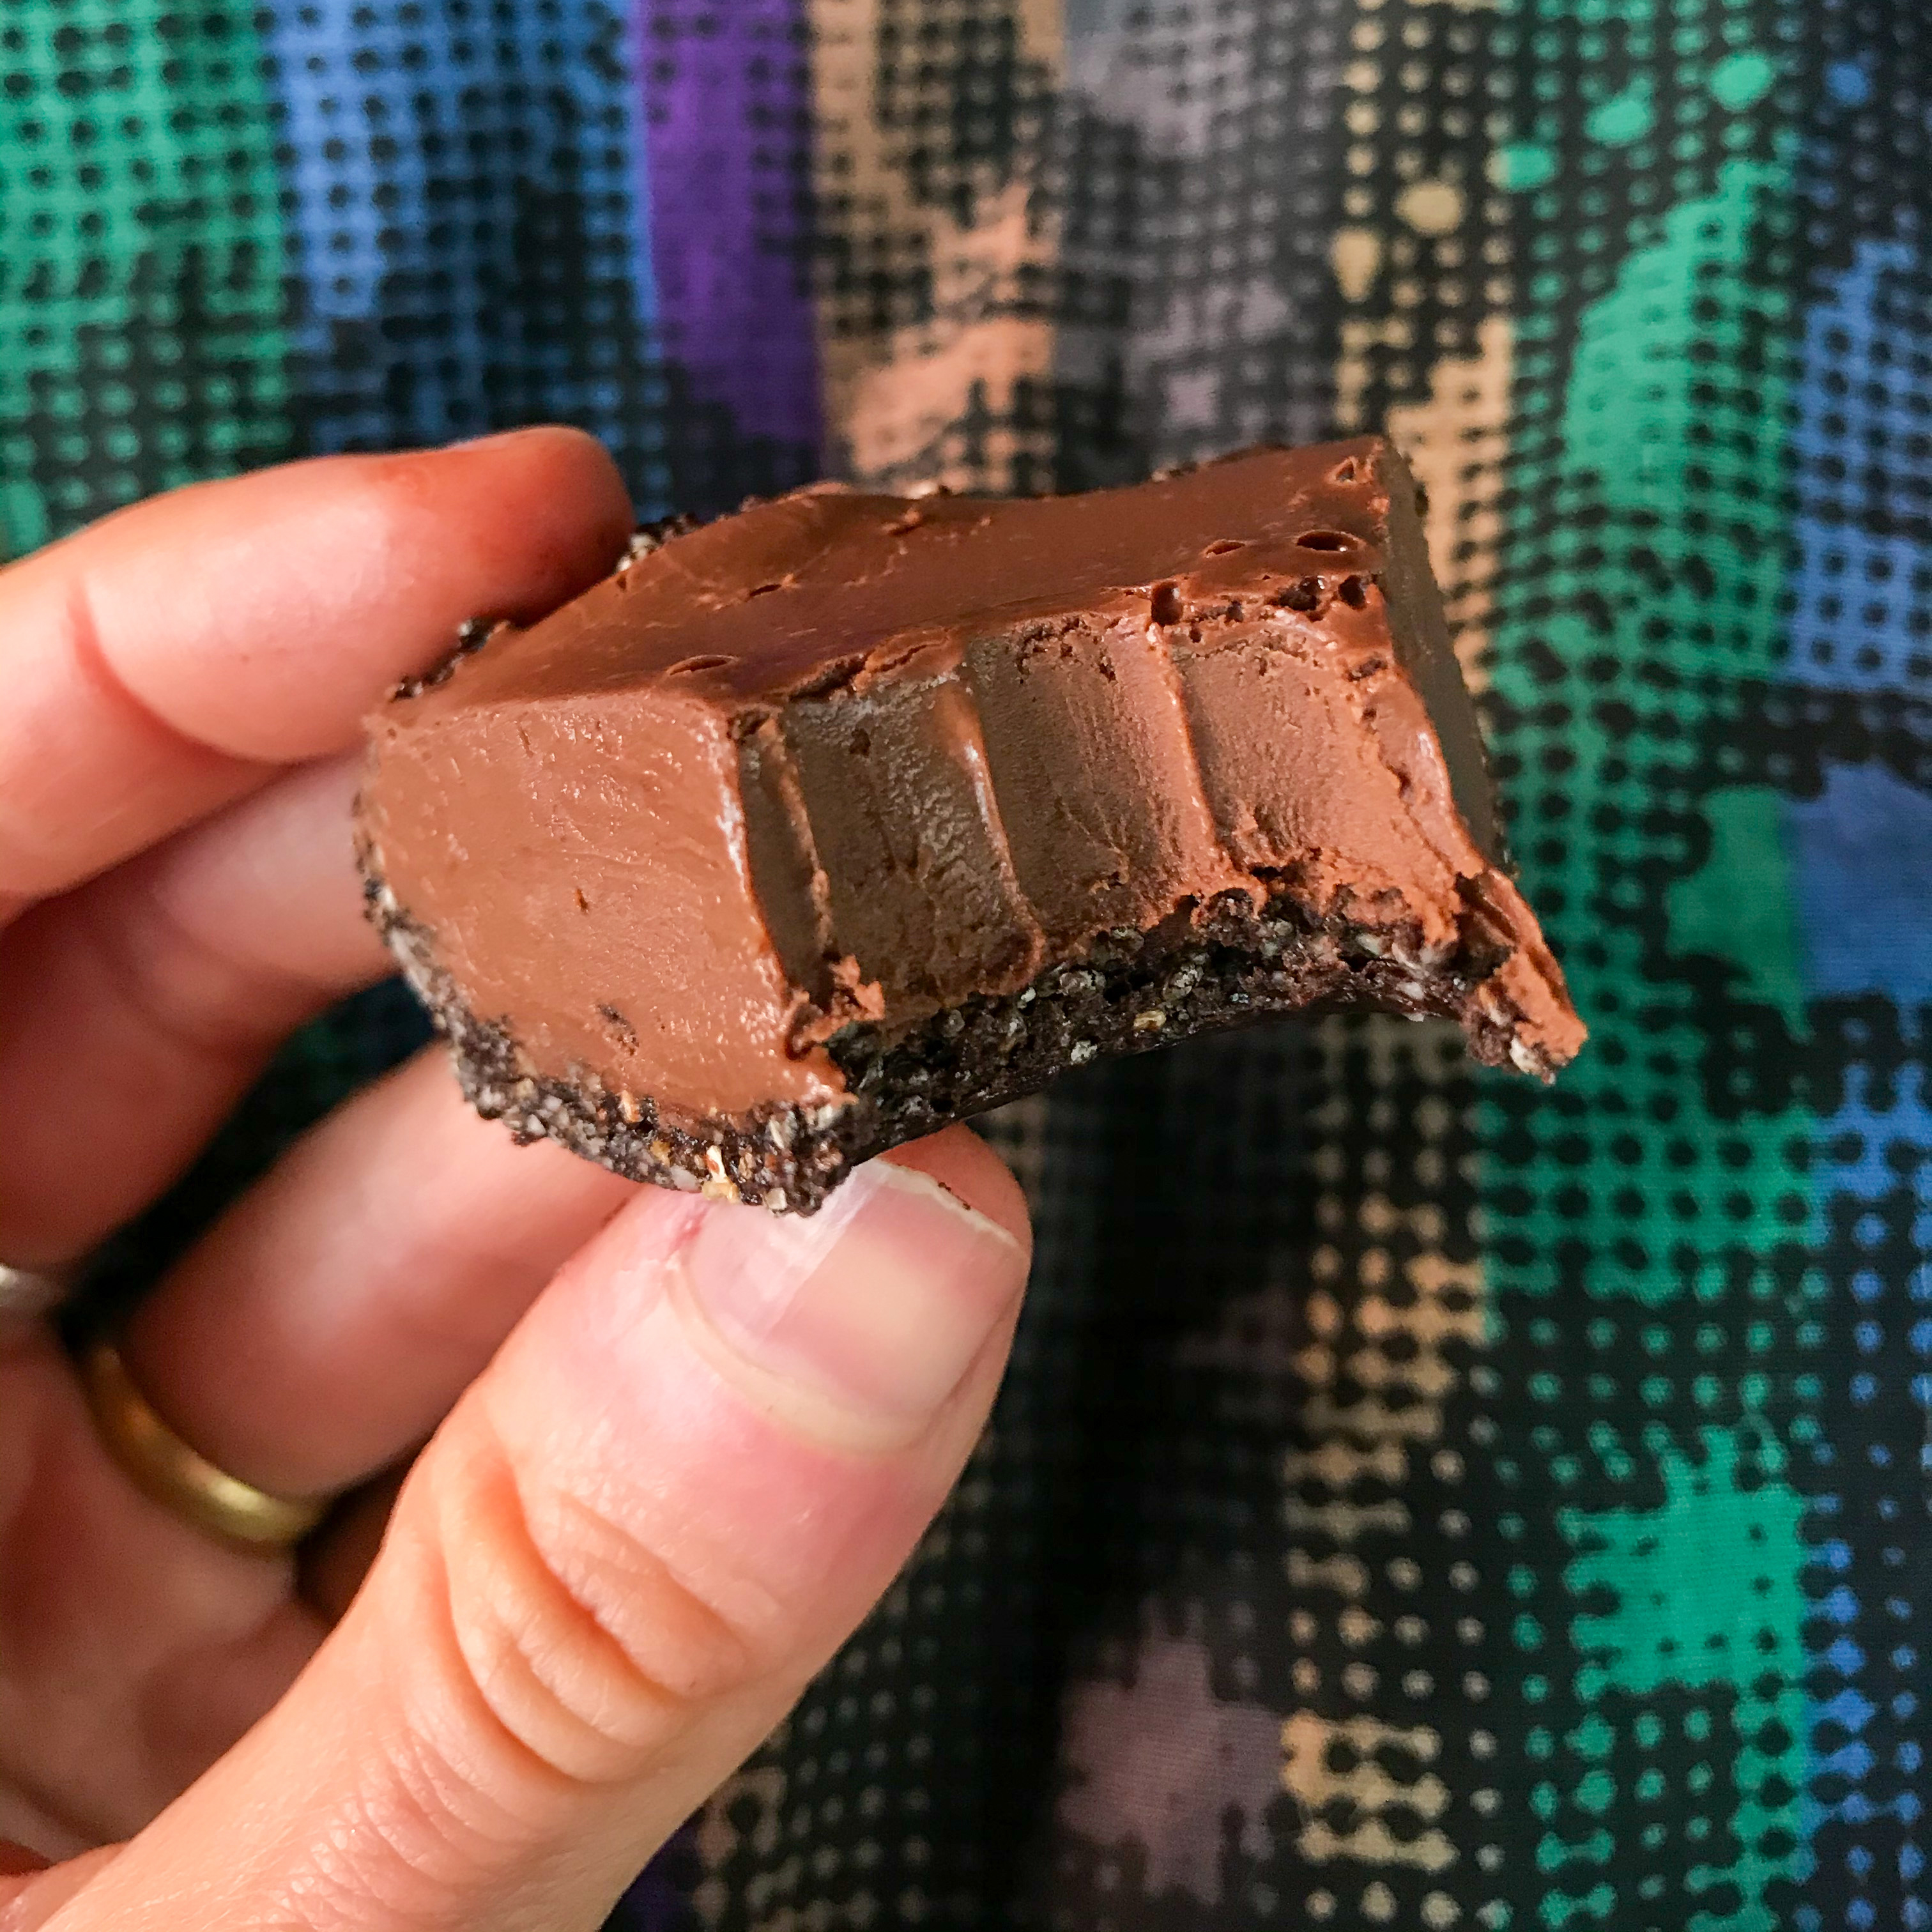
A hand holding a bitten piece of the chocolate tart in front of a patterned blue, green, and tan background.
One bite, and you’re in heaven.

The result is vegan chocolate-y goodness that melts in your mouth you as you enjoy the rich treat. Bon appétit!

Quarantine Bread

Quarantoast

We’ve spent nearly 3 months in quarantine due to the COVID-19 pandemic. I’ve been going through ingredients in order to minimize visits to the grocery store. While I’ve maintained a mostly gluten-free diet the last few months, there’s leftover wheat flour that needed to be used. The idea of making quarantine bread hit me.

It turns out that bread yeast is a hot-ticket item like toilet paper. Active dry yeast has become increasingly hard to find, so I ended up asking my neighbors for some through a “Buy Nothing” Facebook group. Now with all the ingredients in tow, I could finally make a loaf of bread that’s simple yet delicious.

Worth the time and effort

This bread takes about 4 hours to prepare and rise; the prep and rise time totals about 3 1/2 hours, and the bake time is half an hour. The end results are a fragrant and fluffy loaf that smells and tastes like heaven.

You will need

  • 3 3/4 cups of wheat flour
  • 1 1/2 teaspoons of salt
  • 1 tablespoon of flax meal (ground-up flax seeds)
  • 2 tablespoons of rolled oats
  • 1 1/2 cups of warm water
  • 1 packet of active dry yeast
  • 2 tablespoons of sugar

Steps to make and bake Quarantine Bread

Stir the sugar in the warm water; the sugar is what the yeast feeds on. Make sure the water isn’t too warm, or else it will kill the yeast.

Stir in the yeast, and let it “proof” for 10 minutes. You’ll know it’s ready when it looks foamy.

Mix the flour, salt, flax meal, and rolled oats thoroughly together.

Dig a little well in the center, and slowly pour in the yeast water.

With a wooden spoon, mix until a sticky dough forms. When the spoon can no longer mix, use your hands to finish this step. If it’s too sticky, you can add more flour, one tablespoon at a time, until it’s no longer sticking to the sides of the bowl.

It will look something like this.

Take the ball of dough out. Clean the bowl thoroughly and lightly grease the sides. Then put the dough back in.

Cover with plastic wrap and set aside for 2 hours. The yeast will work its magic to make the bread dough rise.

It’s so puffy!

When the 2 hours is up, you’ll have a beautifully risen dough. Carefully set the plastic wrap aside. Punch the dough down and lift it out of the bowl onto a lightly floured surface.

Knead about 20 times, then put it in a greased 9 x 5-inch loaf pan.

With the same plastic wrap, loosely cover the dough. Set it aside again, and let it rise for 1 hour.

Just a few more steps.

Preheat the oven to 425 degrees F. Towards the end of preheating, slash the dough diagonally with a knife a few times.

Put the pan with the dough into the oven, and bake for 30 minutes. Towards the end, the fragrance of baking bread will waft in the kitchen, and it’s probably one of the greatest smells ever.

When the bread is done, let it cool for 15 minutes before transferring to a wire rack. Let it cool completely before slicing it.

The most beautiful loaf of bread

It’s so beautiful that I had to swaddle it like a baby.

The end result is a gorgeous, fragrant loaf of bread. The crust is thick and hearty, and the inside is steamy and fluffy. The first bite melted on my tongue, and it tasted like heaven.

The bread can be stored in the fridge for a few days. It does get slightly more dense each day. You can slice and toast it in order to revive the fluffy texture.

Melted plant-based cheese.

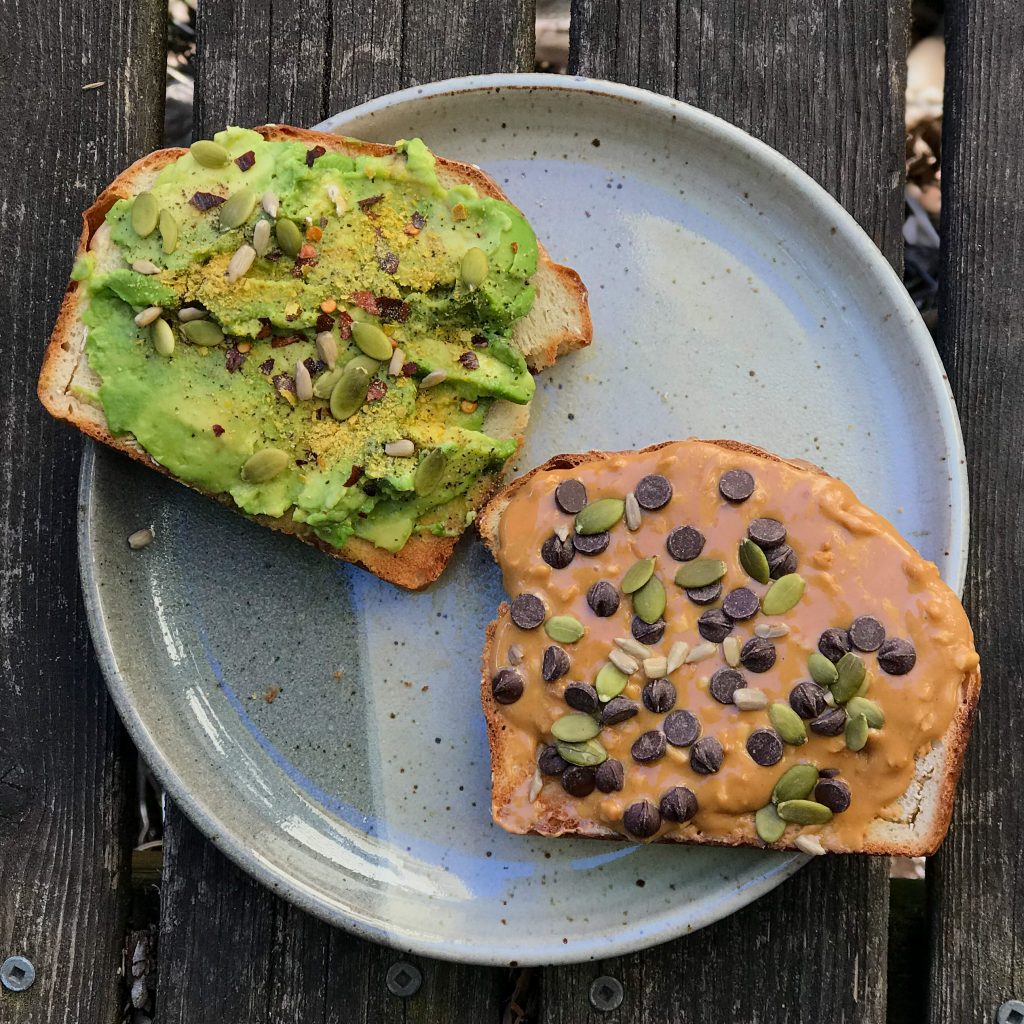
This bread is so versatile. You can add your favorite toppings, such as peanut butter, avocado, plant-based cheese, or whatever your heart desires. You can even slice it up and make French toast. There’s no right or wrong way to enjoy this bread.

Gluten-free Acorn Squash Soup

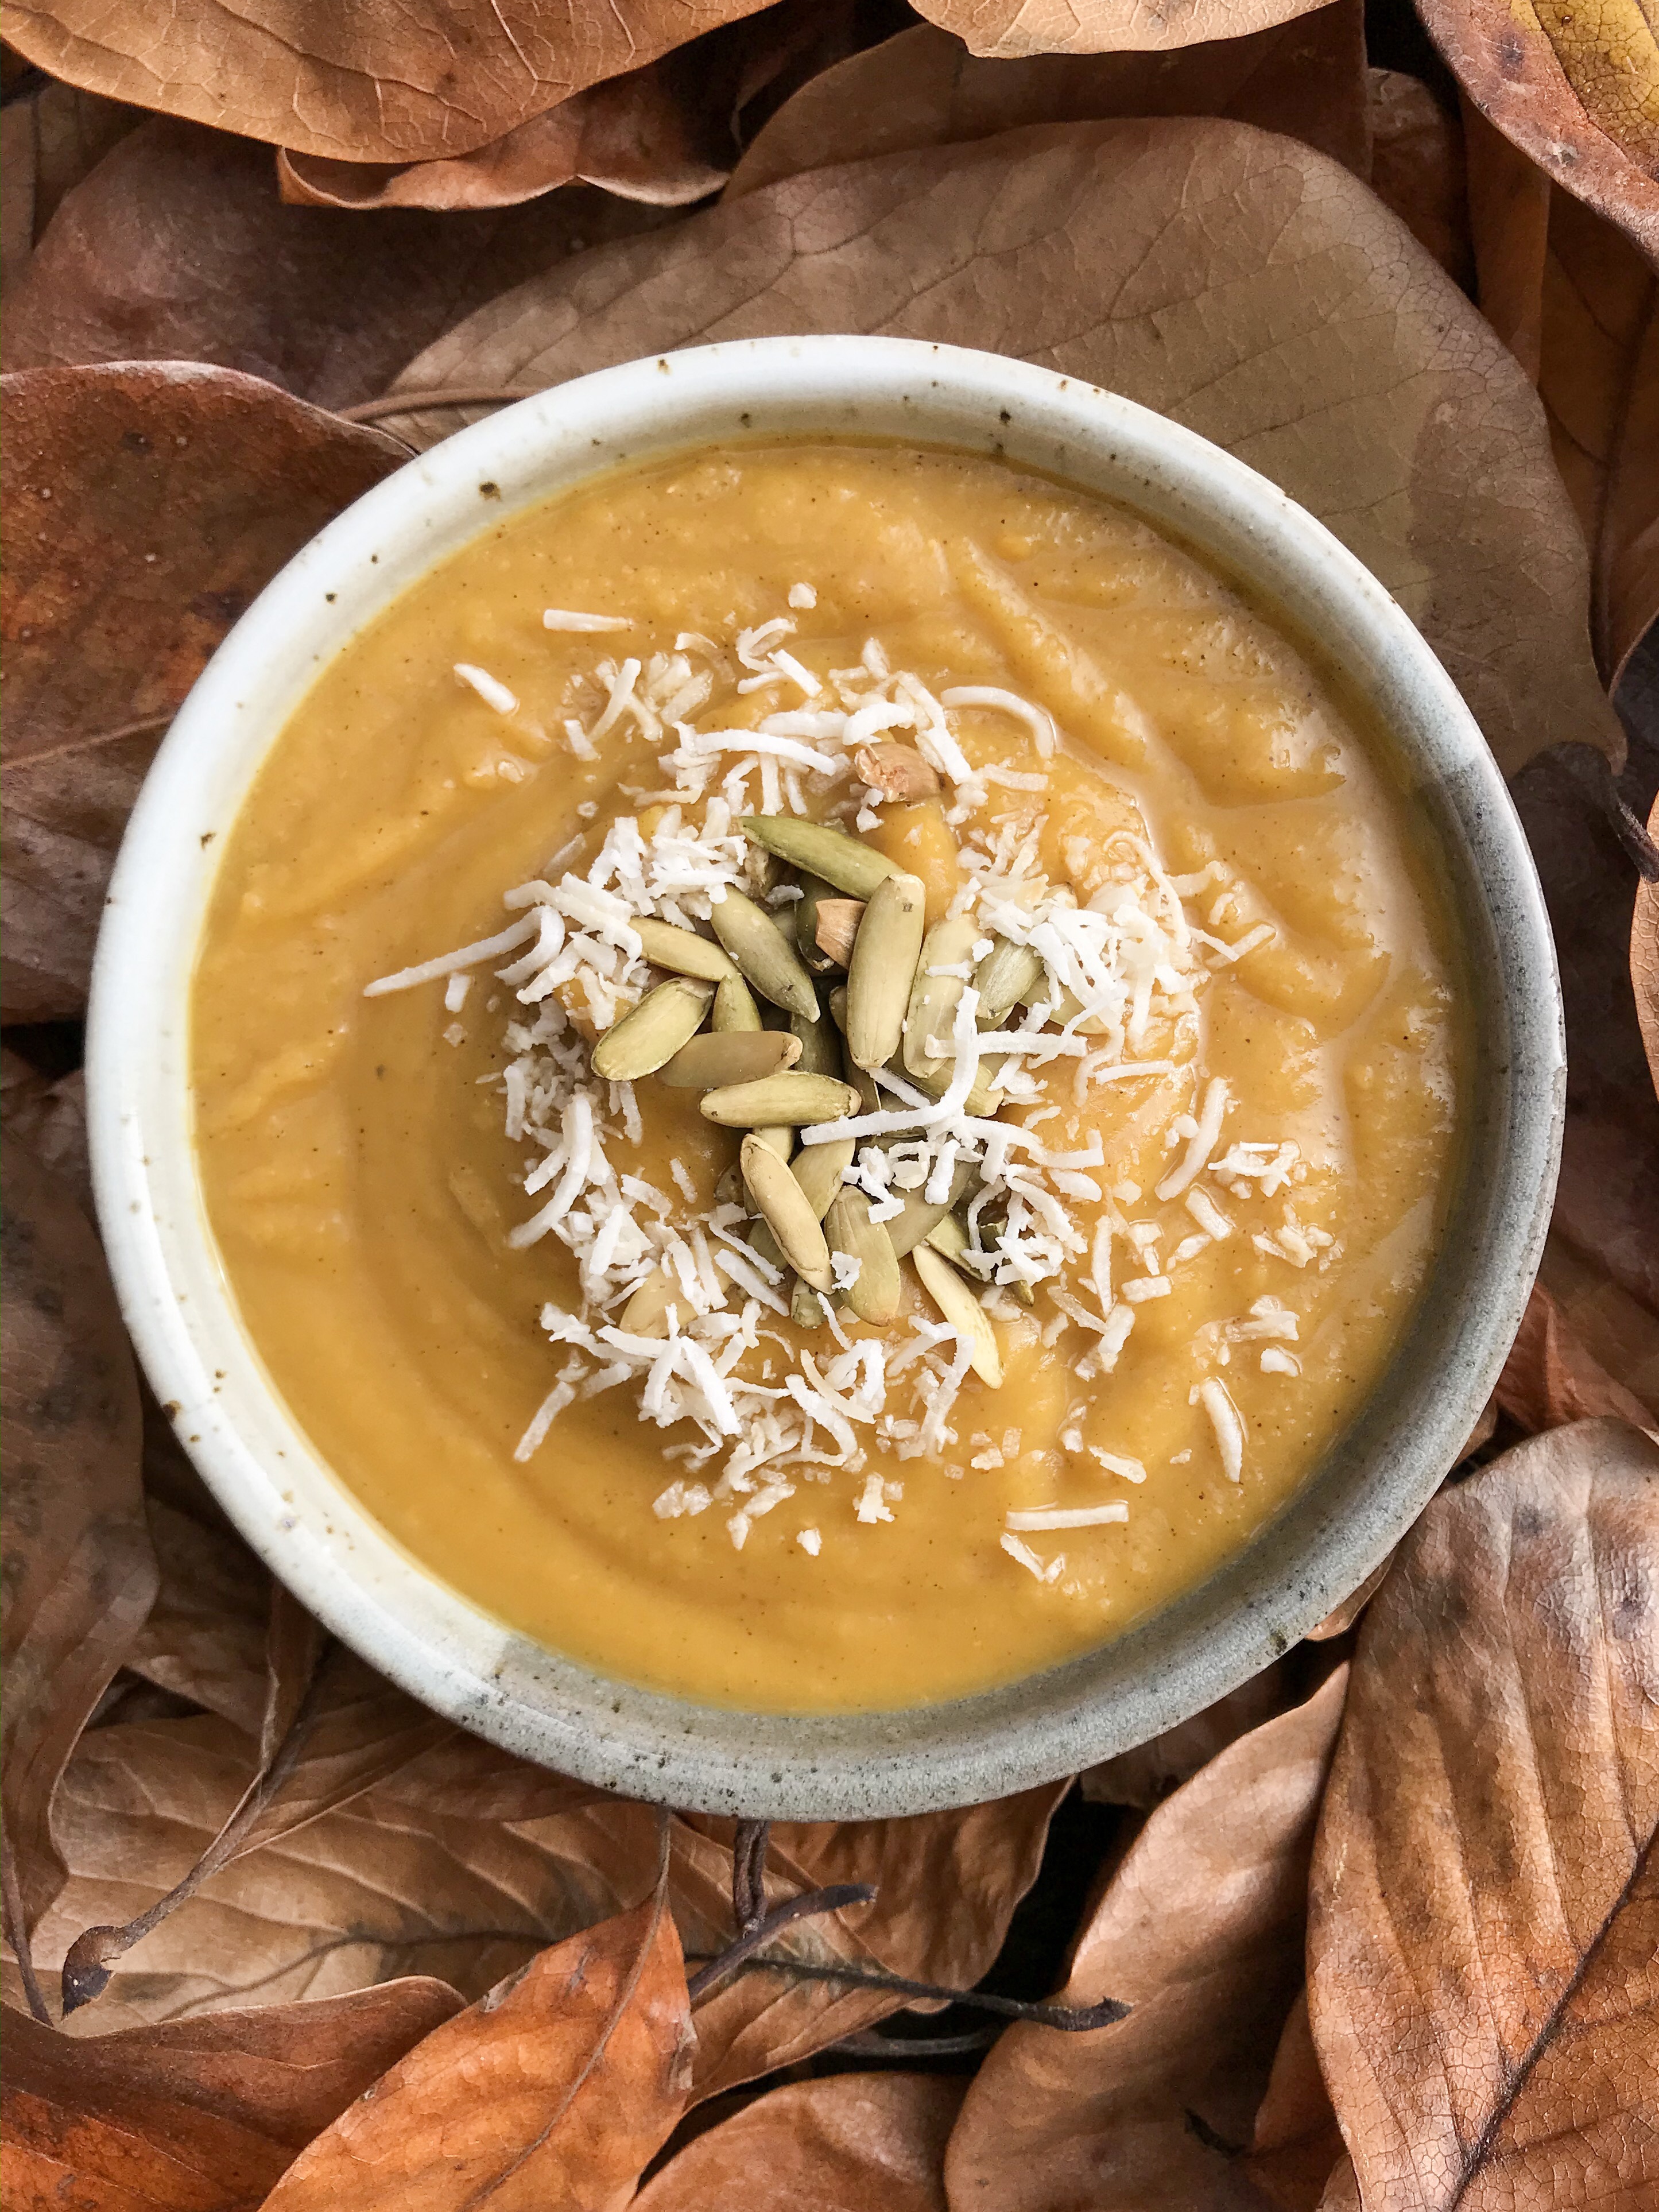
Delicious and wholesome

Another change in the lifestyle

Recently I’ve adopted the mostly gluten-free diet, in addition to the vegan lifestyle. In some people, gluten inhibits serotonin absorption in the gut, which is where 90% of the neurotransmitter is made. This can slow someone’s mental process down, since serotonin is a key factor in mood regulation. Considering that I manage depression daily, I decided to see if cutting out gluten actually works. My head has cleared up some, and I feel more centered. This is something I will continue.

However, maintaining a gluten-free diet along with being vegan can be challenging, so a nice compromise is that I won’t seek it out. This means that if someone lovingly prepares vegan food with gluten, I will eat it. If there are no gluten-free options, I will eat it. If I‘m traveling and know that I don’t need to work that day (it impacts my mental process), I can have it. Overall, it has been cut out by 90% and I’m feeling pretty good about it.

Of course, gluten-free breads and the like have fillers, which can still cause brain fog. They’re also so much more expensive—one can expect to pay $2-3 more than a standard vegan loaf. I’m slowly cutting those out, too. That part is a little difficult, because who doesn’t love bread?

A good autumn dish

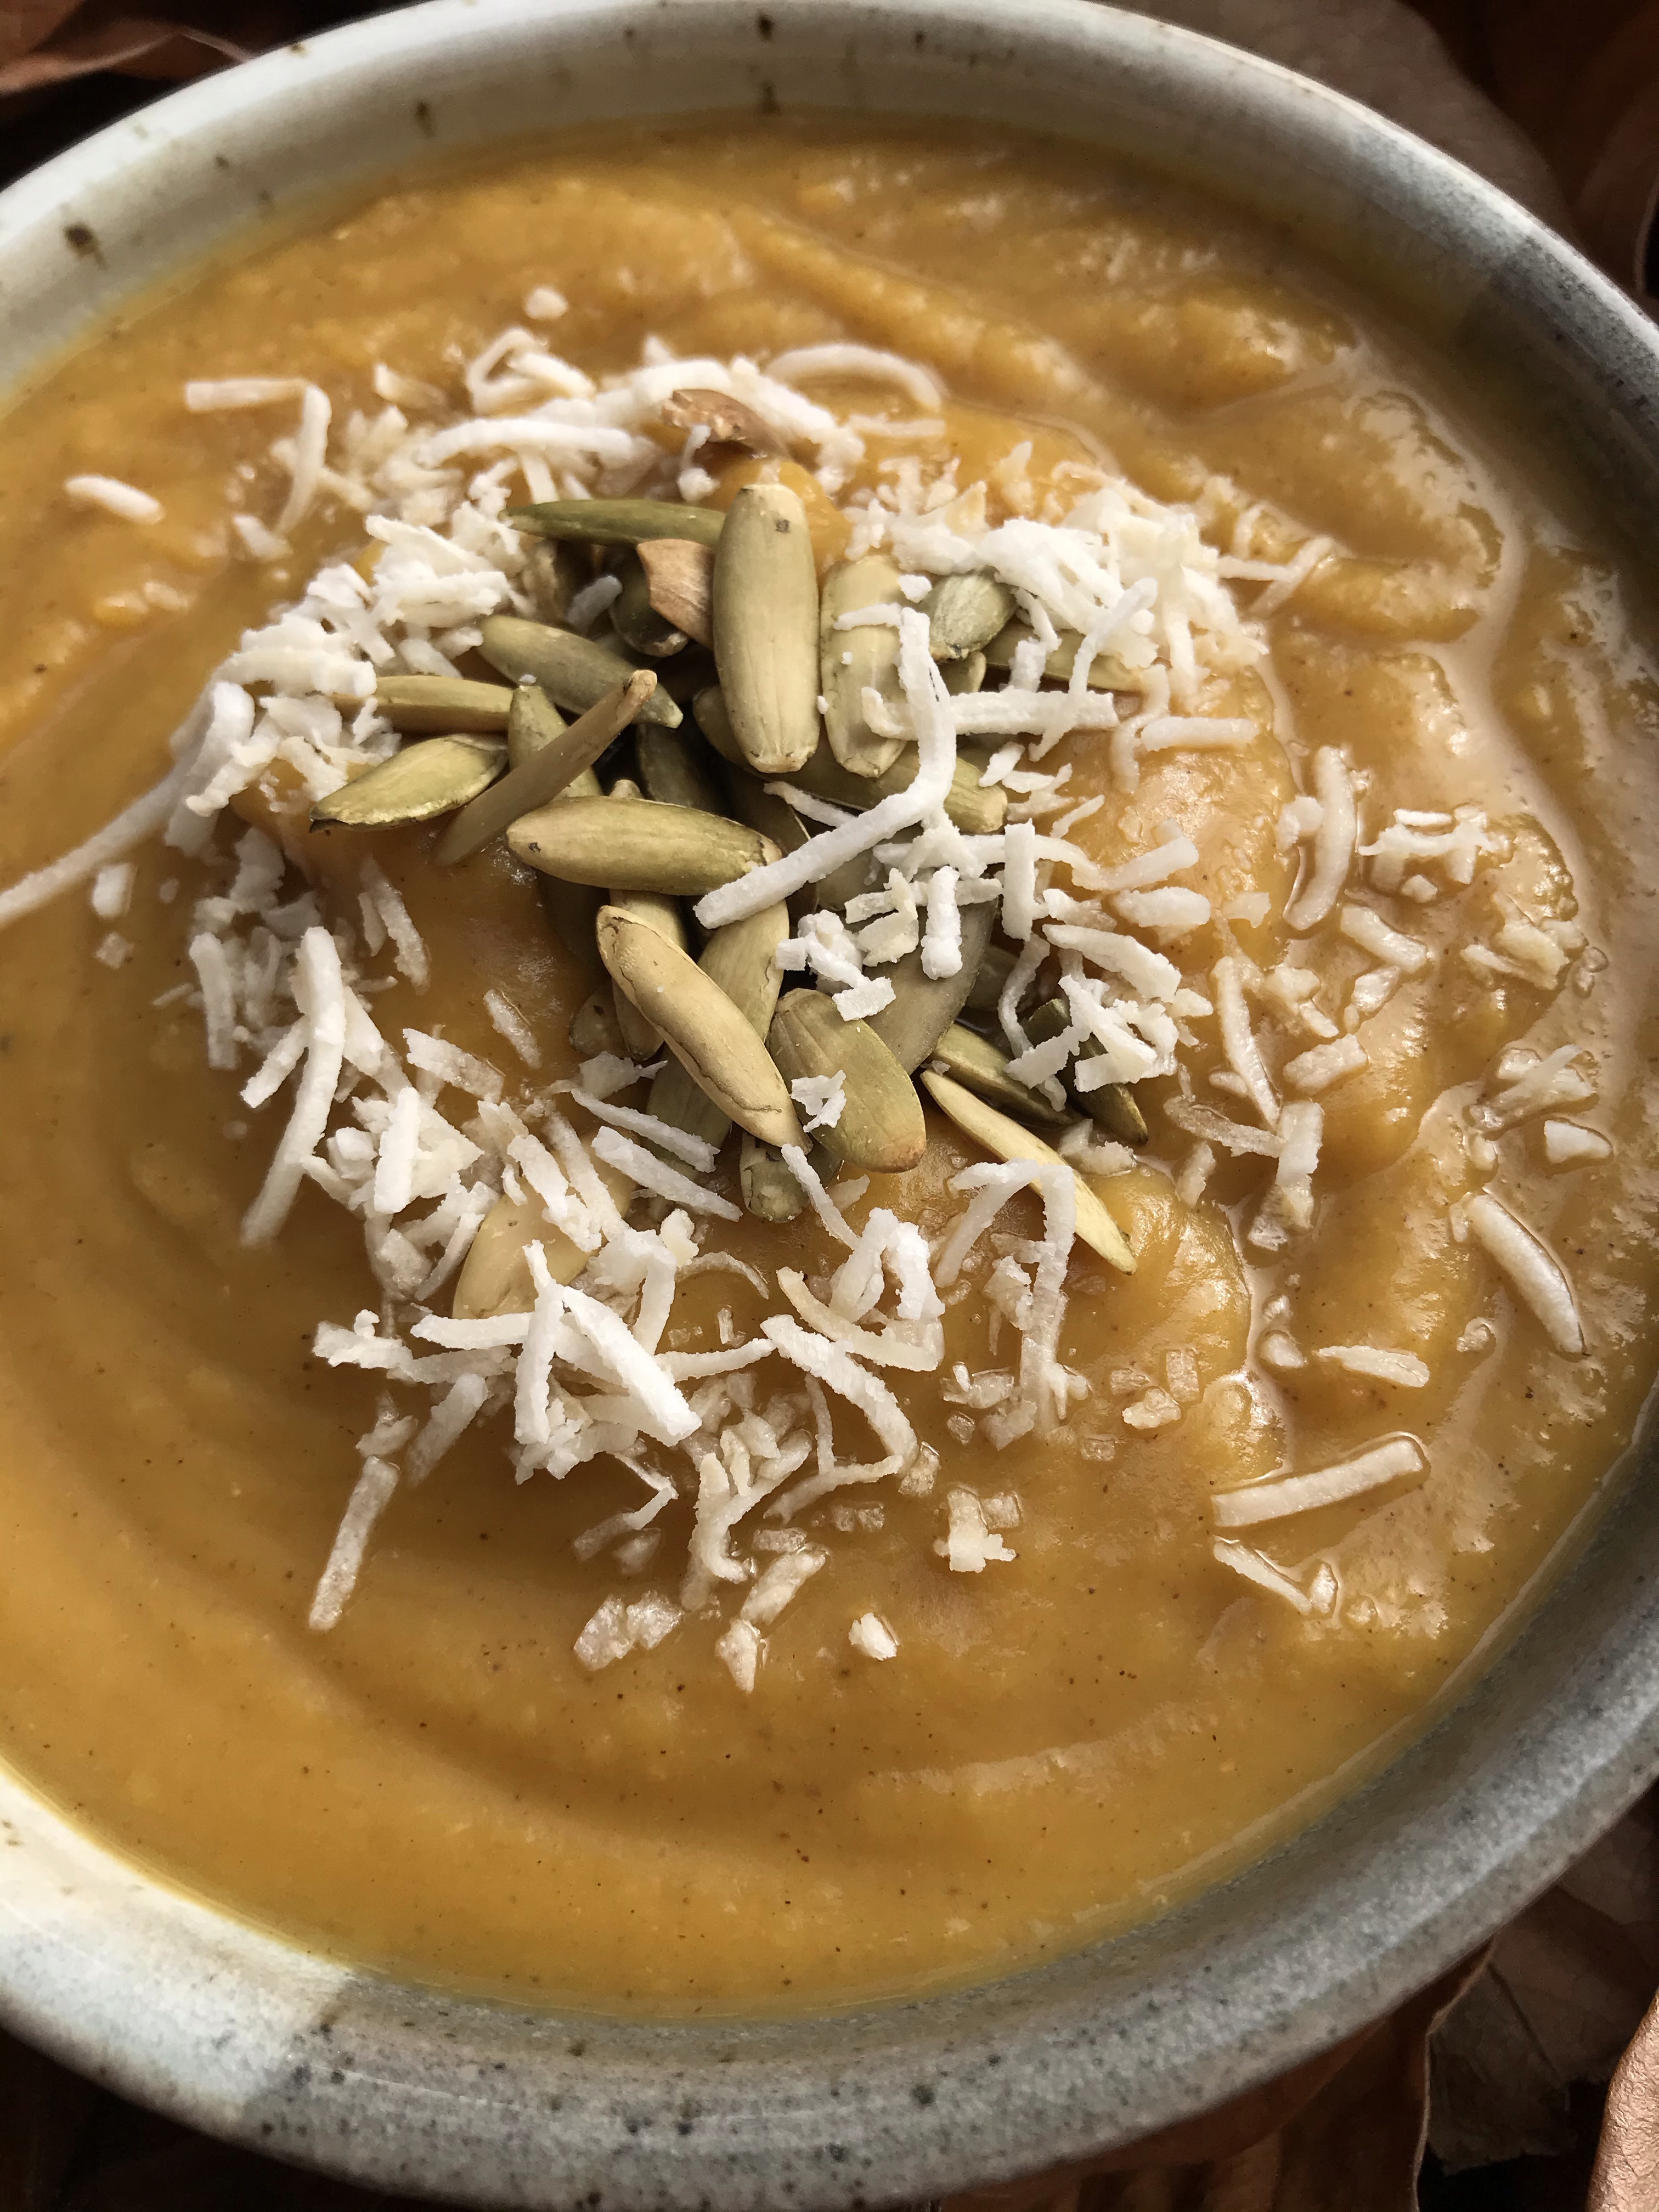
But I can manage. It’s been surprisingly easy to be gluten-free. Here’s a acorn squash soup that I made this morning. No fillers, just a few simple ingredients and a blender.

You will need:

  • 4 halves of acorn squash, roasted (this is 2 whole squash)
  • 2 Tablespoons of Better Than Boullion vegetable stock base
  • 1 Tablespoon of cinnamon
  • 1/2 Tablespoon of cumin
  • 2 cups of boiled water (adjust accordingly to how thick you like your soup)

Toppings such as pumpkin seeds or coconut spreads (optional)

This vegetable stock base is a godsend

Preheat the oven to 425 degrees. Cut the 2 acorn squashes in half, and scoop the seeds and guts out. Brush the insides with olive oil. Put it in a baking dish, the insides facing up, with 1 inch of water in the dish. Roast in the oven for 1 hour. Let it cool for at least half an hour.

Scoop the acorn squash from the skin and into the blender. Add the veggie stock base and the spices.

Boil the water in a kettle, and then pour into a blender. Blend all ingredients until smooth.

Add toppings if you want.

It’s such a wonderful autumn dish, and it’s easy peasy! I hope you enjoy it as much as I do. Let me know what you think!

Warm your soul up with something delicious

Vegan Pumpkin Chili

Fall is the best season

Happy Halloween! It’s that time of year again when the leaves are changing colors, and we break out our warm coats and gloves. The days are now shorter than the nights, and we switch on the heat in our cozy homes. Our bodies are once again craving heavier foods, and with the holidays on the horizon, what better way to spend an autumn day than to savor a warm bowl of chili?

Pumpkin Spice Everything…even chili

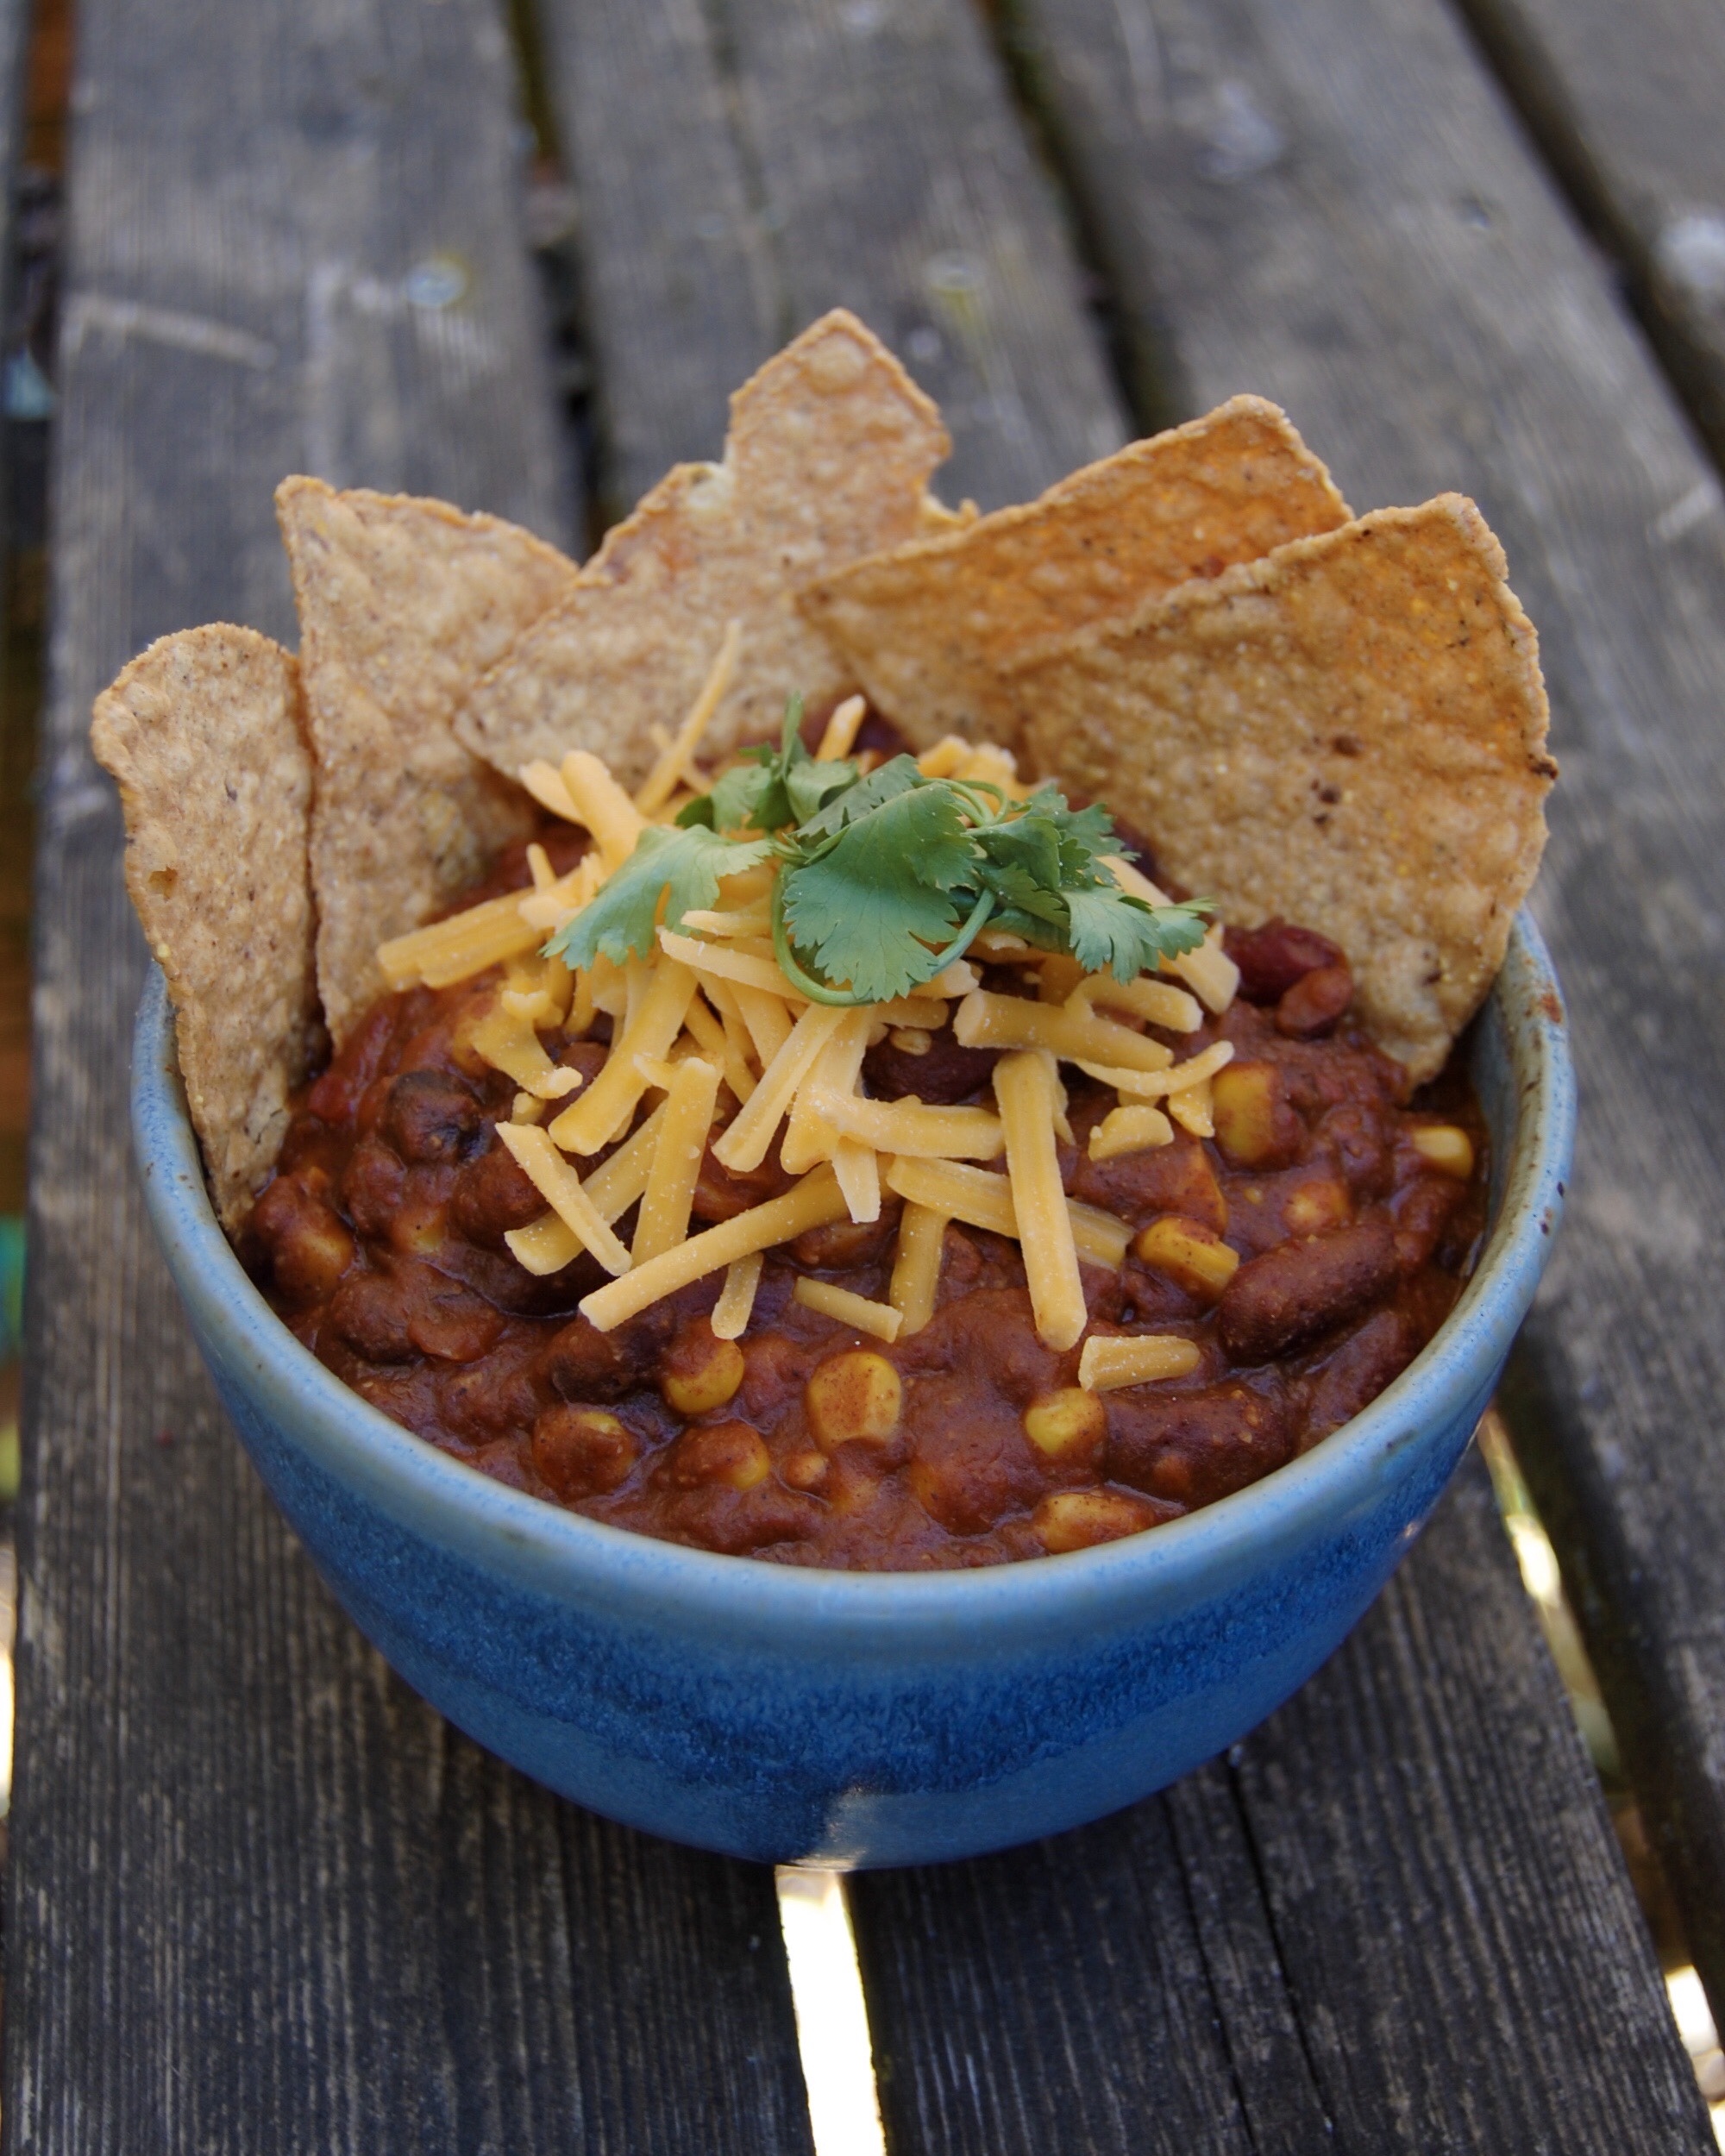
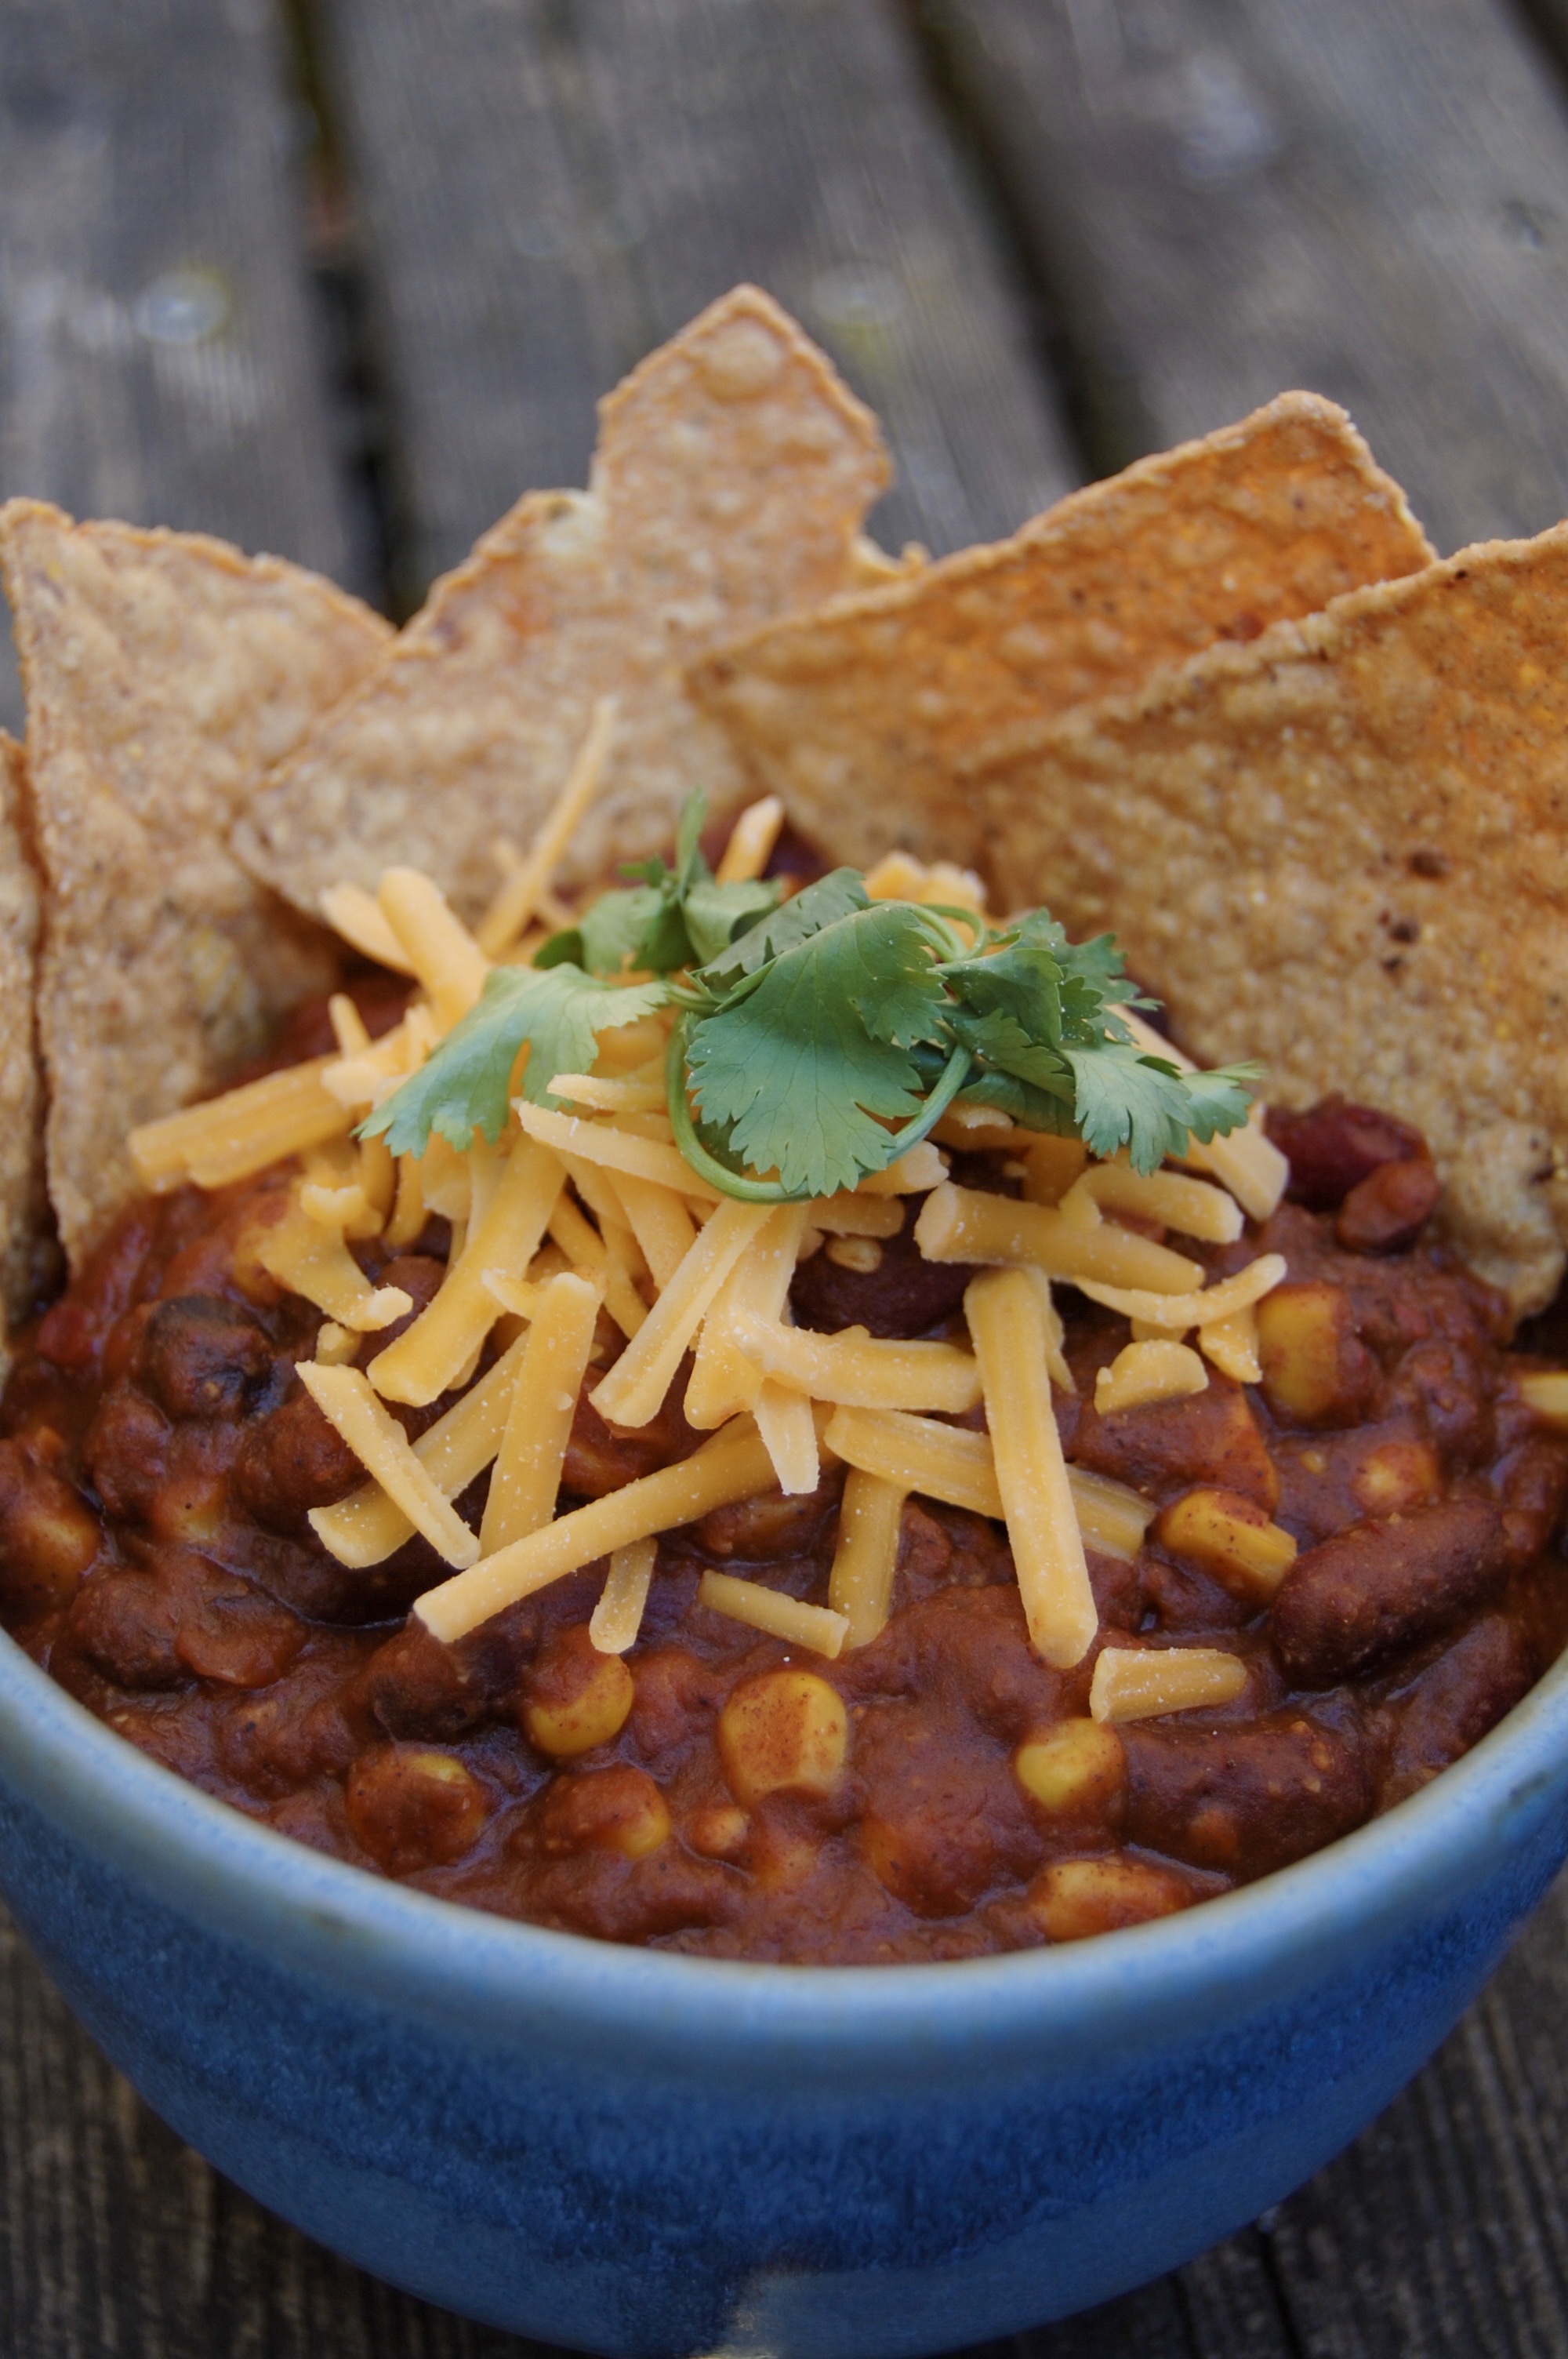
Pumpkin Spice can be a controversial flavor—it’s either revered or disregarded. I personally love it, but only in the fall. It throws off my equilibrium any other time. The delicate balance of the sweet, cinnamon-y pumpkin mixed with the savory chili is a great combination to warm your heart up with. Plus, you can sprinkle on some dairy-free cheese.

An excellent dish providing flavor, protein, and fiber, this pumpkin chili is sure to keep you full and energized during the colder days.

You will need:

  • 1 small onion, chopped
  • 1 small head of garlic, crushed
  • 2 15-ounce cans of black beans
  • 2 15-ounce cans of kidney beans
  • 2 15-ounce cans of corn kernels
  • 2 15-ounce cans of pumpkin purée
  • 2 6-ounce cans of tomato paste
  • 4 tablespoons of chili powder
  • 2 tablespoons of cinnamon
  • 2 teaspoons of pure vanilla extract
  • 2 teaspoons of oregano
  • 2 teaspoons of parsley
  • 1 teaspoon of red pepper flakes
  • 1 tablespoon of veggie broth paste (I used Better than Bouillon Vegetable Base)
  • Juice of 2 small limes (or 1 large one)

Throw all ingredients in a crock pot and stir until everything is mixed together. Let the chili cook for at least 4 hours. The longer it cooks, the more the flavors absorb.

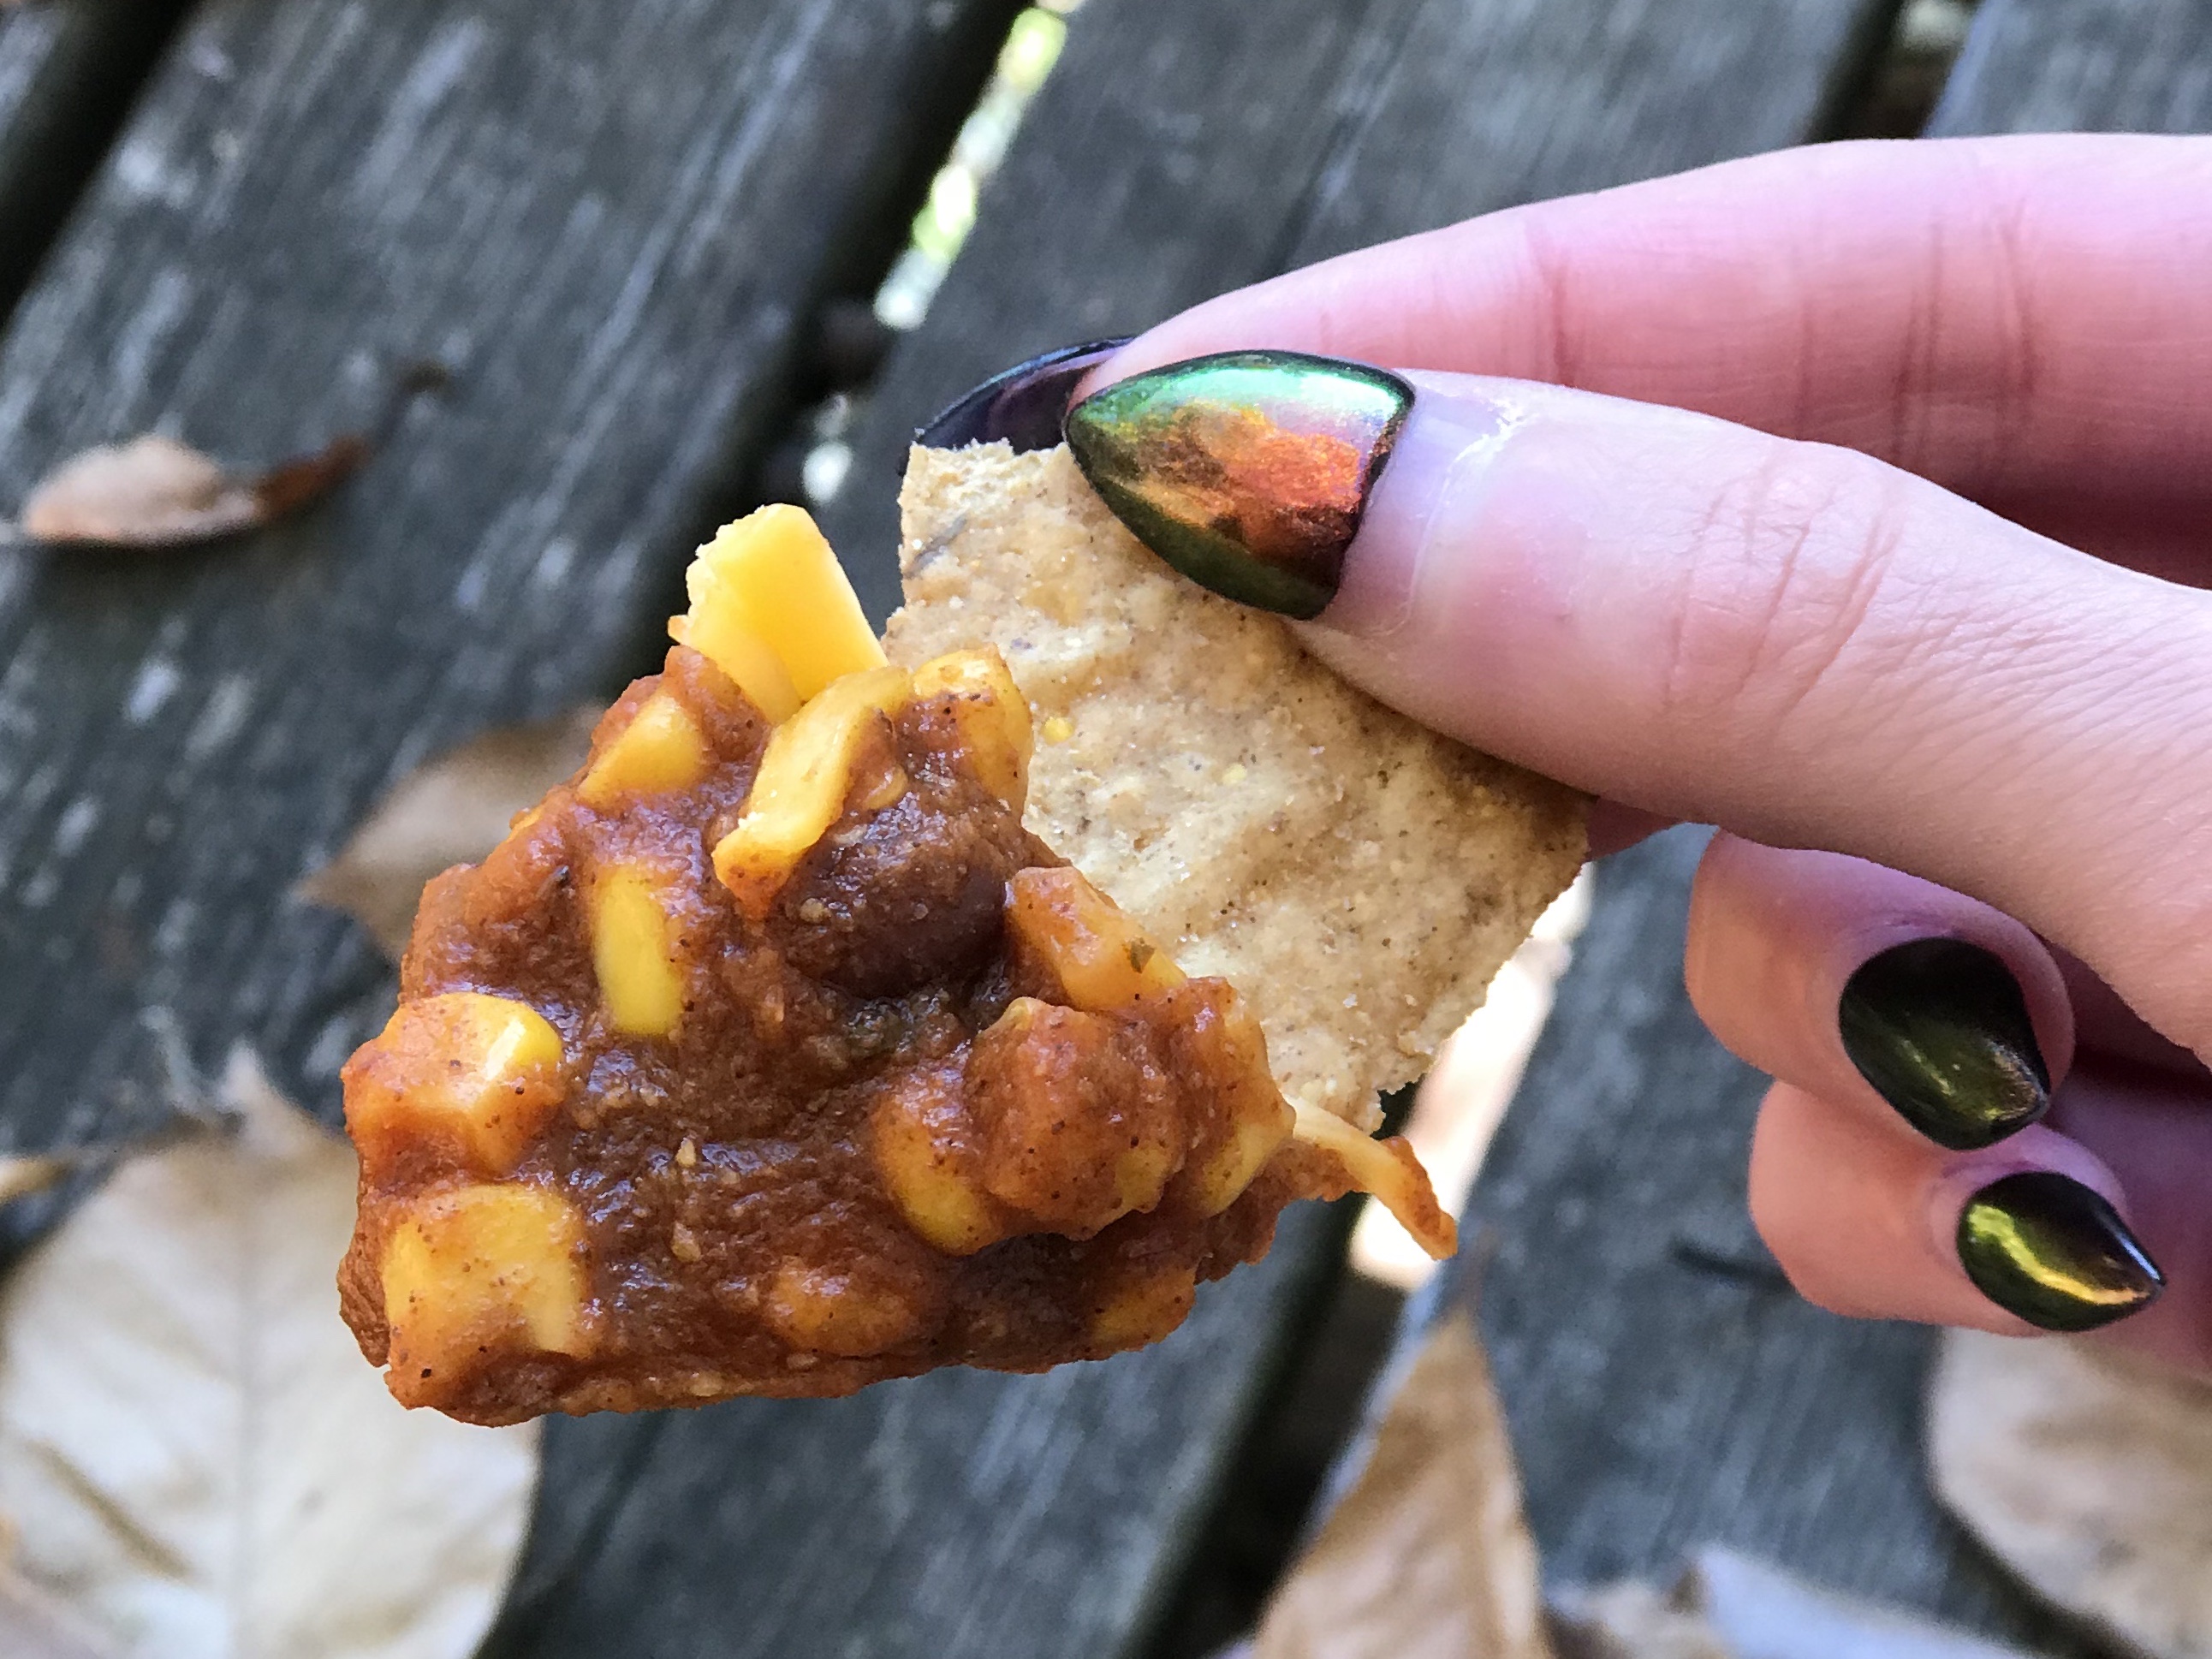
It goes really well with pumpkin spice chips (a seasonal item from Trader Joe’s) or regular tortilla chips. I hope this dish keeps you warm and full during this advancing winter. Bon appétit!

Lentil, Seitan, Sweet Potato Shepherd’s Pie

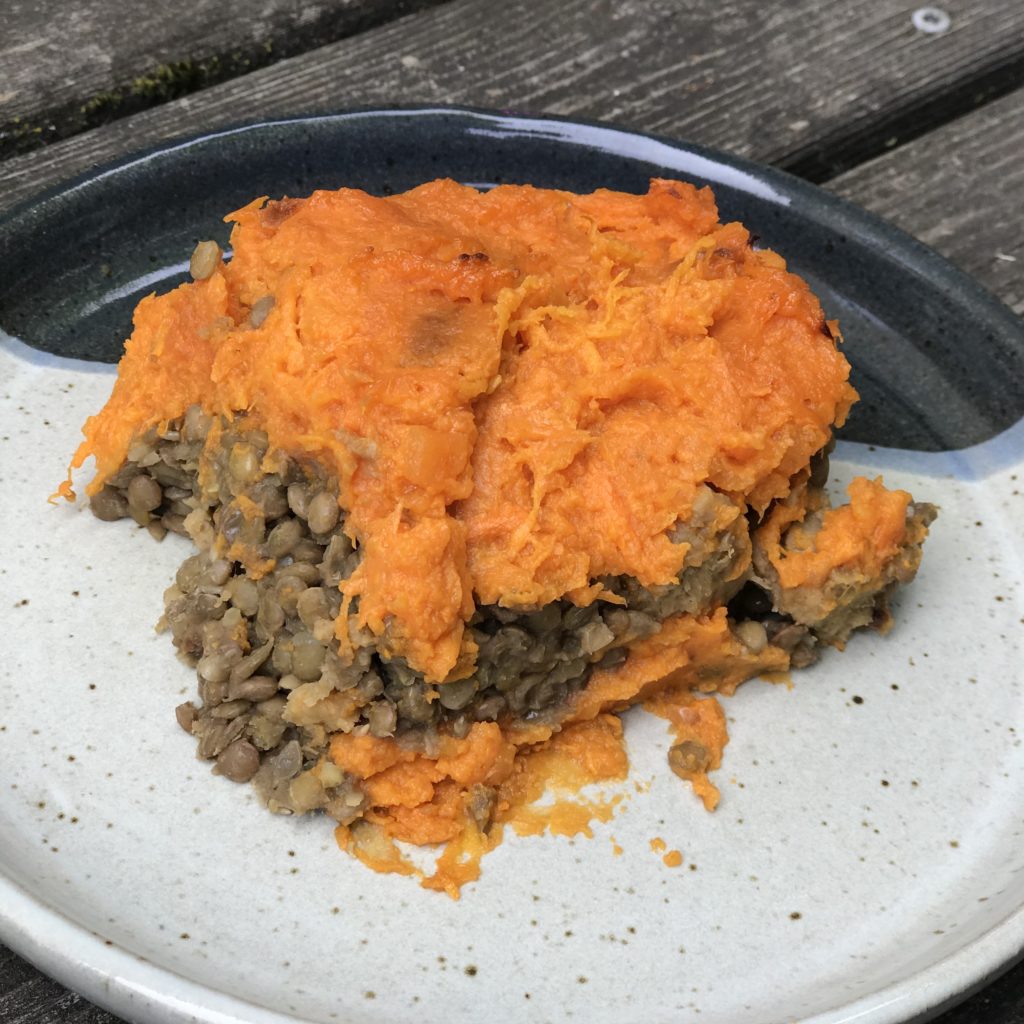
Shepherd’s pie with a twist

If you sift through the Vegan Health & Fitness category on this blog, you’ll find quite a few recipes that use sweet potatoes. I was going through the list the other day, and was thinking how it seems like that’s all I eat. It is a good vegetable, after all; one that is packed with tons of beta-carotene and fiber. It’s also versatile—anything that can be prepared in a number of ways has value, in my opinion.

Now that marathon training is at its peak, it’s so important to replace the calories that have been lost, in order to seal in the endurance you’re building. The last recipe was a curry dish. An excellent blend of sweet and savory flavors, this Shepherd’s Pie here is another twist if you have extra lentils and sweet potatoes lying around. This dish is typically considered a heavy “winter food,” but in this case, the extra nutrients are welcome.

And you’re looking for some extra protein to rebuild those tired muscles after running 20 miles in one go, the seitan packs a punch. Seitan is a meat substitute that is made from vital wheat gluten, so it’s not gluten-free. If you want a gluten-free recipe, try using tempeh (fermented soybean cakes) instead.

You will need:

Seitan or tempeh

  • 1 lb. of seitan, cut into 1-inch chunks. I used this recipe, but you can use store-bought seitan. For a gluten-free option, use tempeh.

Lentils

  • 2 cups of lentils
  • 4 cups of vegetable broth
  • 1 onion

Mashed sweet potato

  • 5 medium sweet potatoes
  • 4 Tbsp. of Earth Balance (vegan margarine)
  • Salt and pepper to taste

Optional

  • Steamed kale

How to cook:

Seitan balls which are eventually cut into 1-inch chunks

If you’re going to make the seitan rather than using the store-bought variety, then make the dough first. Set it aside.

Preheat oven to 425˚ F. Poke the sweet potatoes all over with a fork, wrap them in aluminum foil, and bake for 1 hour.

Meanwhile, dice the onion into quarter-inch pieces. Heat the broth to a boil, and put the lentils and onion in. Reduce to a simmer. Cook for 45 minutes, until the lentils have absorbed all of the broth.

If you’re making the seitan as well, cook that at the same time you’re cooking the lentils. Cut them into 1-inch chunks and cook them according to these recipe instructions.

Stir together the cooked lentils and seitan together into a 2-quart baking dish. It’s okay if there’s some left over (the extra can be saved for something else), but remember to leave some room at the top for the mashed sweet potatoes.

When the sweet potatoes are done, take them out of the oven and let them cool for 15 minutes. They will still be warm, so very carefully peel them into a large bowl; the skin should come right off. Add the Earth Balance, salt, and pepper, and mash them all together into a paste. Spread the mashed sweet potato on top of the lentil and seitan mixture inside the baking dish.

With the oven still heated at 425˚F, put the dish in and bake for 15 minutes. When that’s done, broil for 5 minutes to get a slightly crispy top. After taking it out, cool for an additional 15 minutes.

Bon appetit!

It goes well with steamed kale

It’s a good meal to prep on a Sunday afternoon to have throughout the week. It pairs well with steamed kale or other veggies. Let me know what you think. Bon appetit!

Lentil Sweet Potato Curry

The magic of sweet potatoes

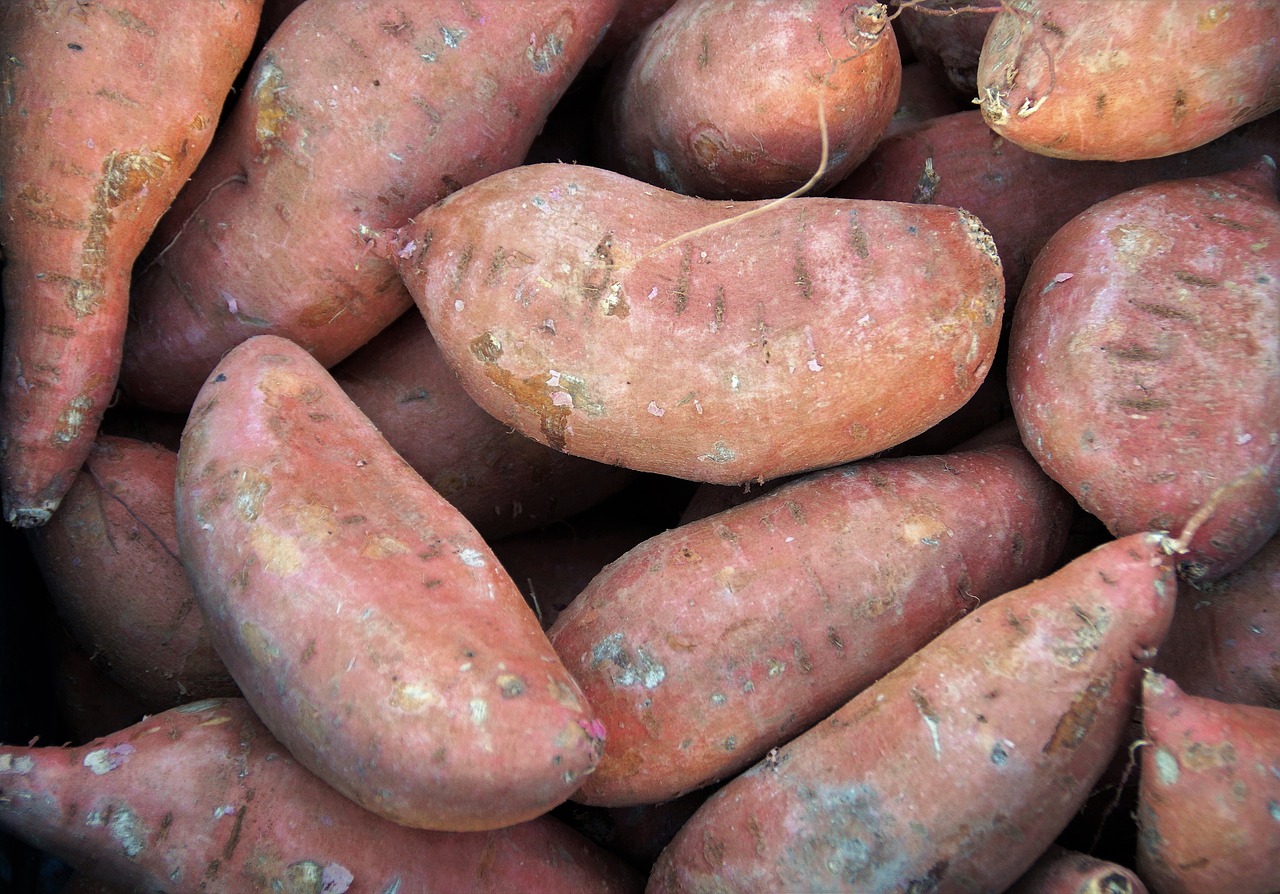
A bunch of raw, unpeeled sweet potatoes
Sweet potatoes are so good for you.

Sweet potatoes are wonderful. Not only are they full of beta-carotene and fiber, they provide lots of other nutrients to keep you feeling sustained and nourished. They’re also quite delicious and probably my favorite vegetable. (Many of the recipes on this blog feature sweet potatoes!)

More running means more delicious calories

The Rock ‘n’ Roll marathon is less than two months away, so that means we’re approaching peak training. When training for a marathon, your caloric needs slowly increase as your weekly mileage does. You may need about 3,000-4,000 calories during the days that long runs are 12 miles or more—everyone has different needs, of course. Runners rely heavily on carbohydrates for energy more than anything else; protein and fat also help rebuild and restore the calories that have been lost, especially during a long run. With that comes eating more delicious food, such as this coconut milk-based lentil sweet potato curry with rice.

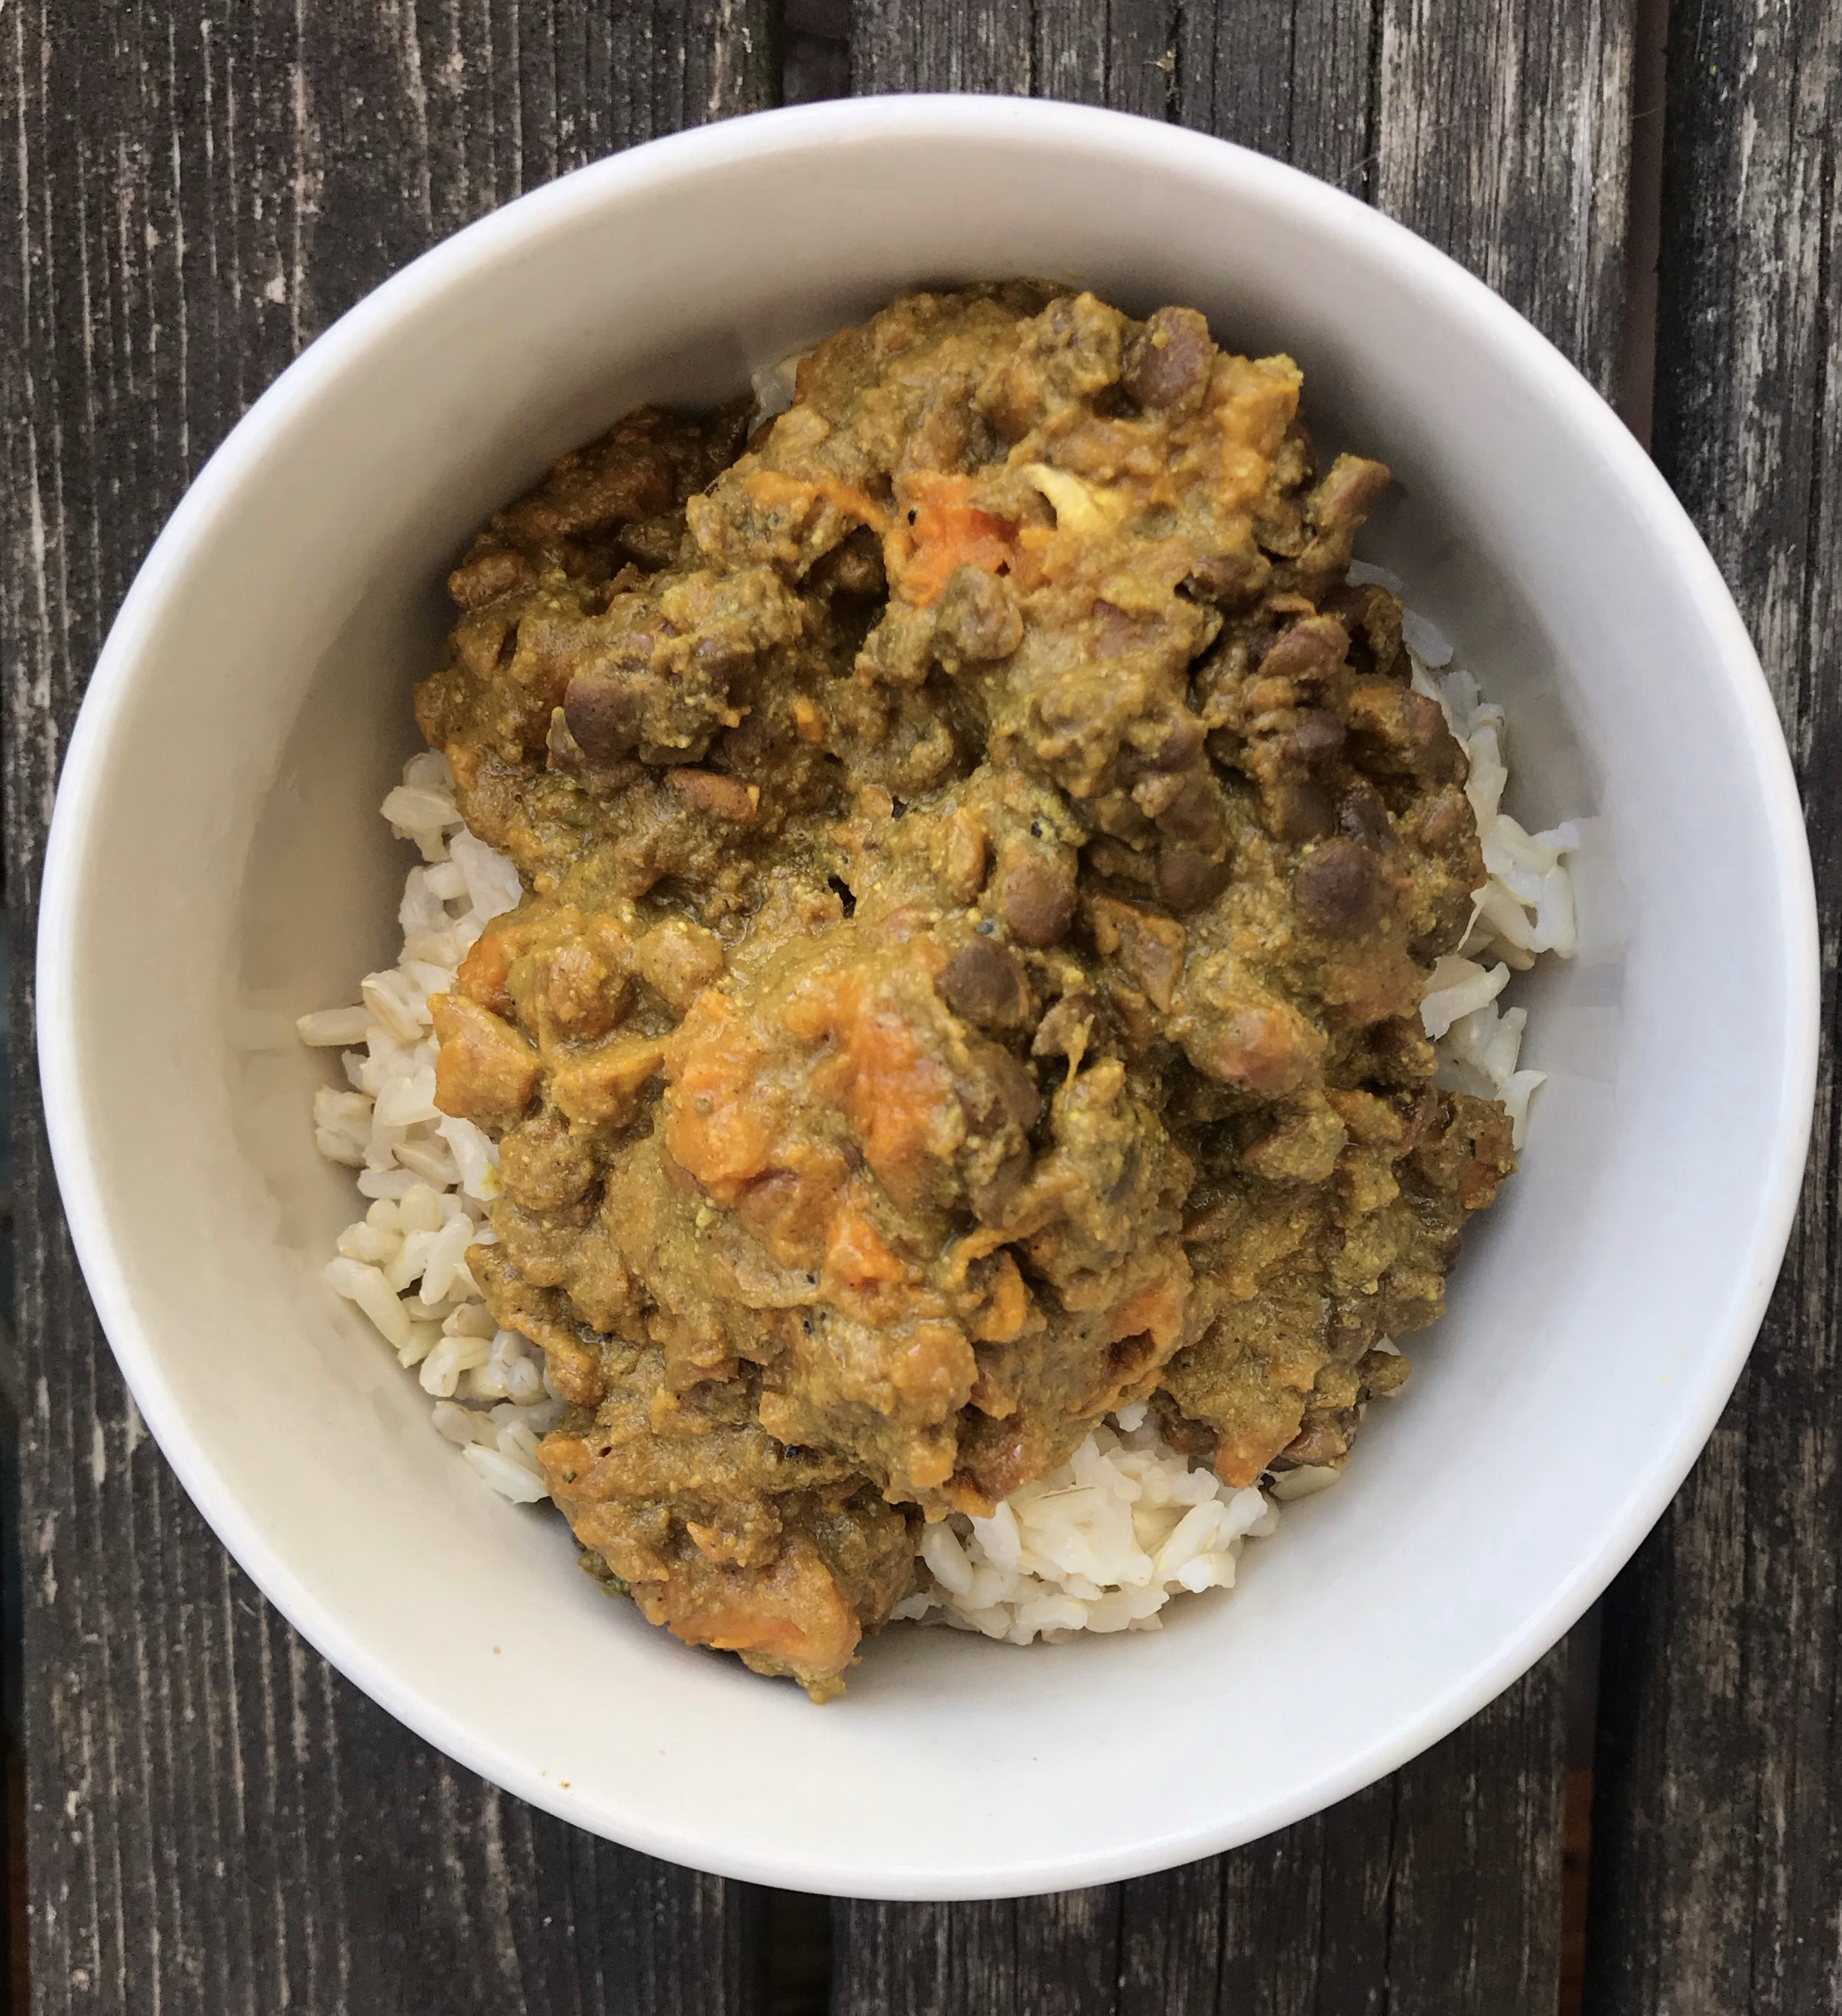
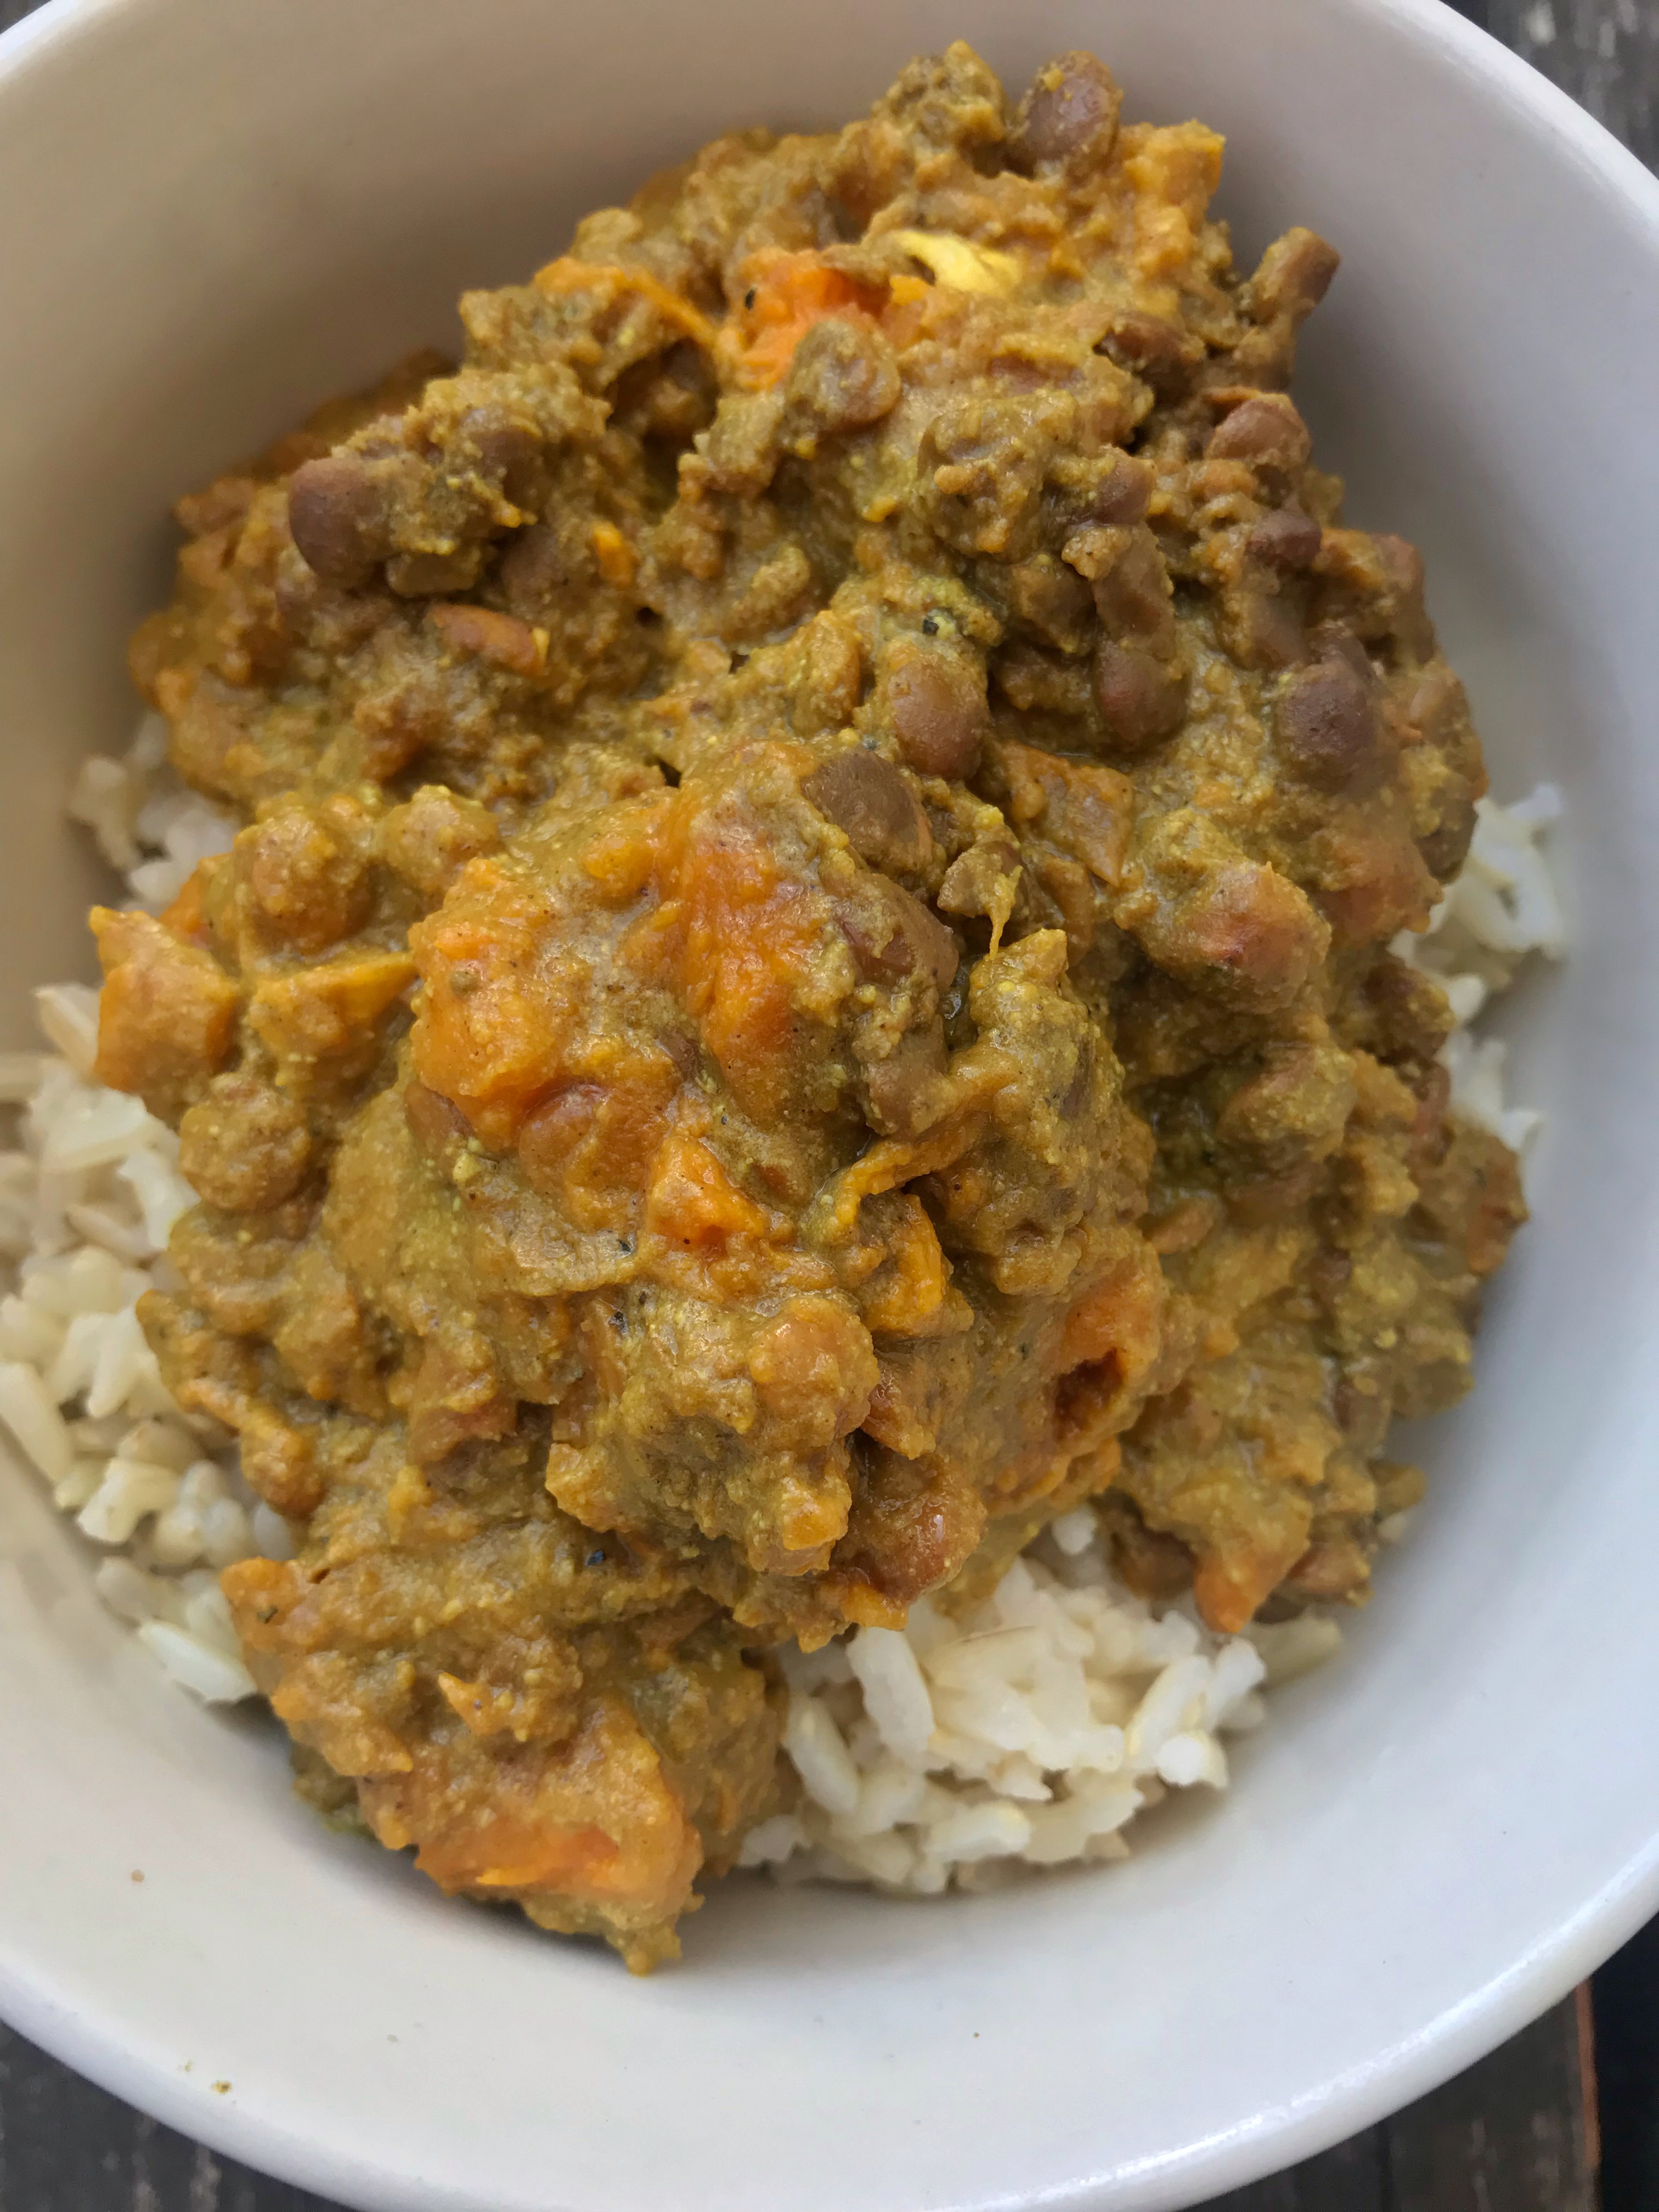
Yellow sweet potato curry over a bed of rice in a bowl
Sweet and fragrant

This curry is an easy dish to make, especially if you’re busy and don’t have much time to cook. All you need to do is gather the ingredients and throw them into a crock pot. And voila! Your dinner is ready for you when you get home from work or a long run. It even smells sweet and fragrant as it cooks, so you know it’s good.

I highly recommend using full-fat coconut milk for a creamier consistency. Rice is a great side dish that absorbs some of the flavor. Bon appétit!

Sweet potato lentil curry over a bed of rice in a bowl

You will need:

  • 1 medium sweet potato, chopped into half-inch cubes
  • 1 15-ounce can of full-fat coconut milk
  • 1 15-ounce can of diced tomatoes
  • 1 cup of dried lentils, rinsed
  • 3 tablespoons of powdered or minced ginger
  • 1 head of garlic cloves, crushed with a garlic press
  • 1 teaspoon of salt
  • 1 tablespoon of curry powder
  • 1 tablespoon of garam masala
  • 1 tablespoon of turmeric
  • 1 tablespoon of cumin
  • 1 cup of water

Other ingredients:

  • 4 cups of water
  • 2 cups of dried basmati rice

Combine all curry ingredients in a crock pot and let it slowly cook on low heat for 6 hours. 

Put the water and rice in a rice cooker and let it cook until it’s done. Easy peasy!

This whole dish makes 4 servings.

Easy Vegan Pizza

I hope everyone is enjoying their long Memorial Day weekend. I’ve been cat sitting, making art, writing, doing the dreaded job search, and studying for an intense test for a position that I have a lead on. And, not to mention, there’s the half marathon in a couple of weeks. Plus, I walk and bike everywhere. (I’m a bit of an exercise addict.) Somewhere along the lines, all of that makes me hungry.

Some of my favorite foods are the ones that are the most versatile. For instance, I like smoothies, stir fries, soups, sandwiches, and other “S foods.” There’s one food that’s overlooked sometimes, and that is vegan pizza.

I love pizza because it basically has all the macro nutrients that you need. It’s a great source of carbs, protein, and fat, which is perfect for running those long distances. The creamy tofu ricotta definitely packs a lot of protein to rebuild those muscles. It’s also versatile, which means you can add anything you want to it, and chances are that it will still taste great.

When I first went vegan, I was freaking out a little because I thought it meant giving up pizza. Fortunately, cheeseless pizza is definitely possible. And the vegan cheese industry has really stepped up its game in the last few years.

I haven’t made it much, because I often think about making the dough–which is a little involved, since we have to wait for the yeast to work its magic while the dough rises. Alternatively, there is pre-made dough that cuts the prep time significantly. I prefer using that. Not to mention, it makes cleanup so much easier.
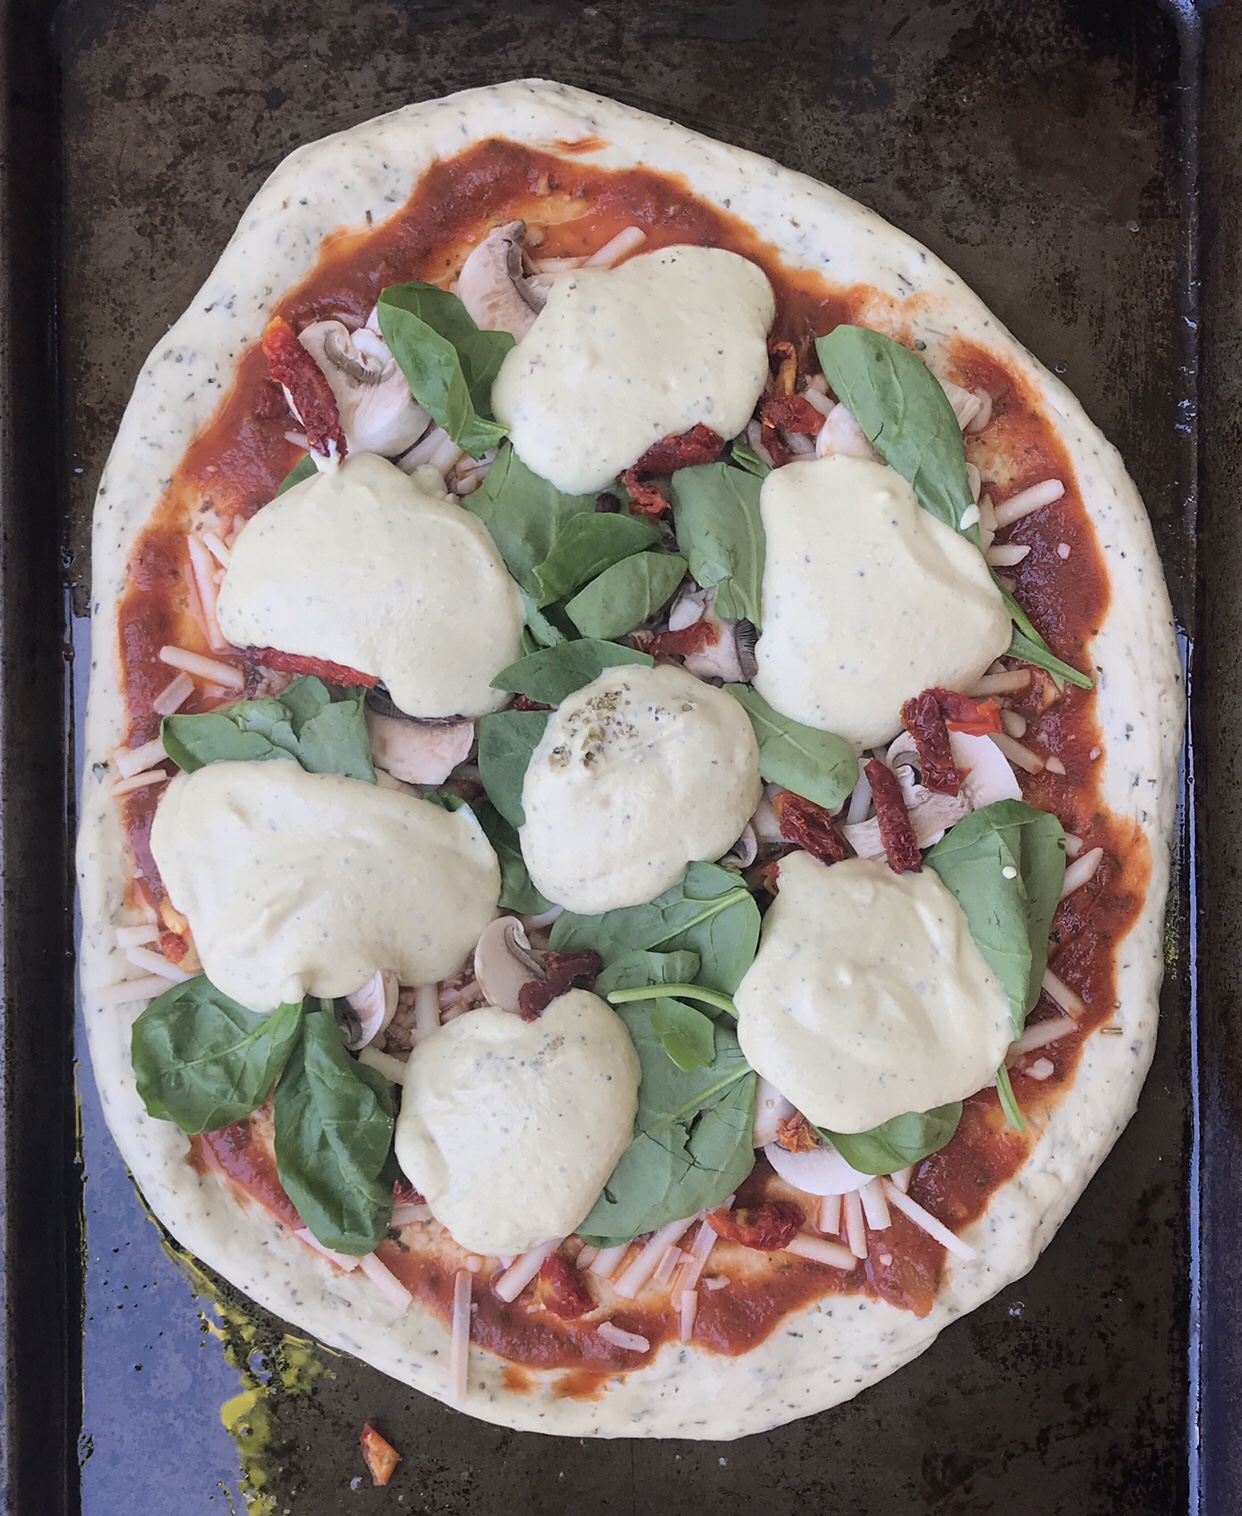
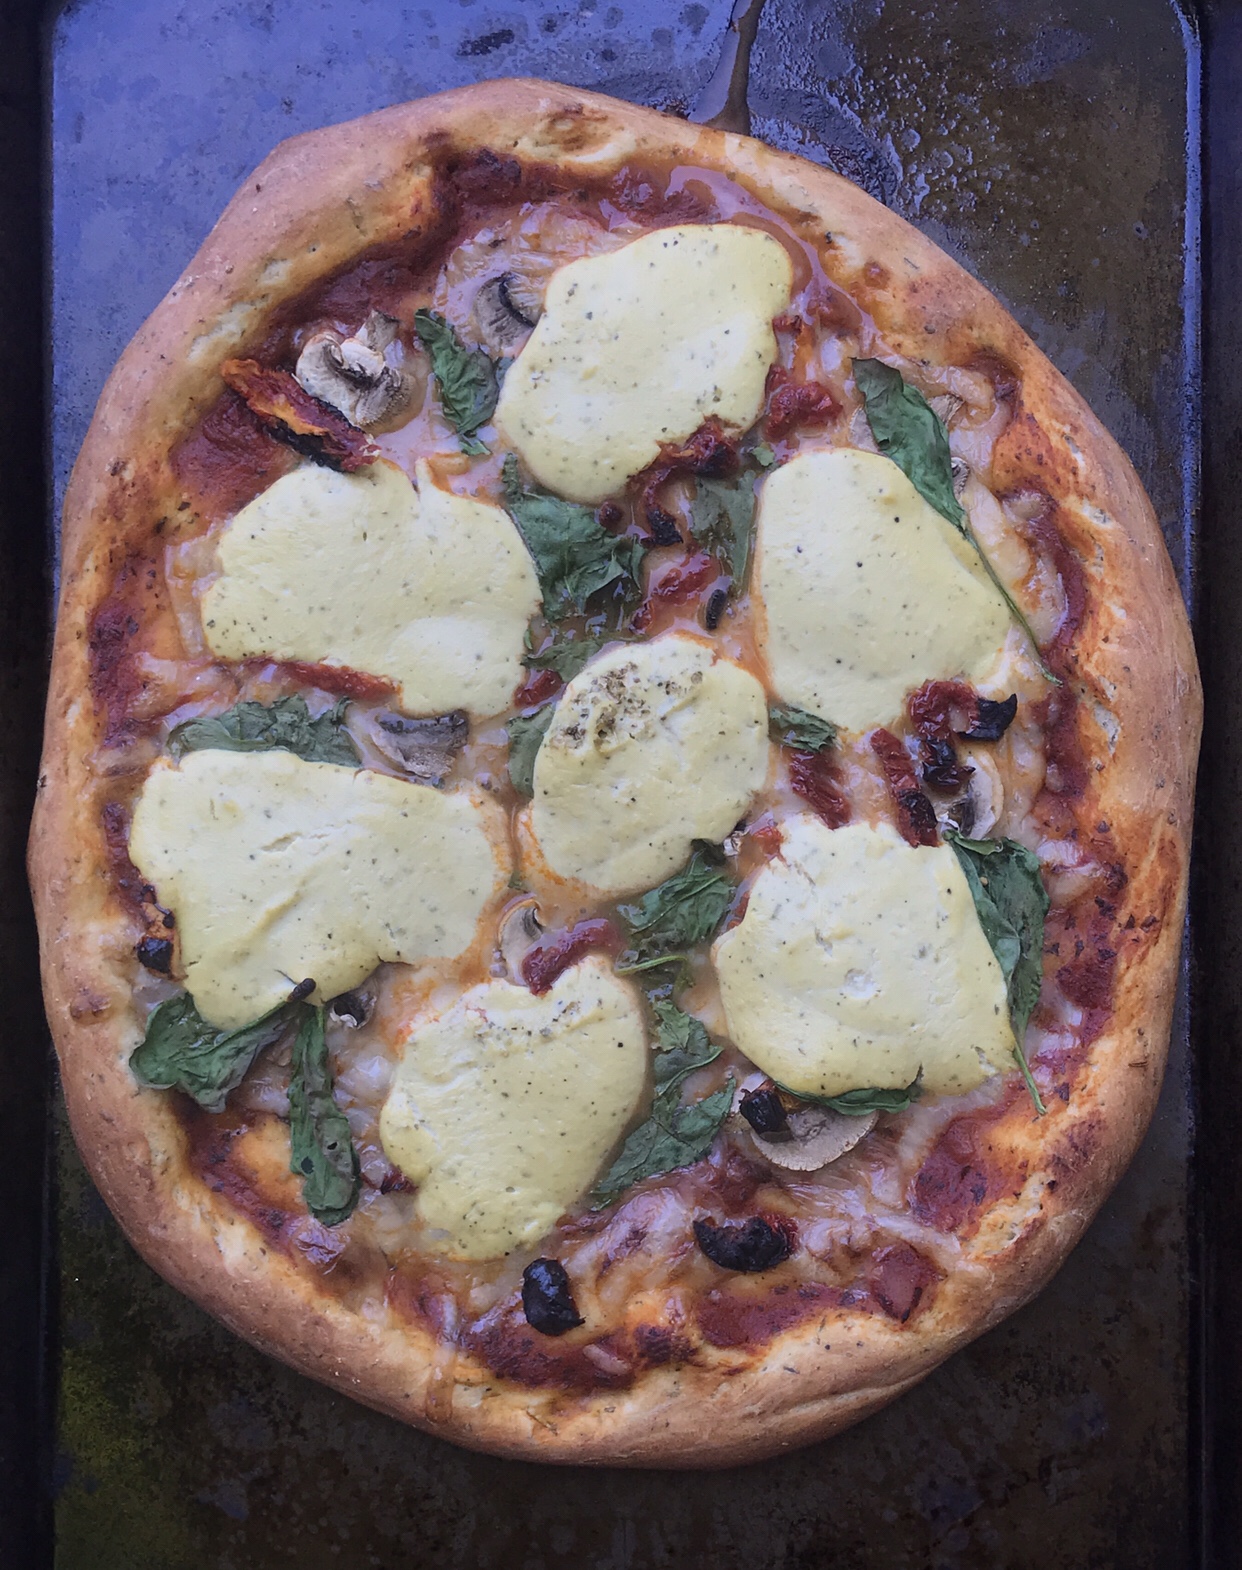
Just in case you ever have another long weekend or just want to prepare food for the week, look no further than this easy vegan pizza recipe. This post is not sponsored by Trader Joe’s; I just use their ingredients a lot because they carry so many vegan options!

You will need:

  • One pound (16 oz.) bag of pre-made vegan pizza dough (I used Trader Joe’s herb dough)
  • 1/2 cup of marinara sauce
  • Vegan cheese (optional)
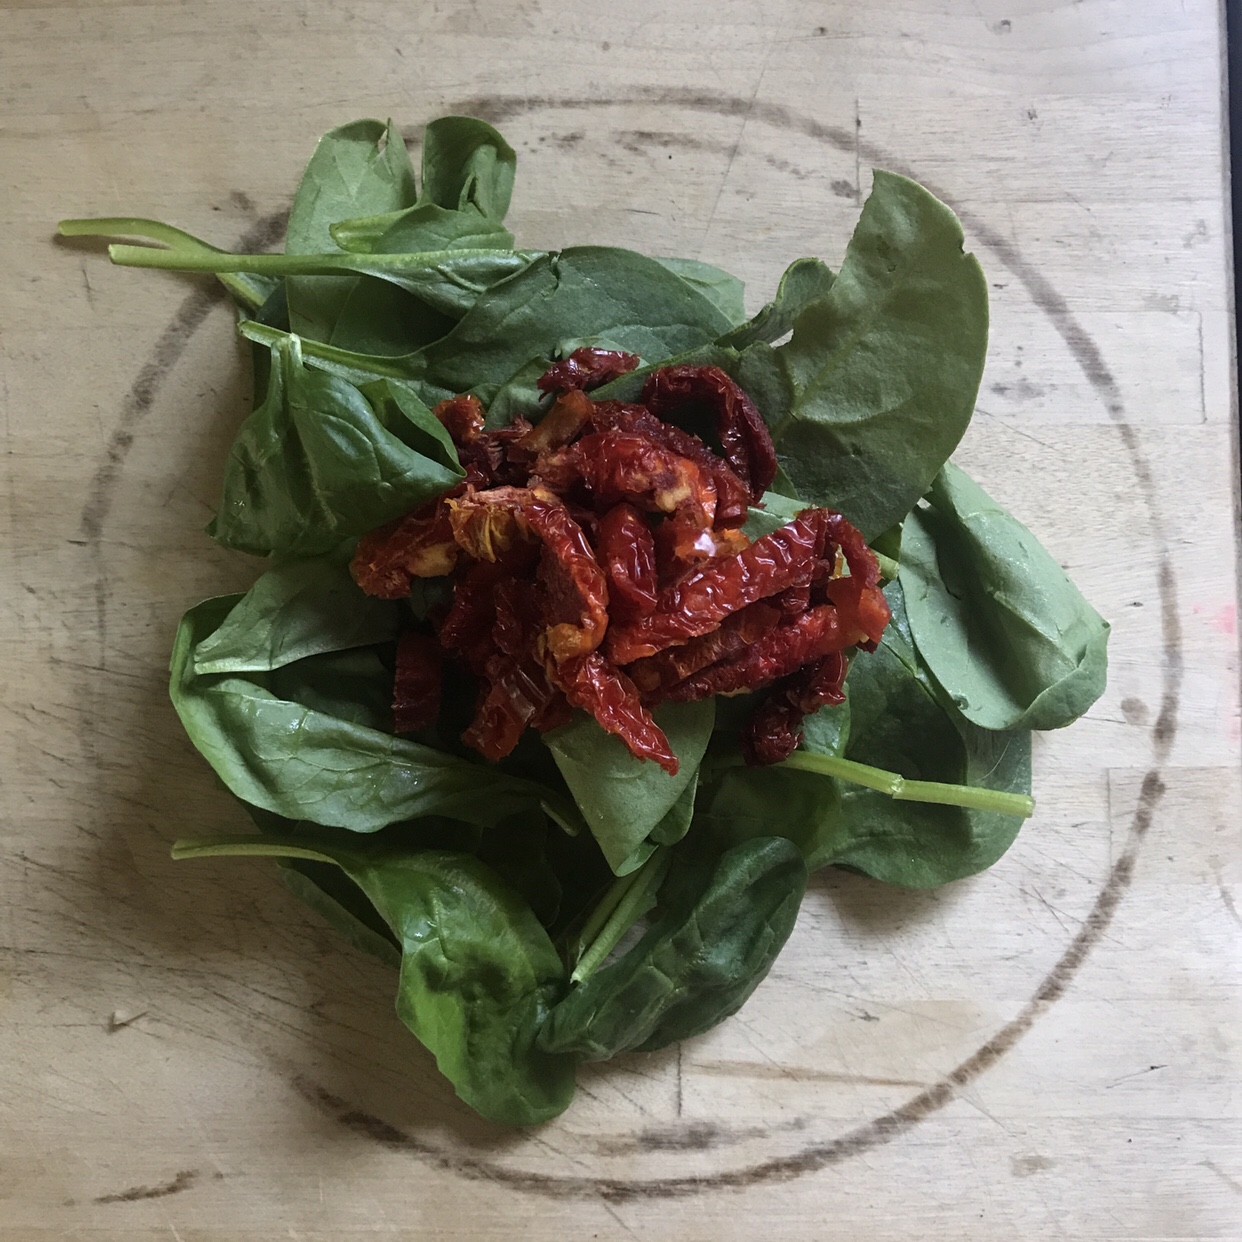
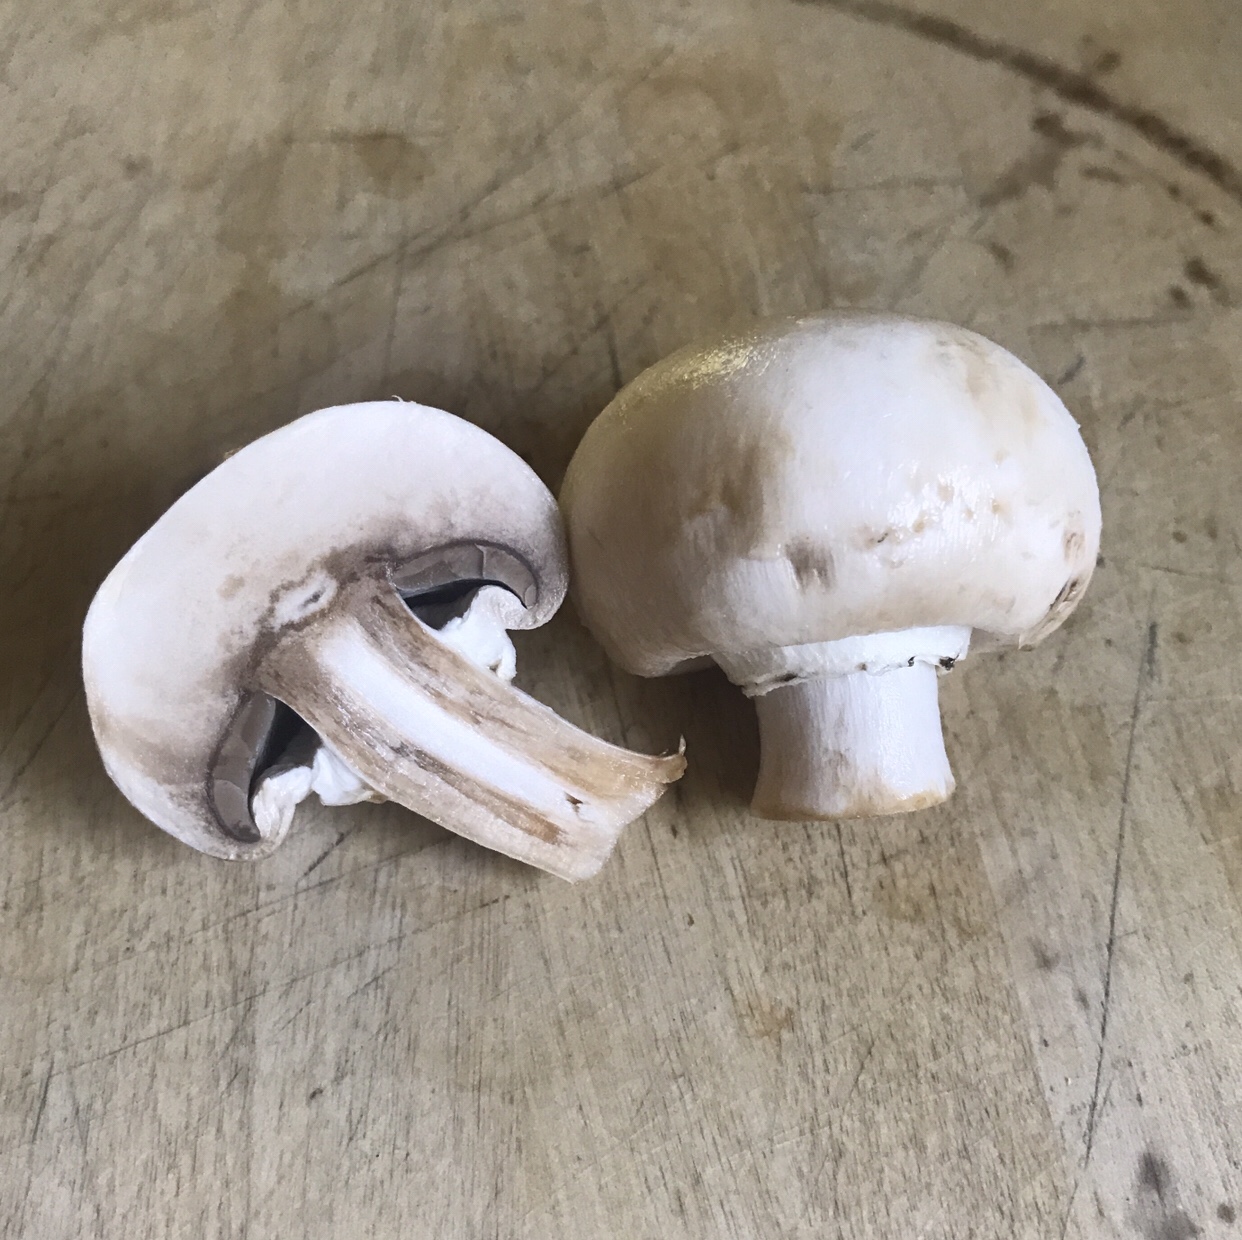
  • All the veggies you can handle (I used spinach, mushrooms, and sundried tomatoes)
  • Tofu ricotta (recipe below)

Preheat the oven according to the pizza dough’s instructions. In this case, it was 500 degrees F. Roll out the pizza dough on a floured surface until it’s a 12-inch circle. Transfer to an oiled baking sheet.

Next, spoon the marinara sauce onto the rolled out dough. Add the vegan cheese, then the toppings. With a tablespoon, drop a dollop of the tofu ricotta onto the unbaked vegan pizza.

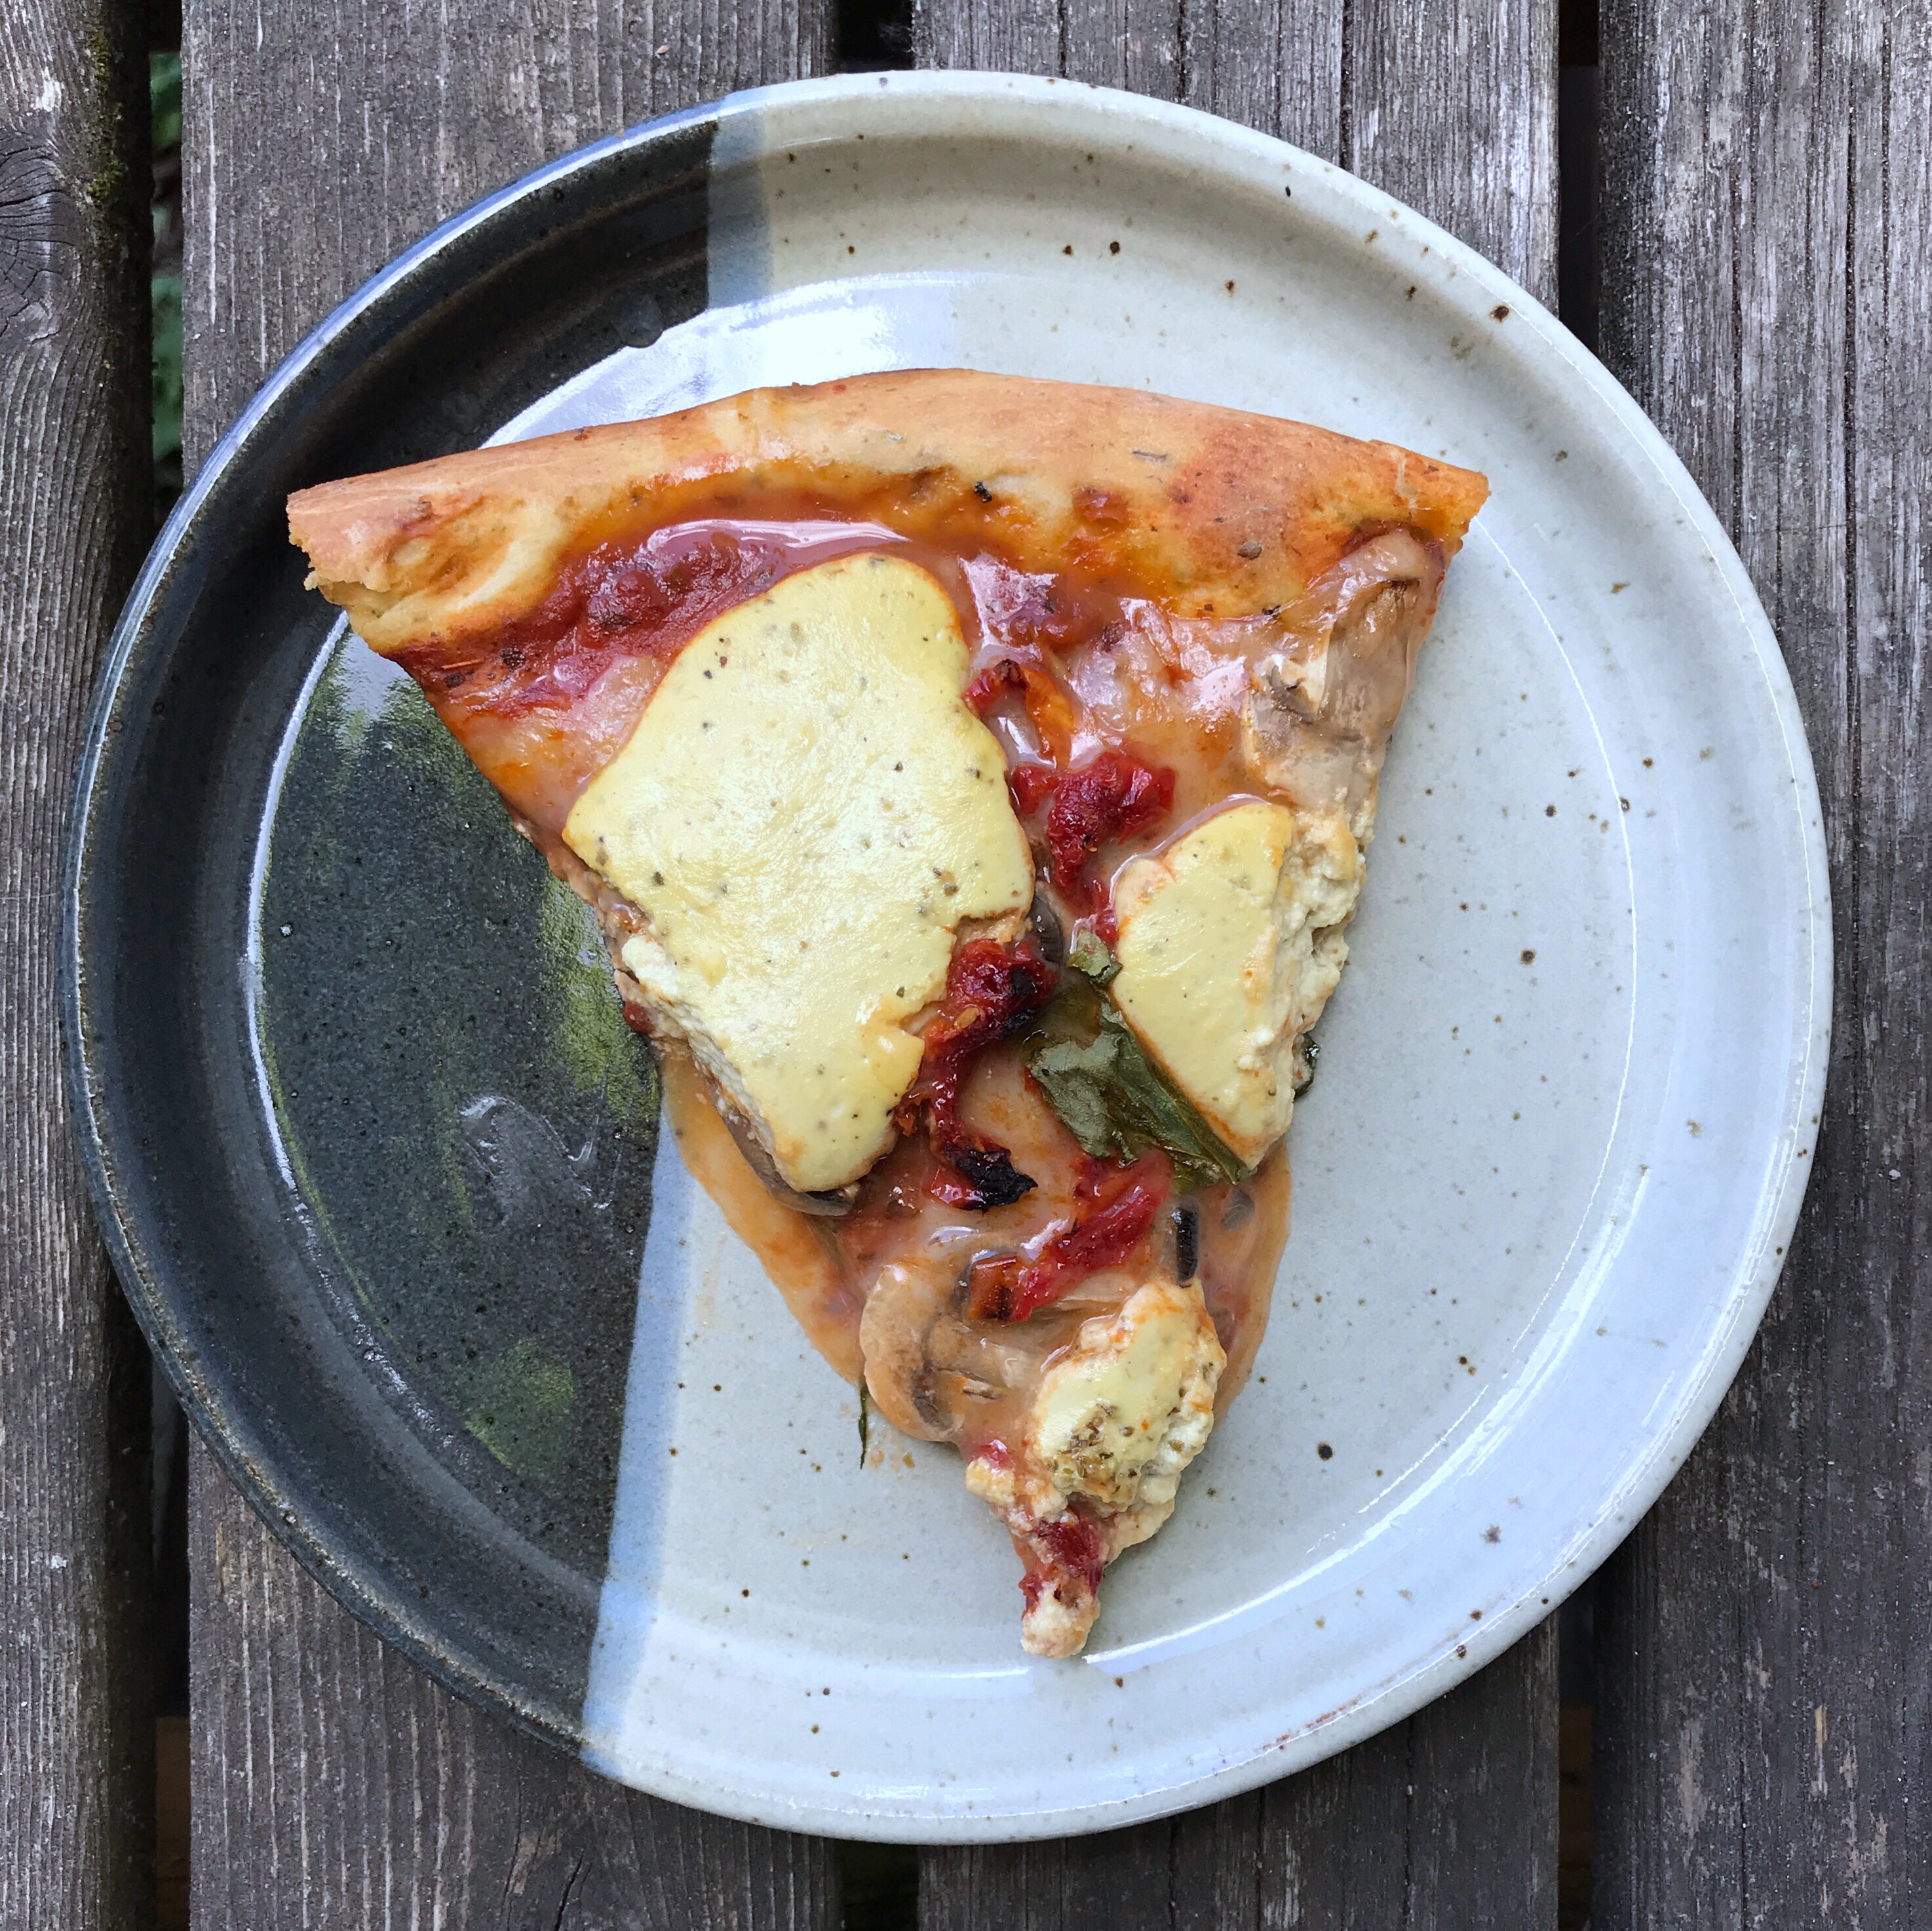
Bake for 15 minutes, then take it out of the oven. Let the pizza cool for a few minutes before slicing and digging in. Bon appétit!

Tofu Ricotta Recipe:

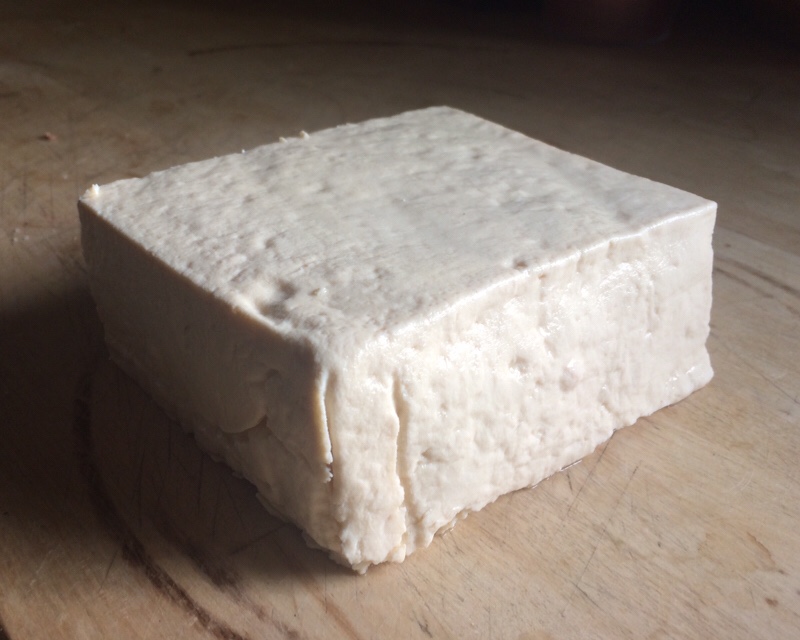
  • 14 oz. tofu, drained
  • 4 Tbsp. of lemon juice
  • 1/4 cup of nutritional yeast
  • 3 Tbsp. of olive oil
  • 1/2 teaspoon each of salt and pepper
  • 1 Tbsp. of dried oregano.

In a food processor, blend all ingredients until smooth. This will make about 2 cups of tofu ricotta. Use what you need for the pizza; the rest can be stored in an airtight container for up to a week.

Can You Stay for Vegan Brunch?

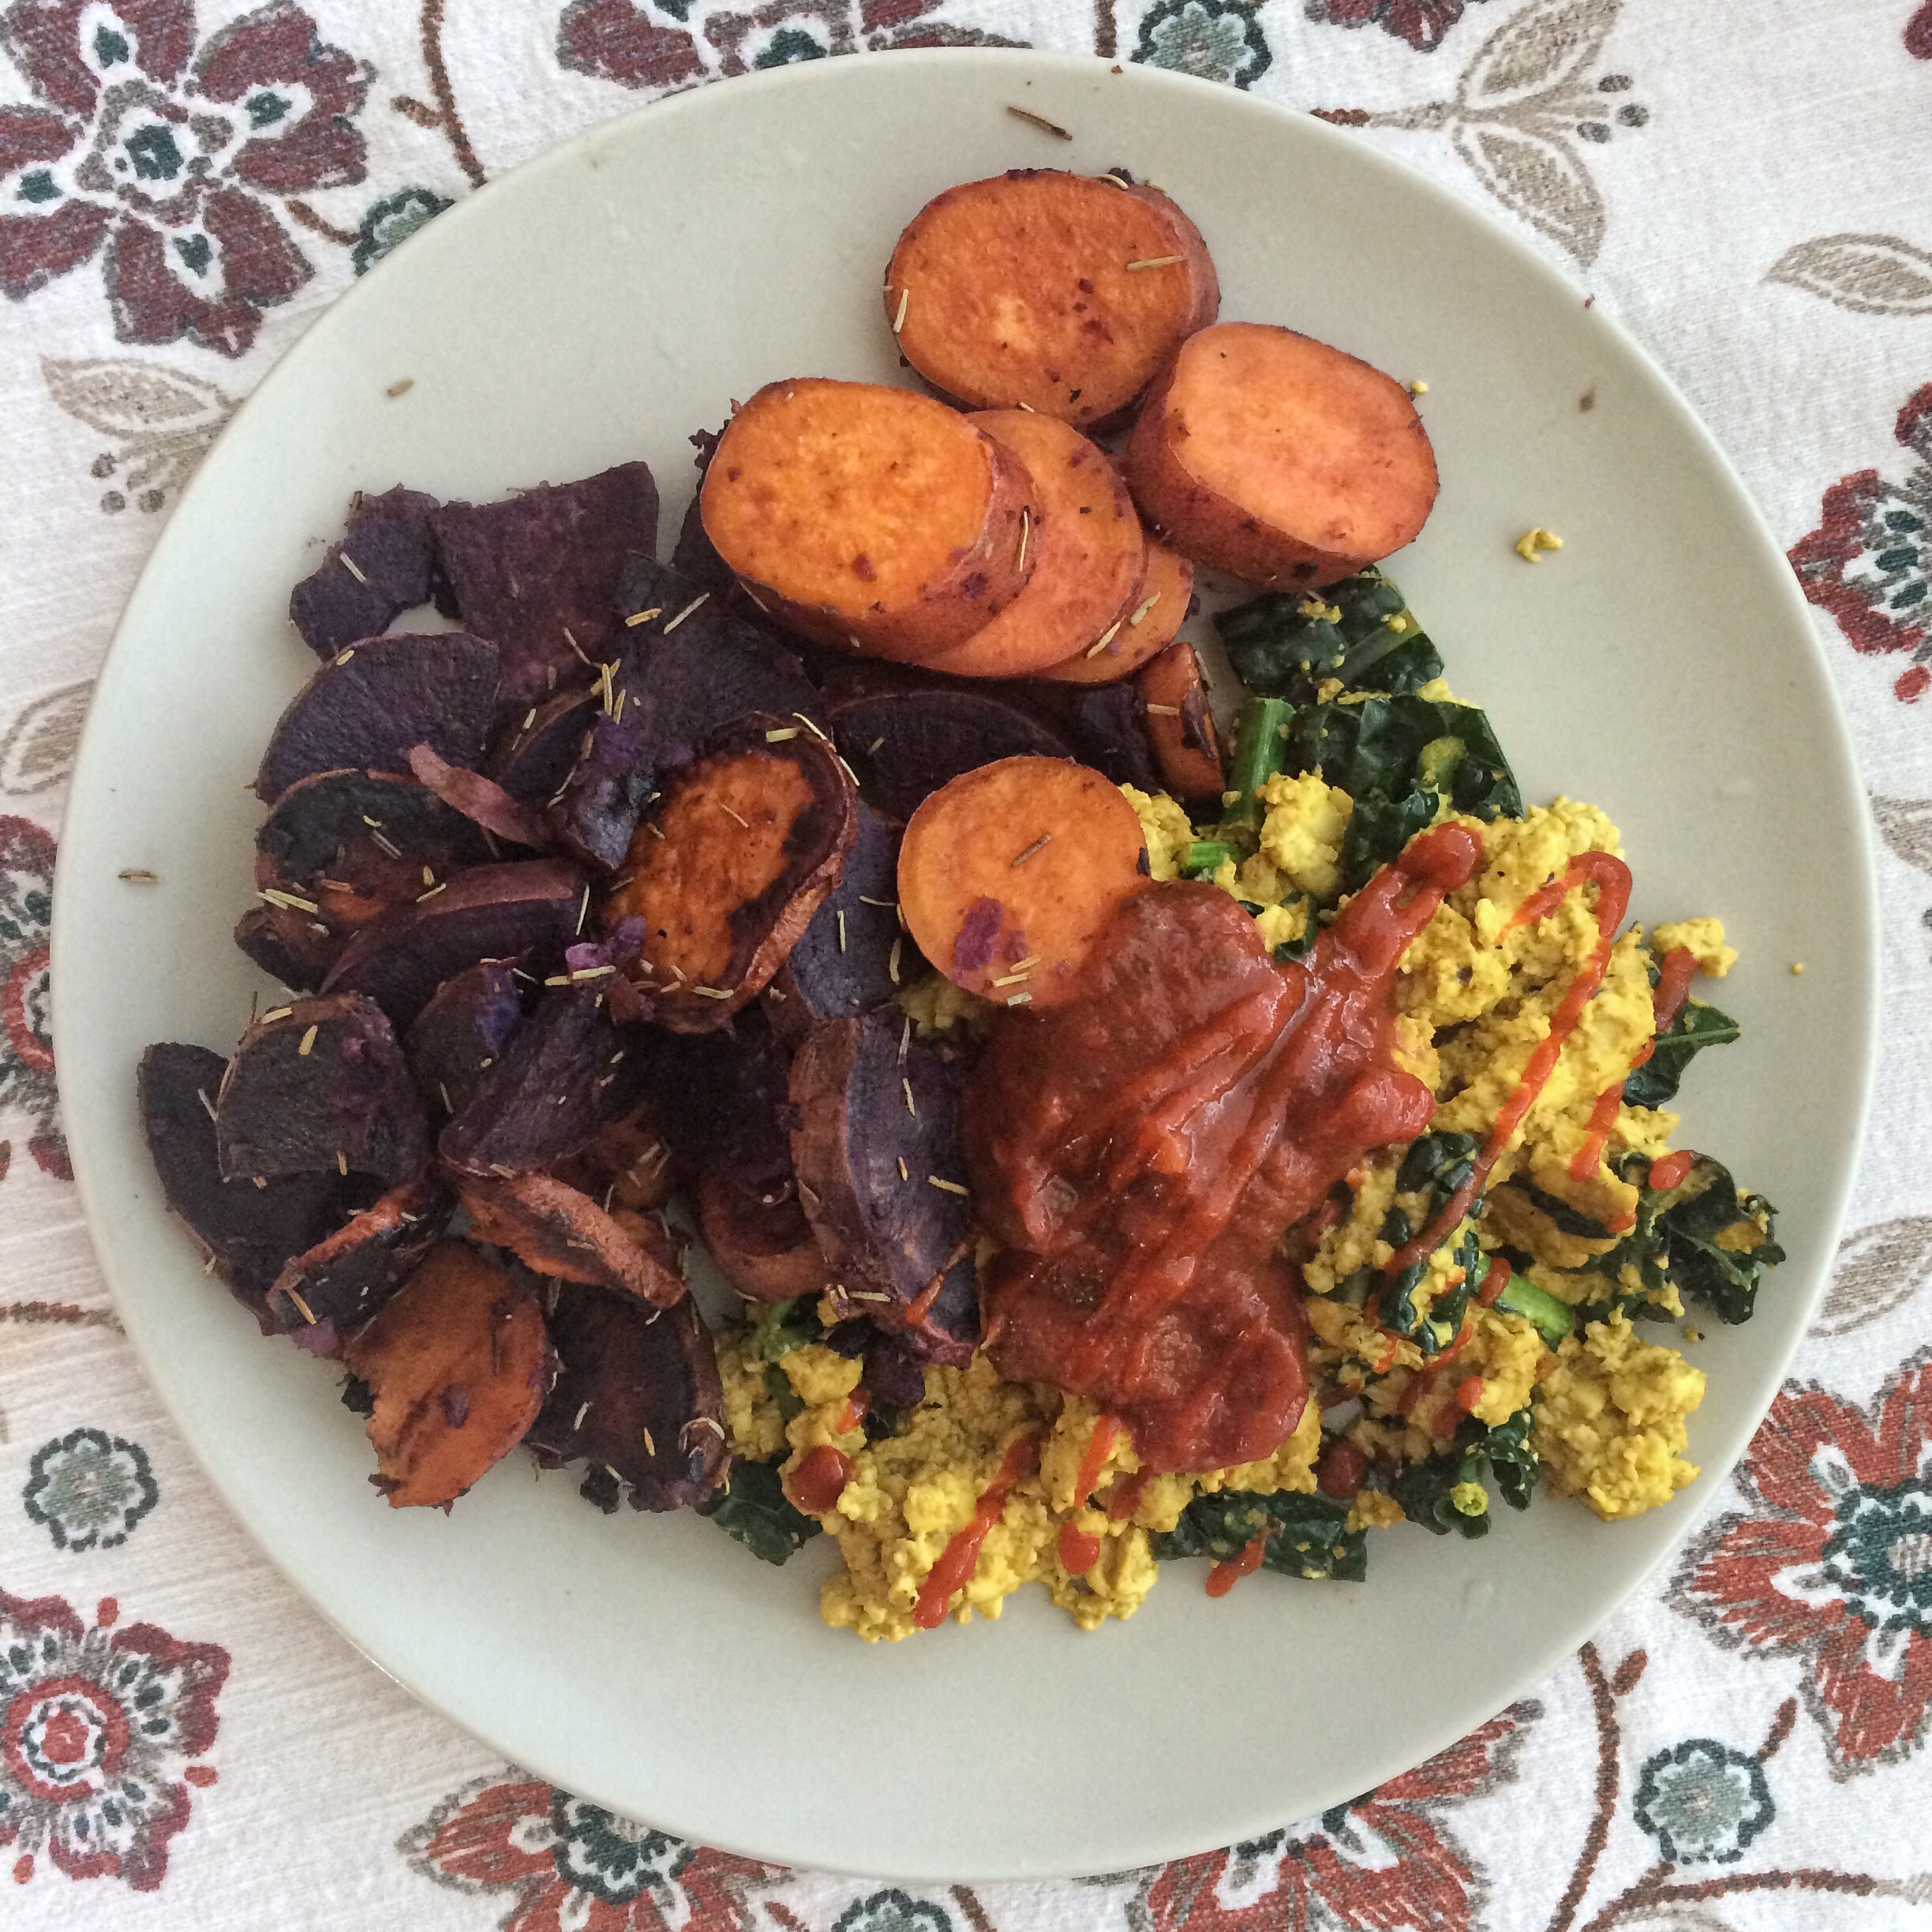
It’s dark, it’s cold, it’s winter. I don’t know about you, but when winter rolls around, my body craves heavier food. I love cooking for people and sharing my home to friends for a good meal. And my favorite meal is vegan brunch.

When I first went vegan, one of the first things I’ve learned to make was tofu scramble. Even though I never really cared for scrambled eggs, this vegan version is still packed with protein and vitamins without the cholesterol.

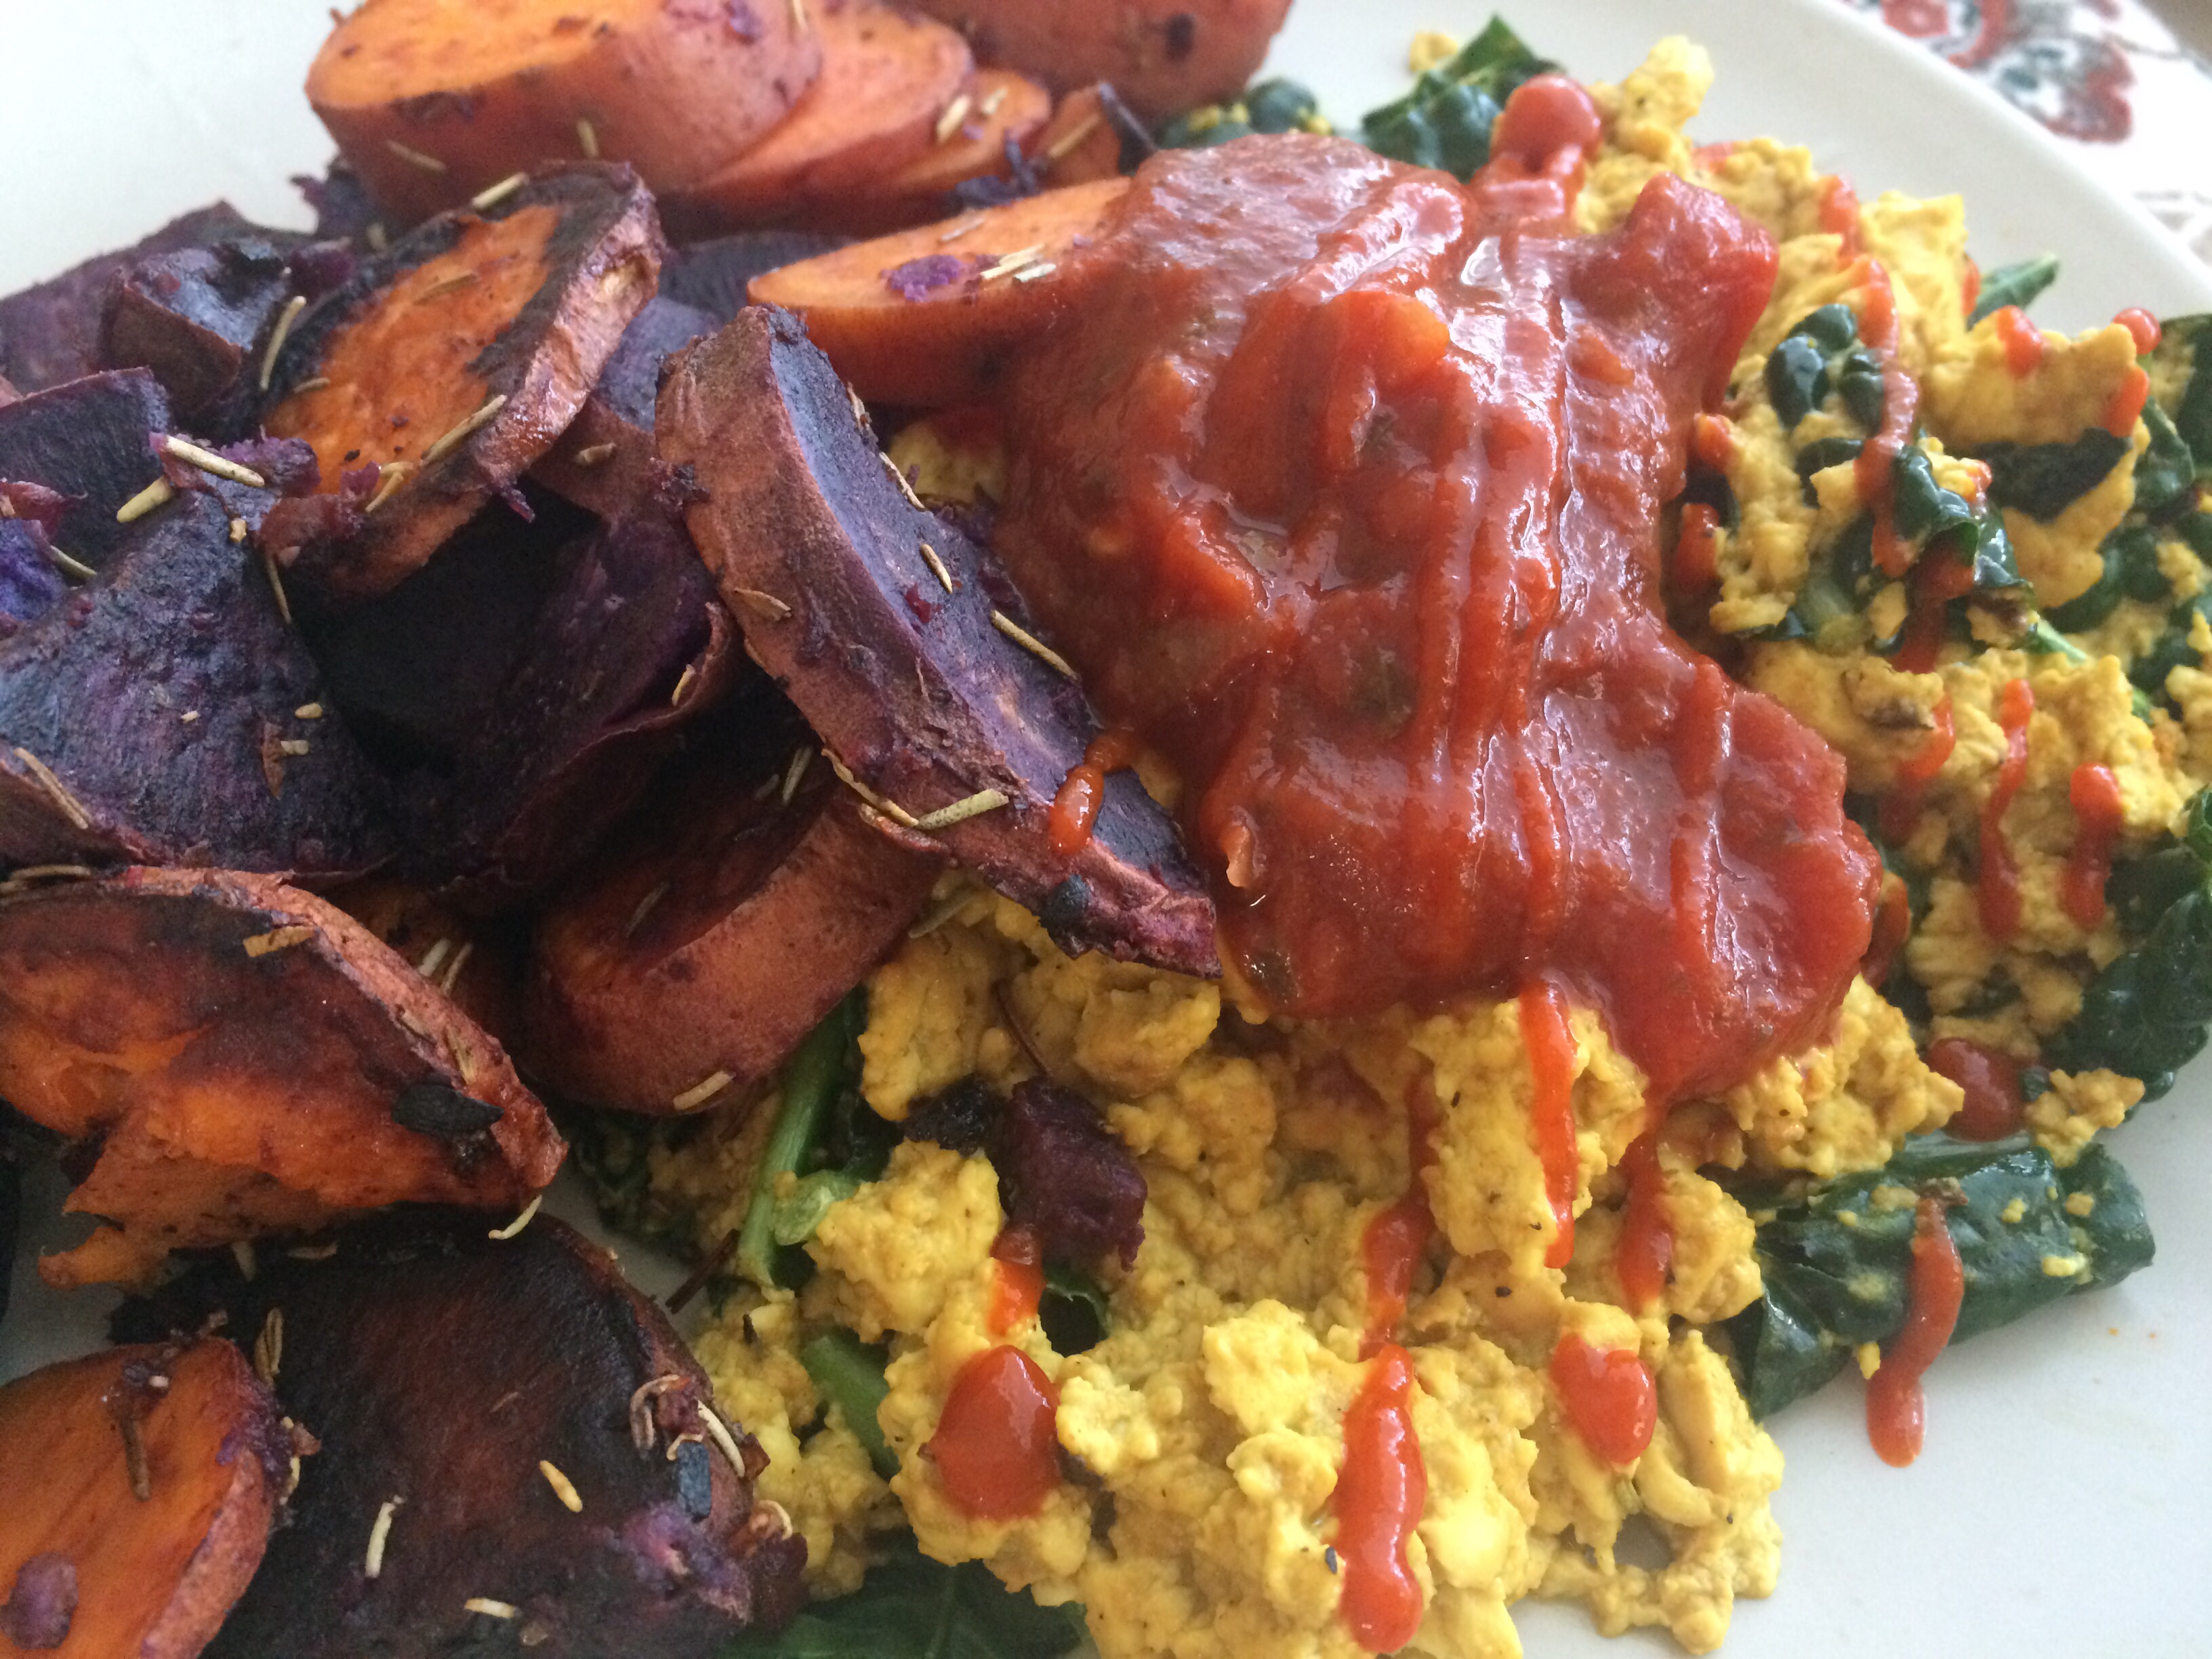
Tofu is such a versatile staple in a vegan diet. Its bland flavor is perfect for absorbing whatever flavor you put into it. The turmeric gives it the yellow color, while the other seasonings bring out the flavor profile of the scramble. The secret ingredient is nutritional yeast, which gives it that egg-y and cheesy flavor that very much mimics scrambled eggs. You can even toss in mushrooms, or kale like I did here.

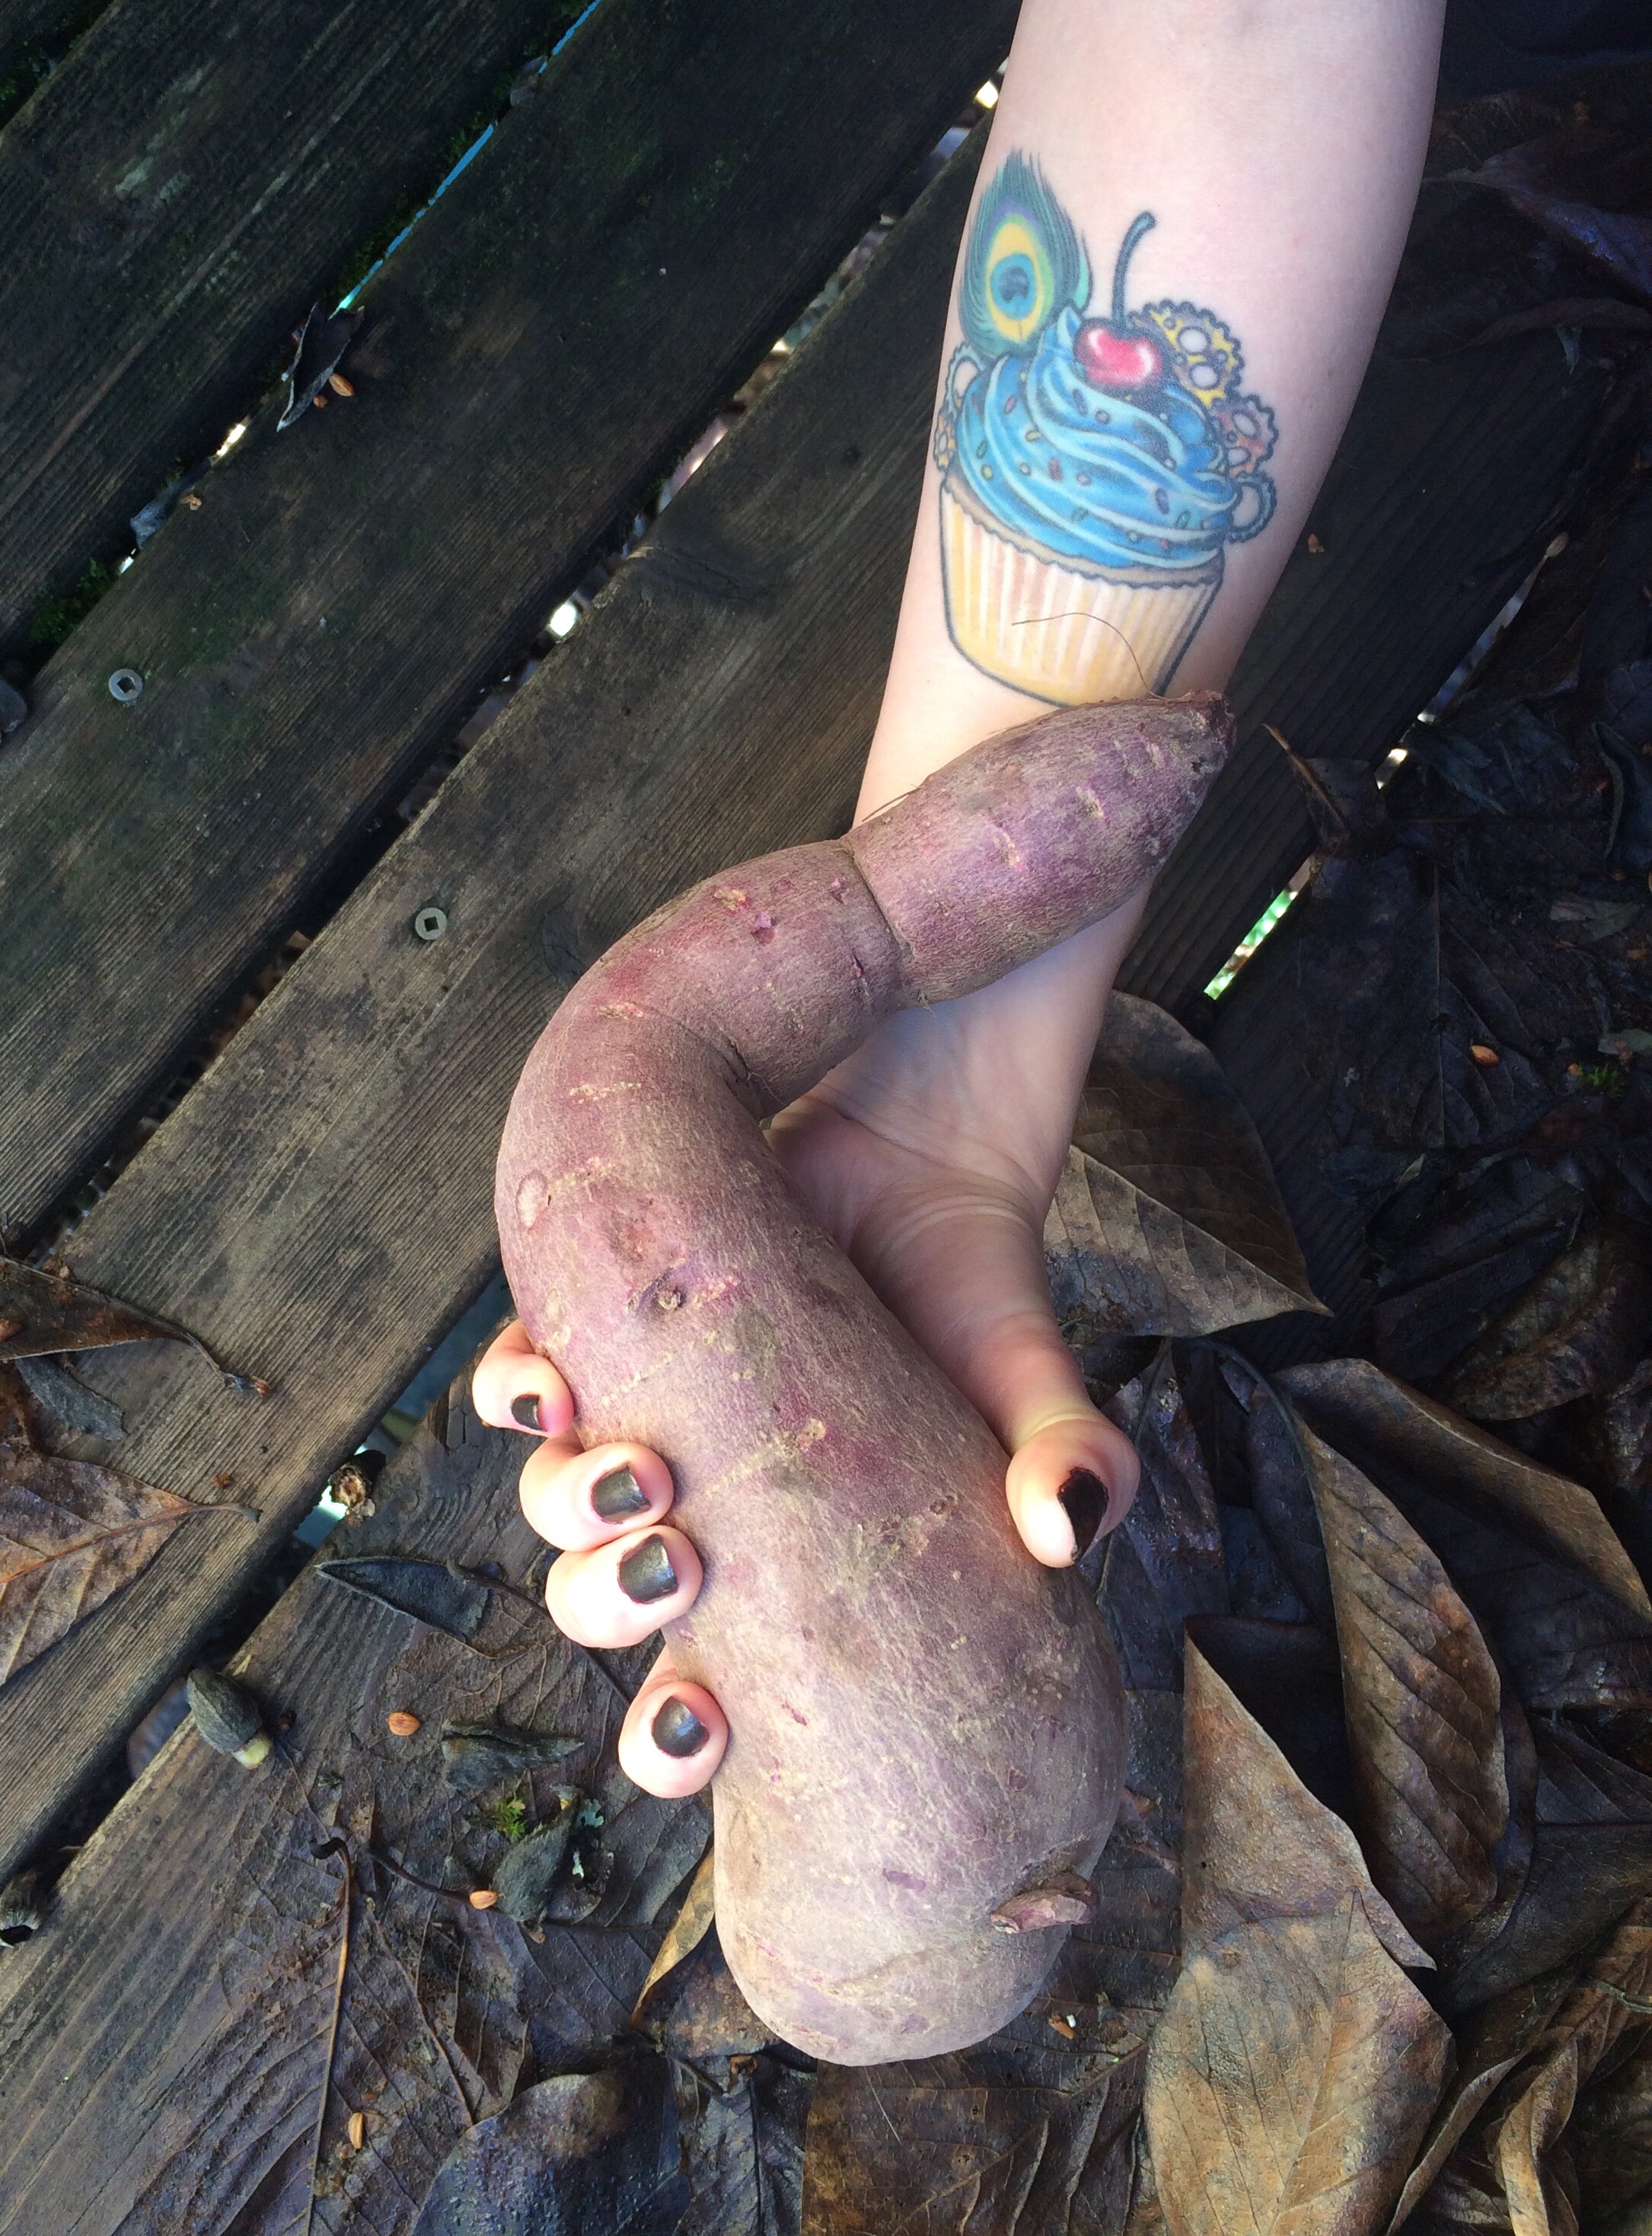
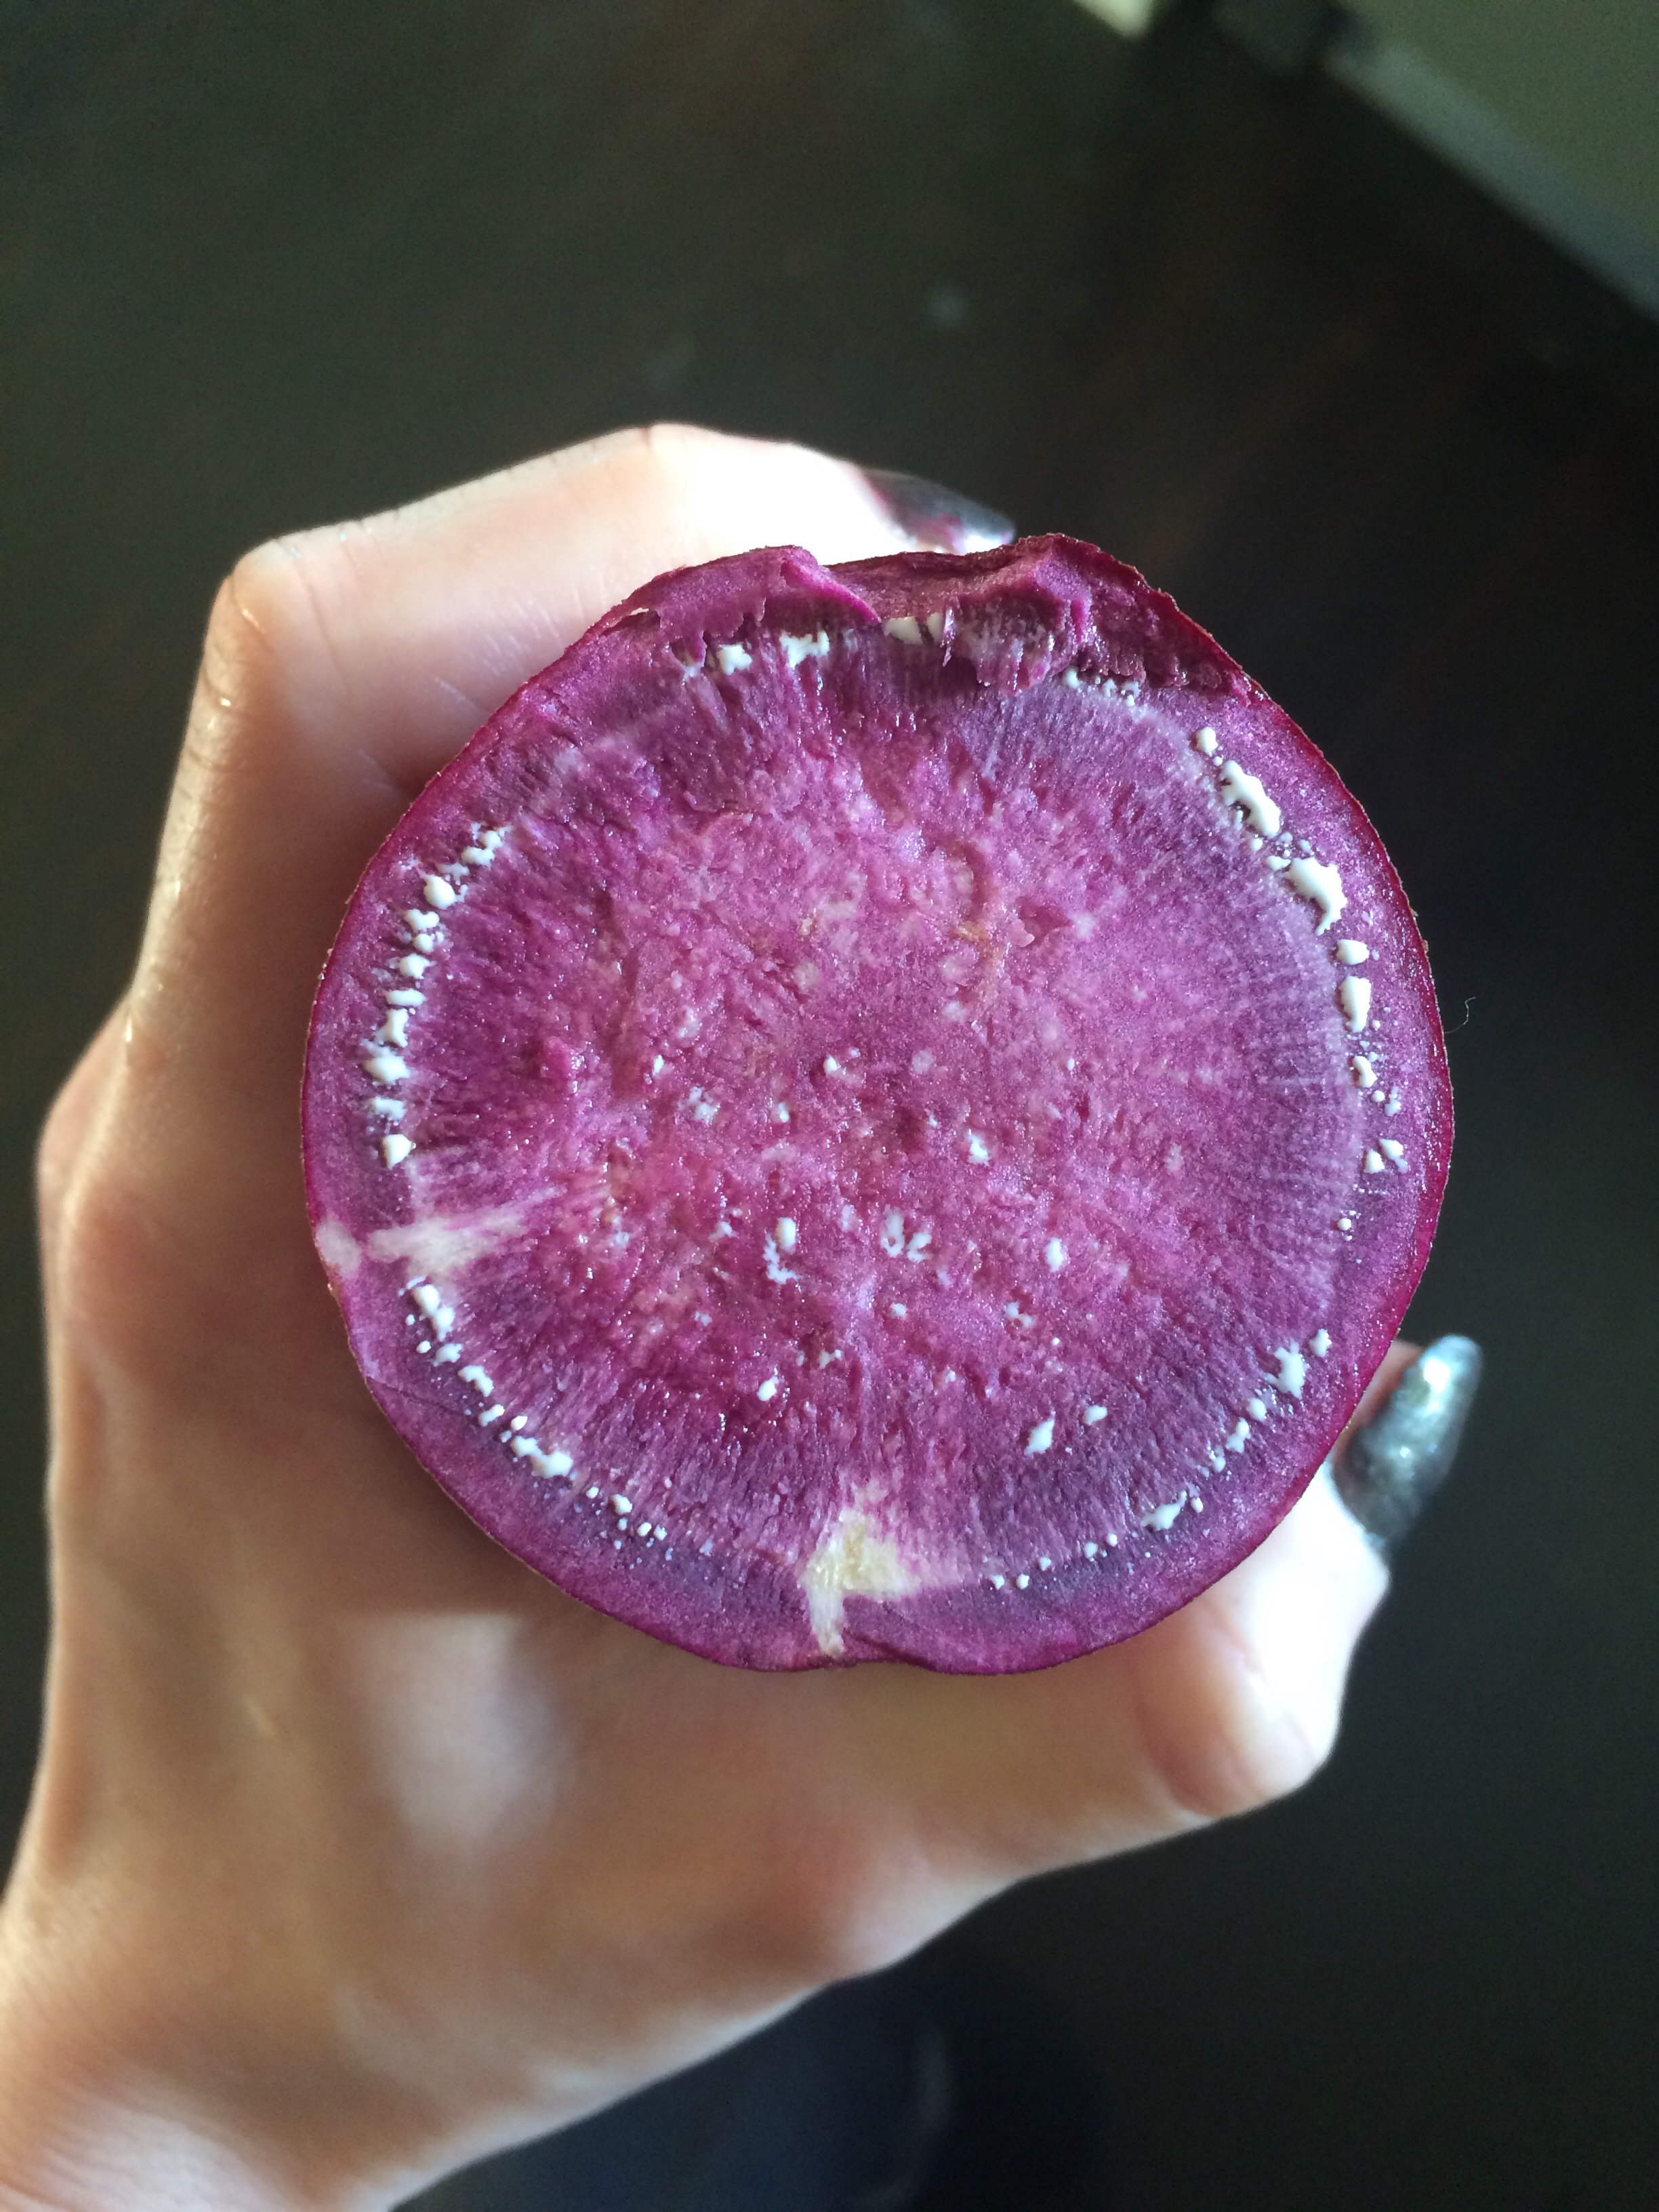
And what is a vegan brunch without some kind of potato side? Regular potatoes are still delicious, but what I’m really into are sweet potatoes. They are packed with beta-carotene, an antioxidant and precursor to Vitamin A. I never get tired of sweet potatoes, especially when they come in different colors! The purple ones are worth a shot; the flavor is a bit more mild than their orange cousins.
Tofu Scramble

You will need:

  • 1 16 oz. package of tofu
  • 1 teaspoon of salt
  • 1 teaspoon of garlic powder
  • 1 teaspoon of onion powder
  • 1/4 teaspoon of turmeric
  • 1/2 teaspoon of black pepper
  • 1/4 cup of nutritional yeast
  • 2 tablespoons of coconut oil
  • fistful of kale

Heat coconut oil in a pan on medium heat. With clean hands, crumble the tofu into the pan. First, add the salt and stir to mix evenly. Then add the garlic powder, onion powder, turmeric, and black pepper and stir throughout the tofu. Cook for 10 minutes. Then add the nutritional yeast and mix thoroughly again for another 5 minutes.

Finally, add the kale. Stir for 5 minutes to break it down a little. Then it’s done.

Sweet Potato Hash

You will need:

  • 3 cups of cubed sweet potatoes
  • 1/2 shallot, diced.
  • 2 tablespoons of coconut oil
  • 1 teaspoon of salt, divided into 2 half-teaspoons
  • 1 tablespoon of rosemary

Heat the coconut oil in another pan on medium heat. Throw in the shallot and 1/2 teaspoon of salt, which will help draw the water out of the shallot. Stir for 3 minutes until caramelized. Add the cubed sweet potatoes and stir in the other 1/2 teaspoon of salt. Be sure to coat it all in oil. Cover the pan with a lid, as the steam will help cook the potatoes. Stir occasionally for 15 minutes.

Add the rosemary and stir occasionally for 5 more minutes. Keep the pan covered when you’re not stirring. The potatoes are done when they are easily pierced with a fork.

The tofu scramble and the sweet potato hash make the perfect pair. It goes well on top of toast. If you take condiments as seriously as I do, marinara or Sriracha hot sauce compliment it beautifully. I hope you enjoy this vegan brunch! Bon appétit!

Warm Beta-Carotene Salad

Happy October!

Whenever people ask what my favorite season is, instead of fall, I say that my favorite season is October. It’s the best time of year, in my opinion. There is still enough daylight out and the weather is just turning crisp. The fiery colors of leaves and the smell move me like no other time of year.

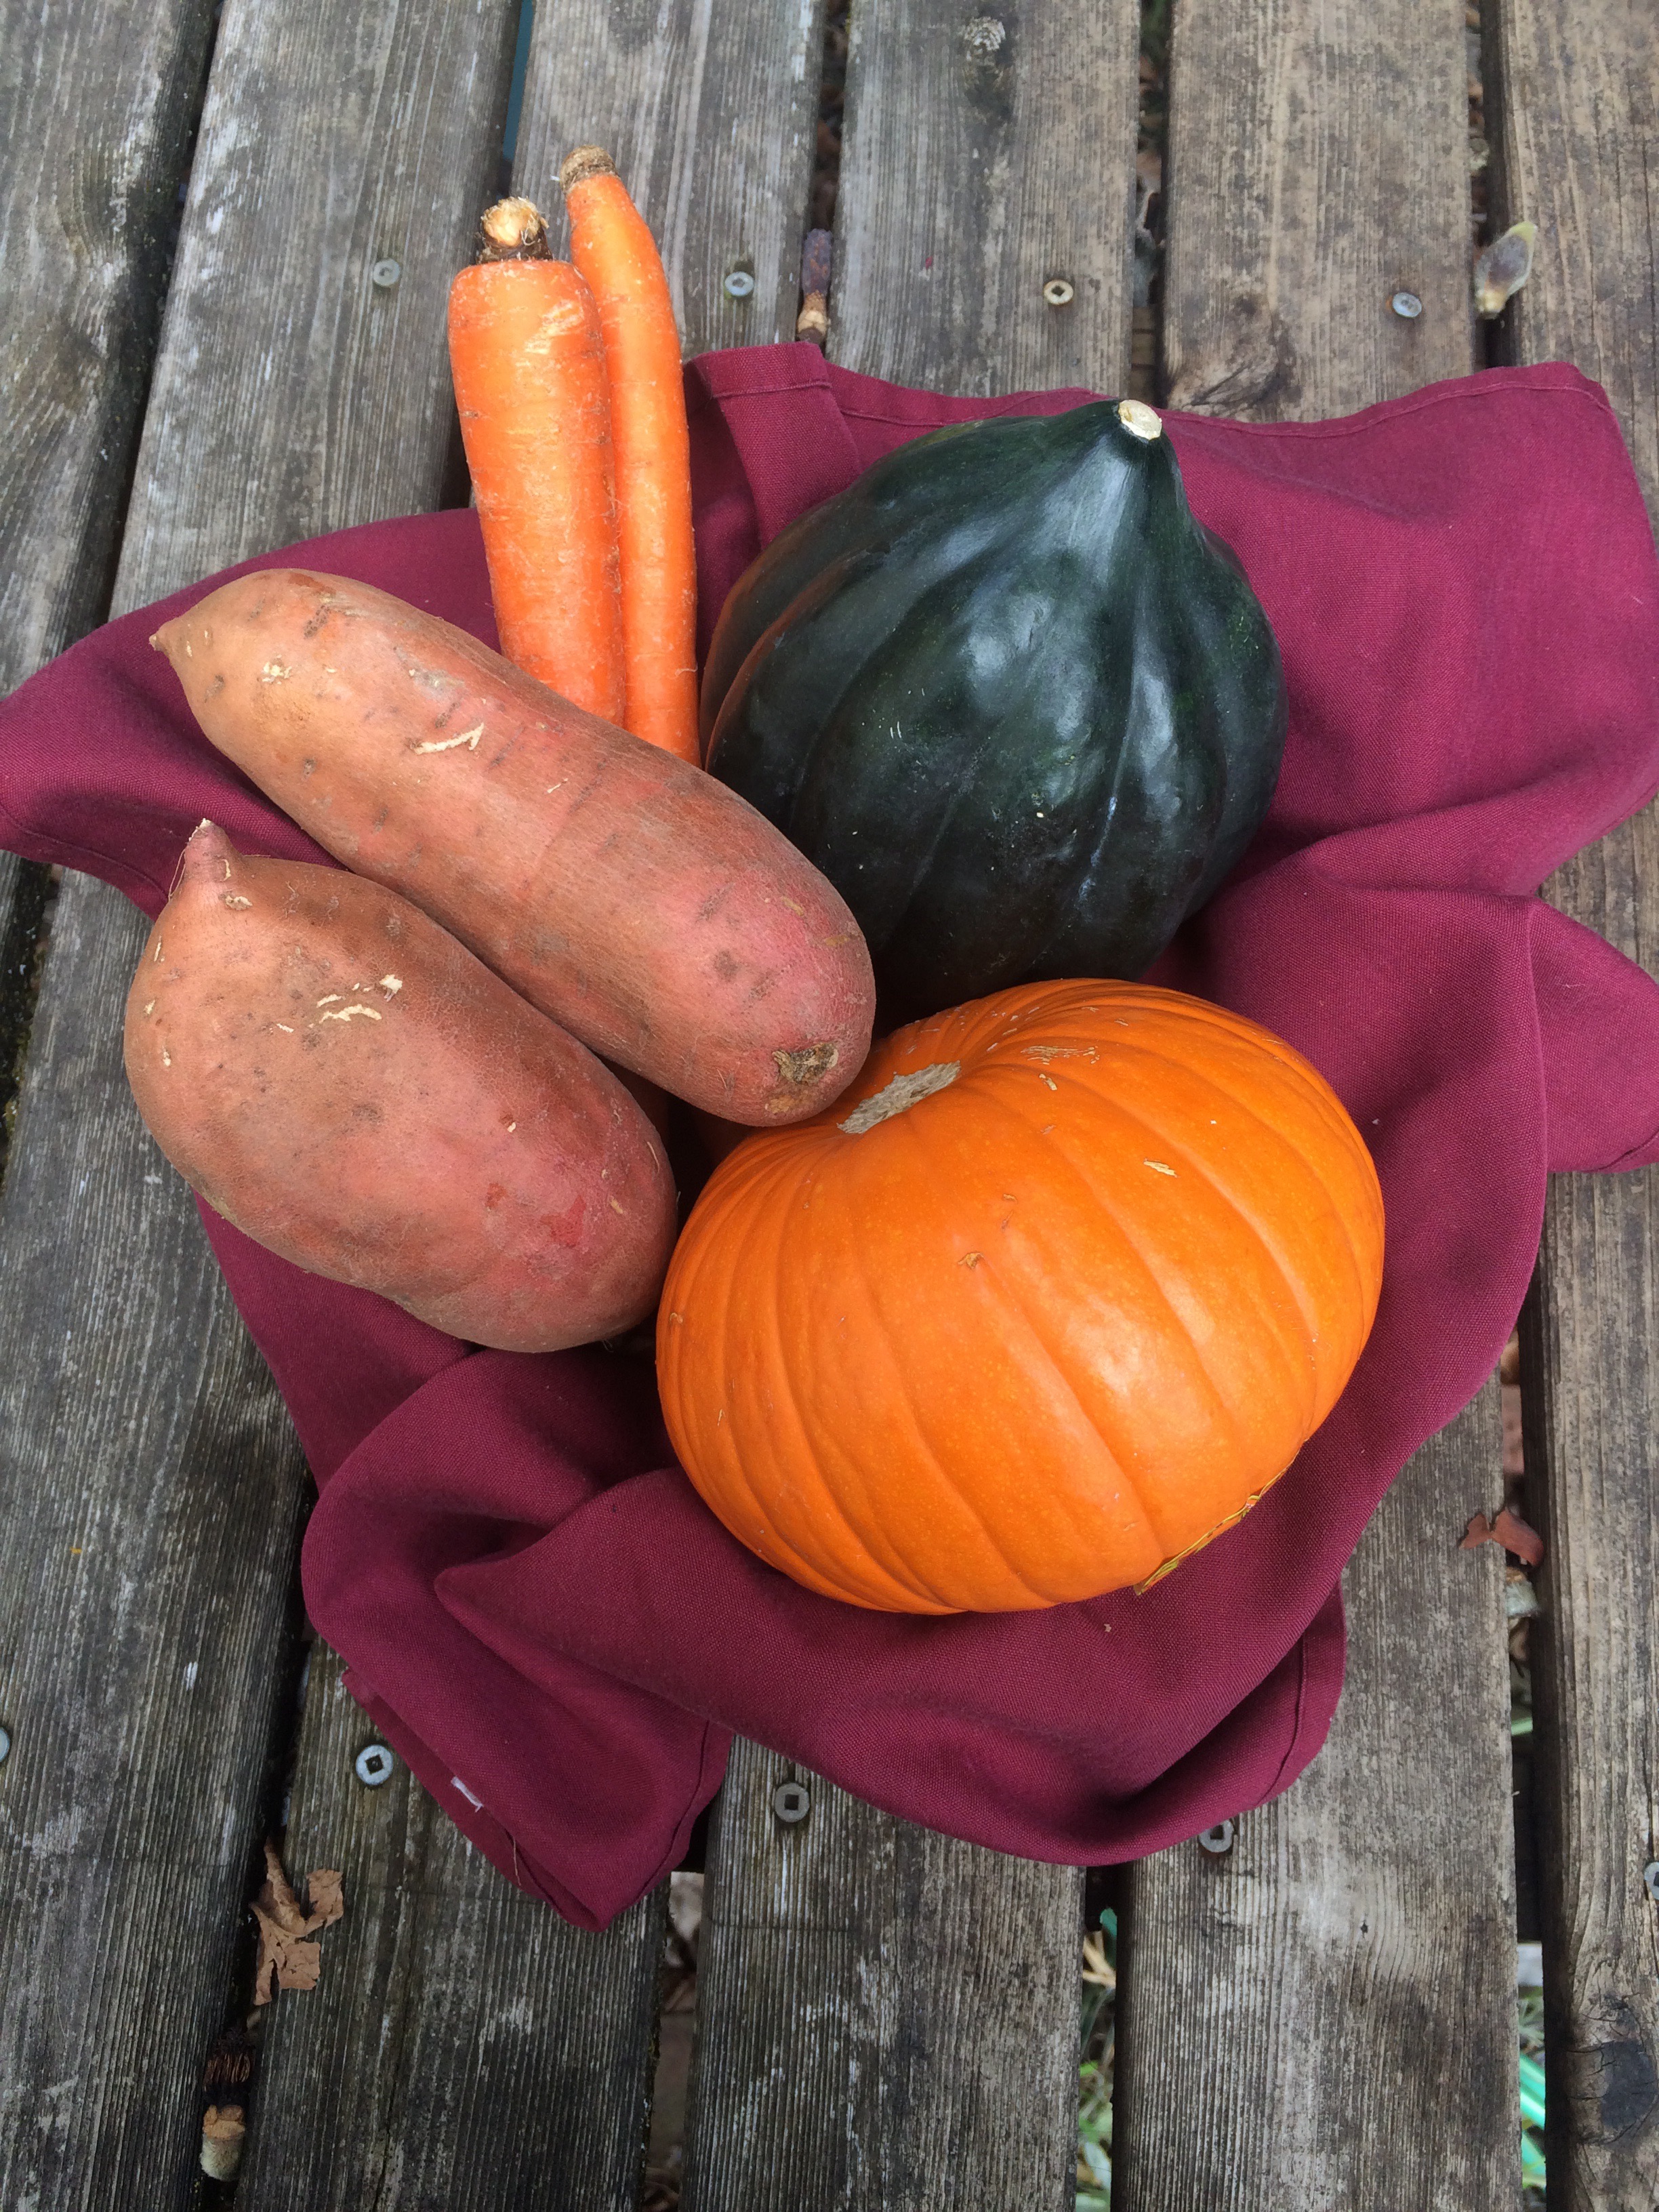
In my previous post, I was missing the usual fall produce. It has finally arrived, and I’m so happy to be eating these delicious and nutritious squash varieties again! 

My favorite is the acorn squash. There’s also the ever-present sweet potato in with this recipe. The days haven’t been dark enough yet to bring out the sun lamp, but this colorful recipe is sure to brighten up your mental health anyway. It’s packed with beta-carotene, an antioxidant and precursor to Vitamin A. Since it is a fat-soluble antioxidant, it is best cooked with olive oil or coconut oil. The spices bring out the natural sweet flavors of the orange vegetables, yet the salt balance them out.

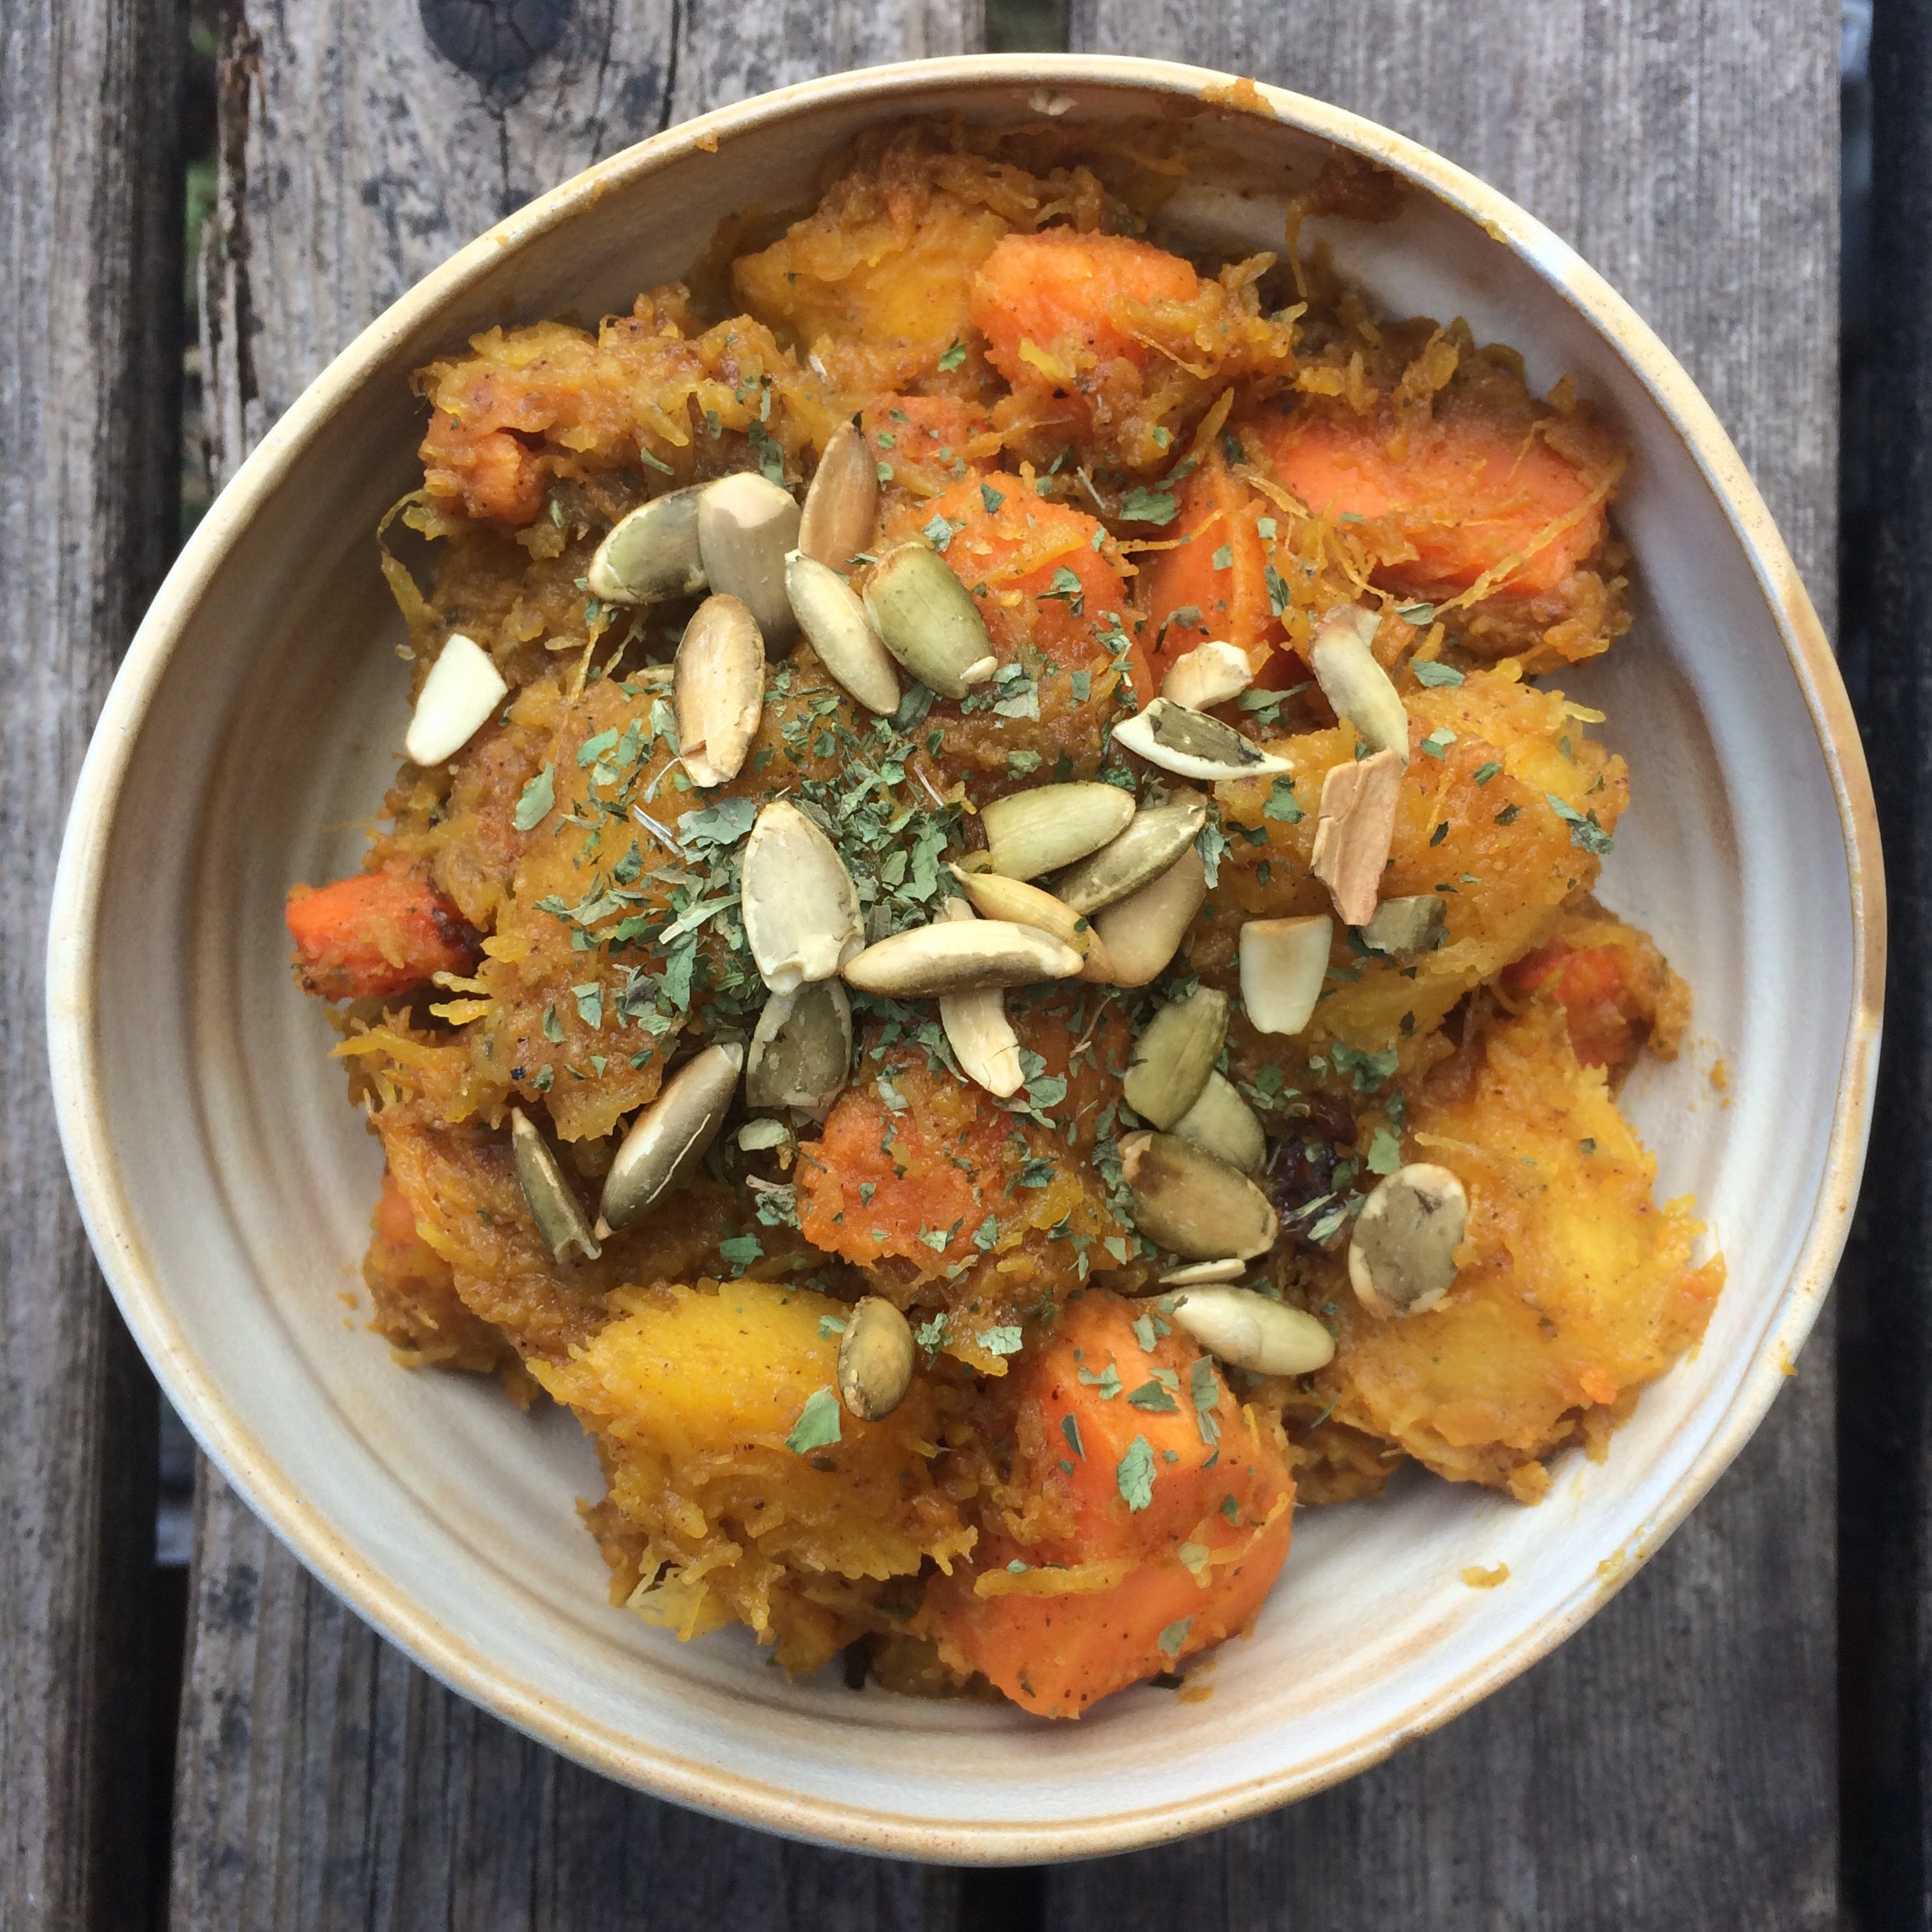
Warm Beta-Carotene Salad

Ingredients:

  • 1 acorn squash
  • 1 small pumpkin
  • 2 medium sweet potatoes
  • 2 large carrots
  • 2 Tbsp olive oil, divided into 1/2 Tbsp increments
  • 2 Tbsp coconut oil
  • 1 shallot
  • 3 cloves of garlic
  • 1 tsp. of salt
  • 1 tsp. of cinnamon
  • 1 tsp. of garam masala spice
  • 1 tsp. of cumin
  • Dried or chopped parsley
  • Pumpkin seeds for garnish

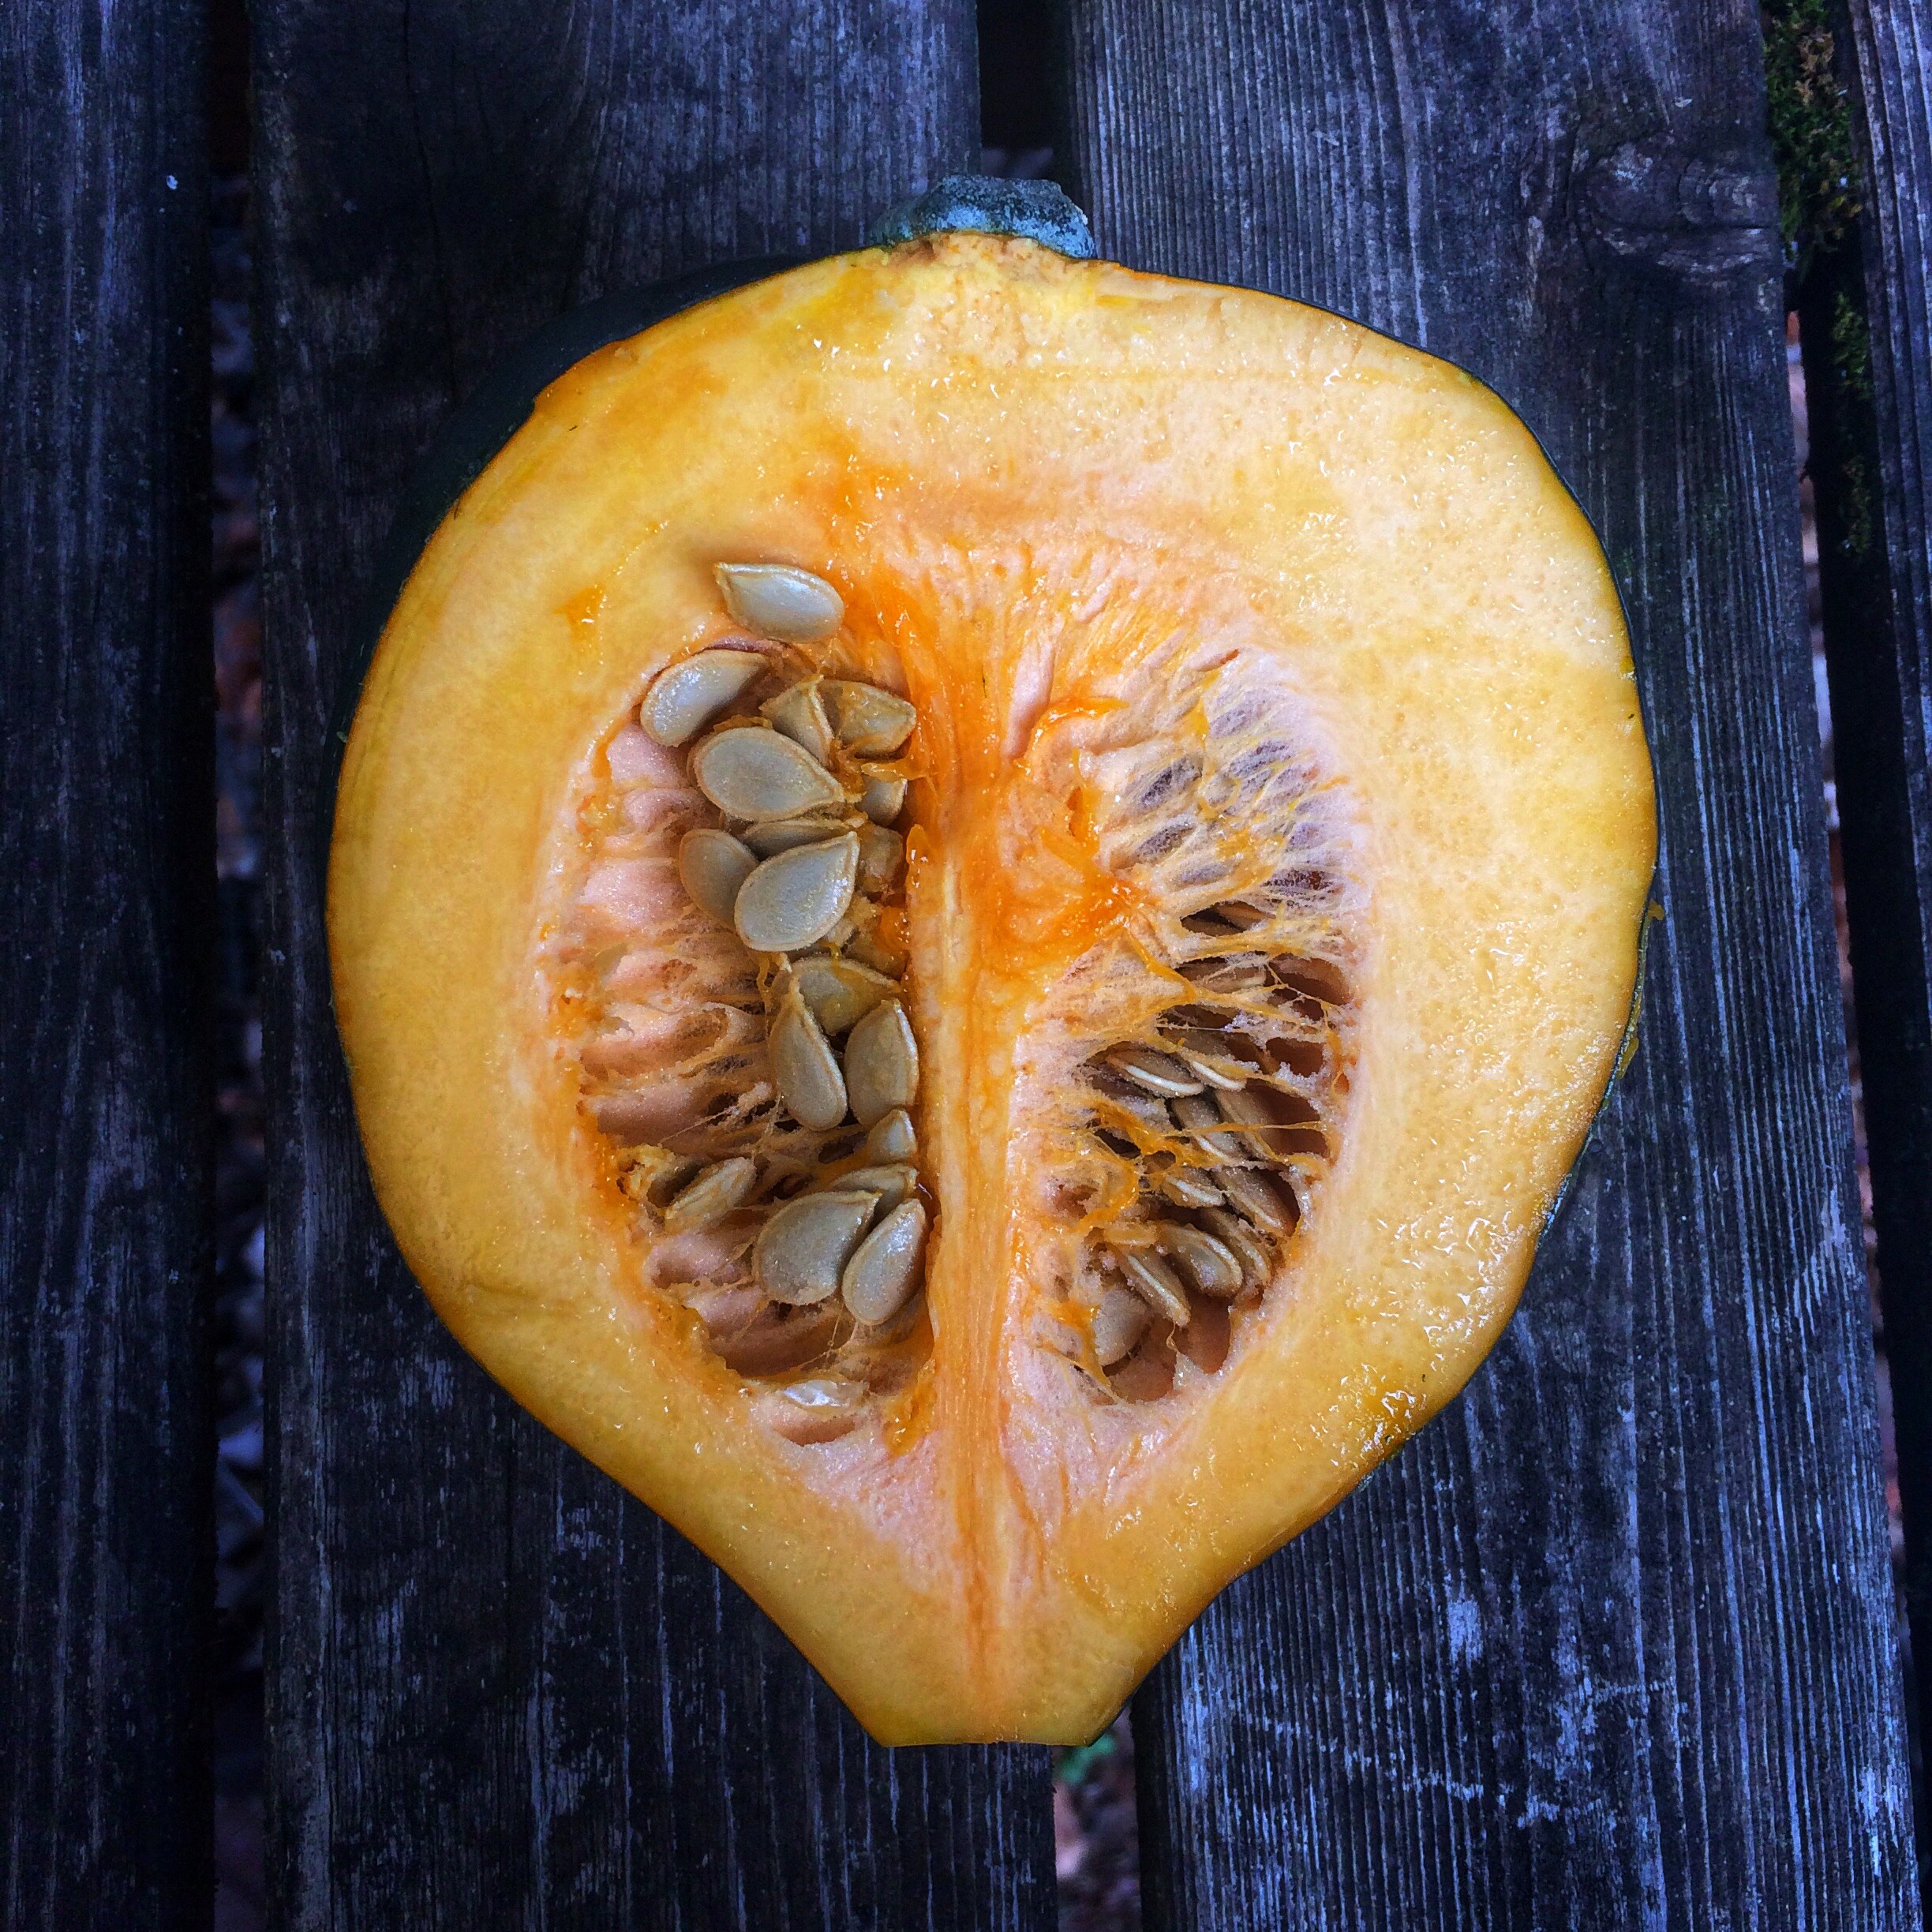
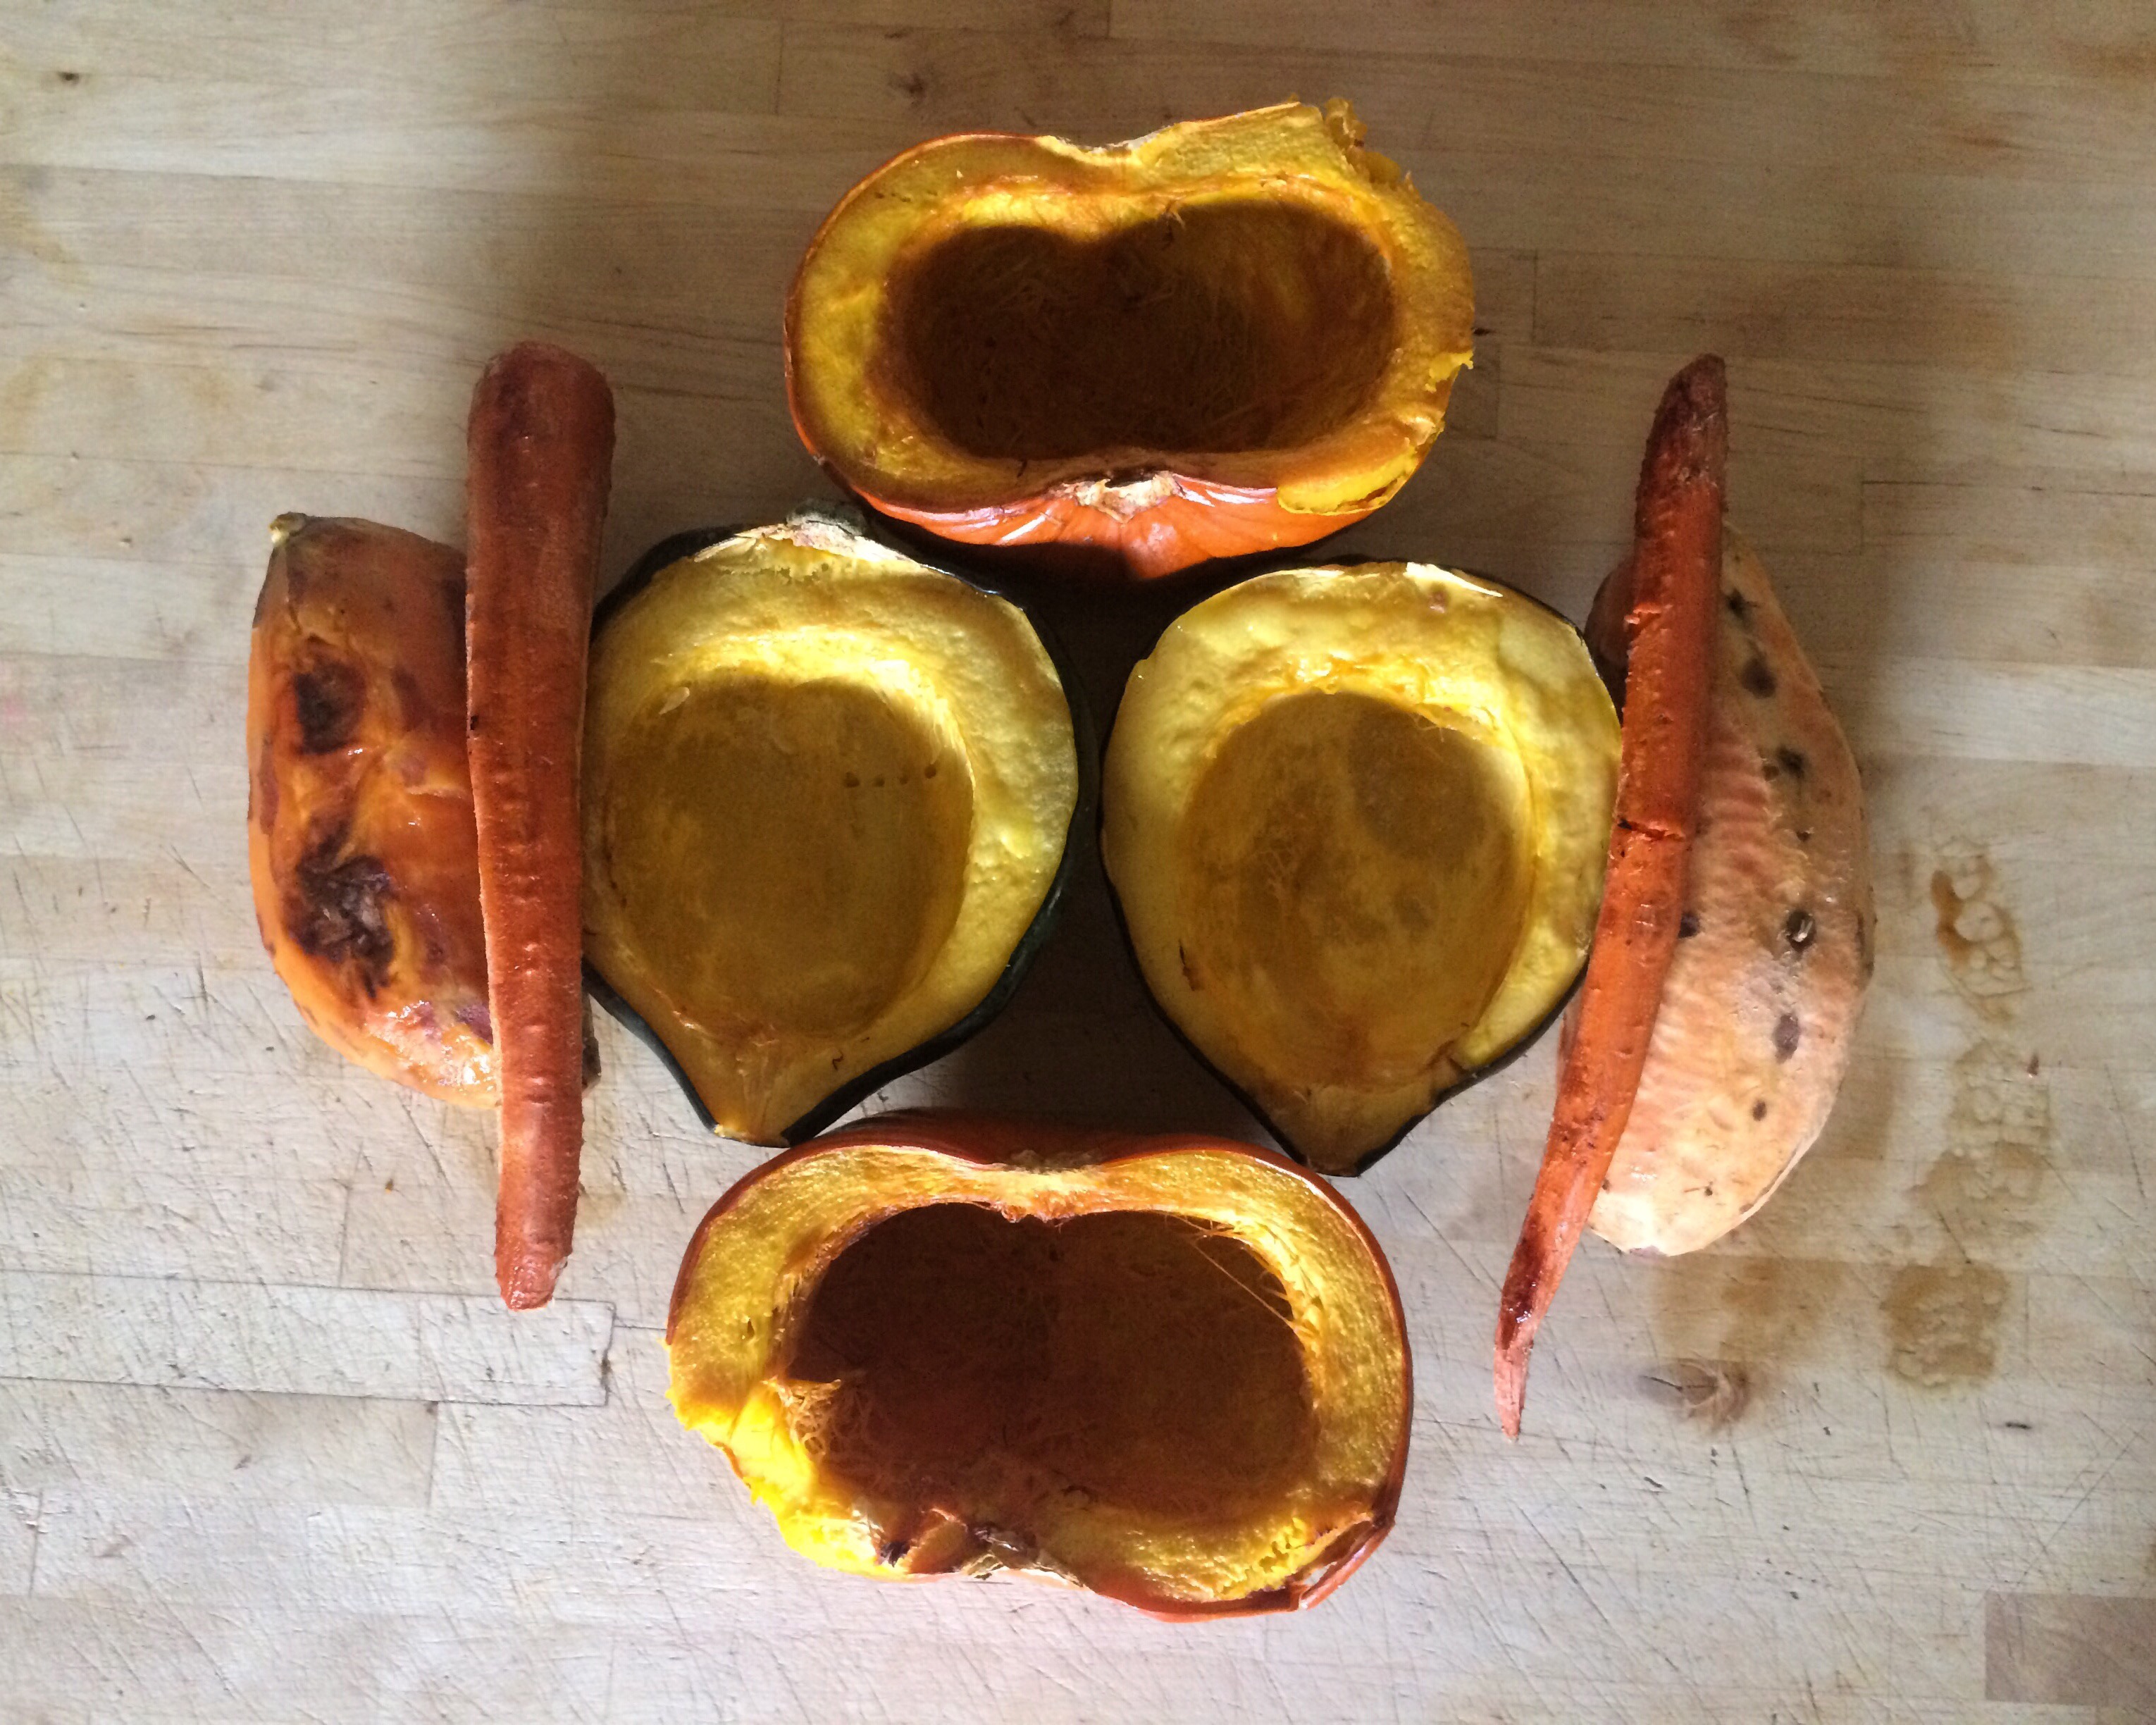
Preheat oven to 400 degrees, Fahrenheit. With a heavy chef’s knife, cut the acorn squash and pumpkin in half. Scoop the seeds out and brush the insides with olive oil. (1/2 Tbsp for each side.) Put about half an inch of water in a metal pan and place the halves of the squash and pumpkin in, with the insides facing up.

Peel sweet potatoes, wrap in aluminum foil, and put on a baking sheet with the carrots. Put all the vegetables in and bake for 45 minutes. You’ll know they’re done when you can pierce them all with a fork.

Allow to cool before moving onto the next steps.

When they are cooled enough, gently peel the squash and pumpkin skins off. Slice those and the sweet potatoes into one inch cubes. Slice the carrots into 1/4 inch coins. 

Heat the coconut oil in a large pot. Add the chopped shallot, crushed garlic, and salt until they’re caramelized. (The salt will help draw out the water.) Add the roasted vegetables and stir to coat evenly with oil. Add spices and keep stirring. Cook for 15 minutes.

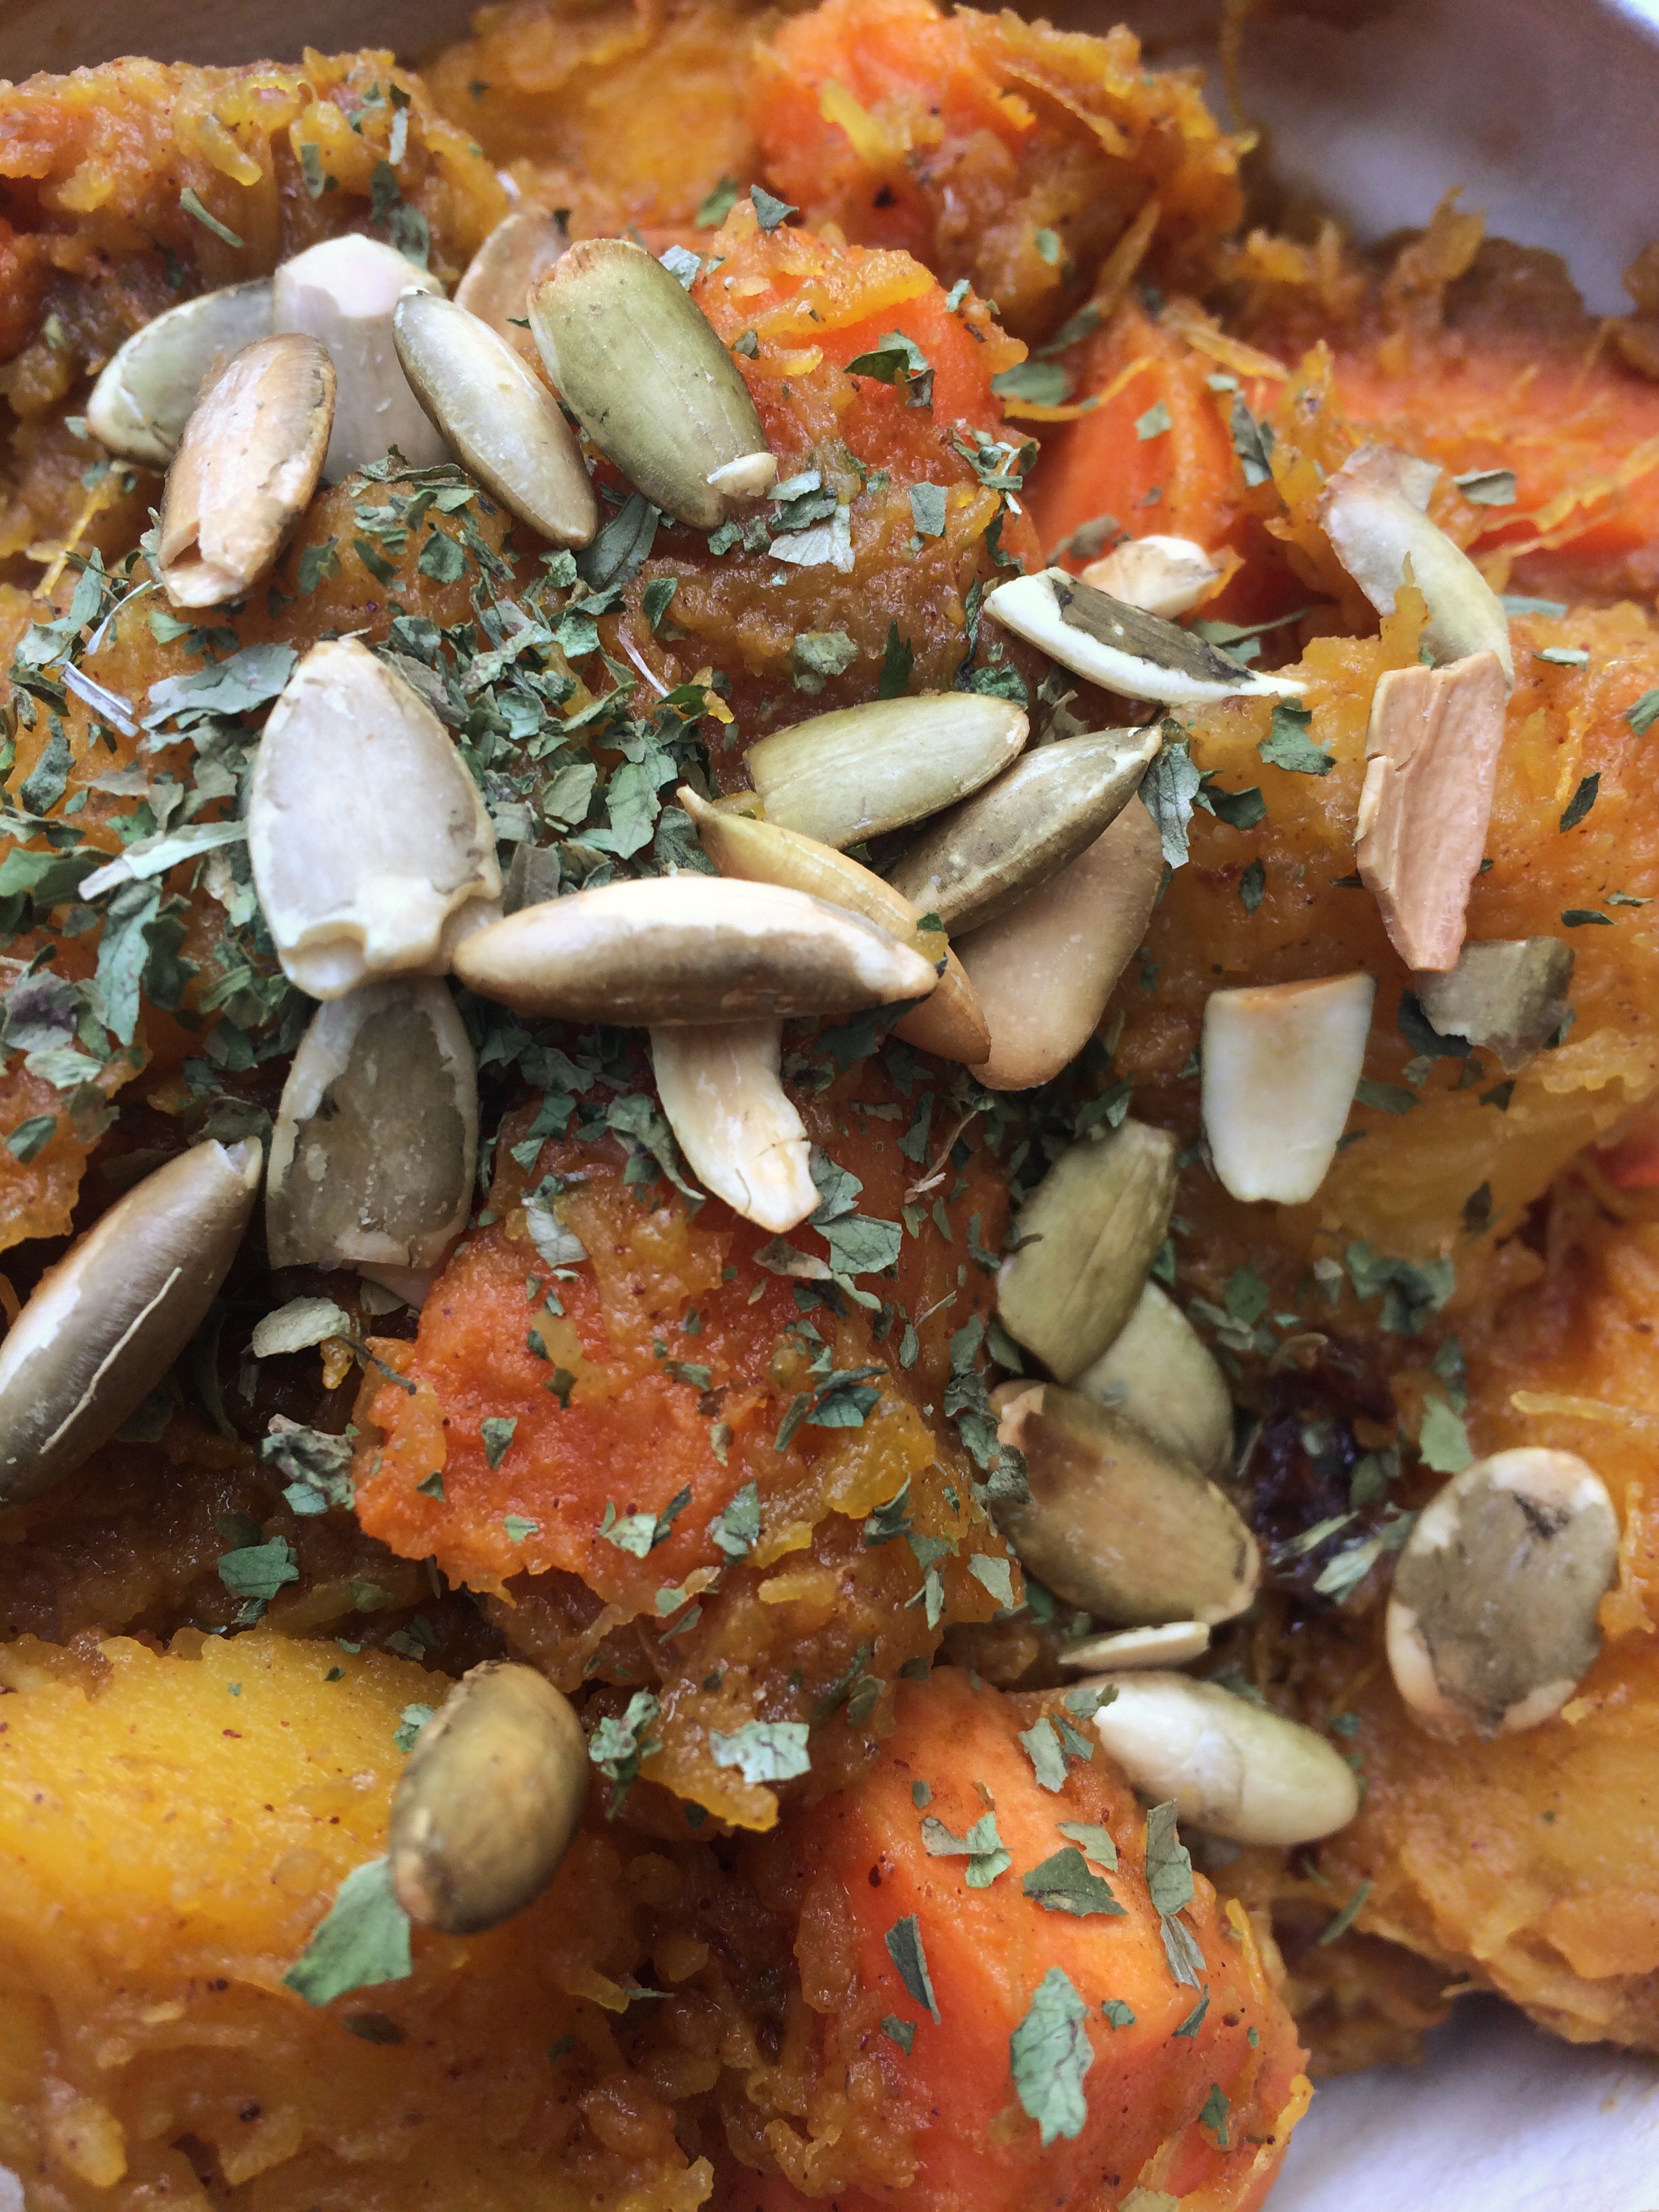
In individual bowls, scoop the warm beta-carotene salad, garnishing with sprinkling parsley and pumpkin seeds on top. Done!